Lighting 3: Overview
Why Is It Called Lighting 3?
SLR Lounge offers a series of lighting courses: Lighting 101, Lighting 201, Lighting 3, and Lighting 4. They are designed to become gradually more and more advanced.
What Is Its Purpose?
As part of the lighting series, Lighting 3‘s aim is not to teach you everything from start to finish. Instead, it’s specifically focused on multi-point lighting setups, with off-camera strobes and flashes. It’s aimed towards aspiring professionals and advanced amateurs. It’s useful for those who want to upgrade their photography with photos that stand out right from the first glance. You can achieve such photos with specific lighting patterns and techniques using multiple sources of light. And that’s what this course is about. It’s a collection of tips, tricks, and recipes that will allow you to shape or create light in any scene to your taste. They help you get amazing images anytime, anywhere, irrespective of the environment. From painterly editorial portraits to backlit composites, it introduces plenty of timeless, but powerful photography techniques. There are also many innovative, rarely seen solutions. Not only do they give your photos a professional ‘look’, but they also help to expand your vision and imagination. In the long run, a course like this gives you more than what it is on its own.
What You Need to Know About SLR Lounge
SLR Lounge is a team of photographers and educators from California. They offer many different workshops, plenty of free material on YouTube, and a photography blog. Their site is one of my personal favourites when it comes to photography education. Unlike many others in this field, their products consistently hit a high standard, and there’s a lot of them. The creator and presenter of the Lighting series is Pye Jirsa, a well-known wedding photographer and photography teacher from the LA area.
Contents
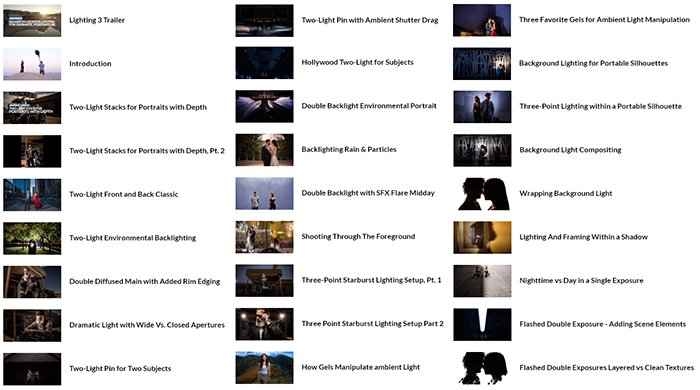
Lighting 3 contains 32 episodes, spanning a whopping 8 hours in total. The core content consists of 25 episodes, and there are 5 more, with otherwise freely available videos attached. Without the need for completeness, they utilise techniques like rim lighting, edging, starburst effects, incorporating motion, compositing, and double exposures. There’s even a photo hard-split with an ND-filter, which is something I’ve never seen before. (More on it below!) Take a closer look at the episodes here.
Facebook Group
To accompany the course, there is a Facebook group focusing on lighting, managed by SLR Lounge. Members can share their photos, ask for and give constructive criticism, and seek inspiration.
Pricing
You can purchase Lighting 3 for $149 on its own. If you’re interested in grabbing the entire location lighting series (The Flash Photography Training System), you can do so for a discounted price of $299 (effective at the time of writing). Furthermore, SLR Lounge also offers a Premium subscription for $348/year. With the subscription, you gain access to all of their courses and other products, such as presets, for a year.
What You’ll Need to Follow Along
This is probably clear by now, but keep in mind that the price of the course is not your only investment here. Lighting setups taught in the course require gear that you don’t yet own by a high chance. You’ll you have to purchase multiple flashes/strobes, modifiers, triggers, stands, and more, if you don’t have them already. Depending on your choice of brand, your creativity, and the need for extra features, the total sum can be anywhere between roughly $700 and thousands of dollars. In the course, Pye mostly uses Profoto and MagMod equipment, which is the more expensive option. For the most part, you’re totally fine with a well-thought-out Godox setup and unbranded modifiers, for example. Here’s a setup that you’ll likely be good with:
Godox AD200 (potentially two of them) Godox V860 II (2x) Godox radio trigger (this is the Canon version) Large softbox/octobox Large light stands Ballheads for the stands Color gels
Adobe Photoshop is also a must for many of the tips.
Sample Video
There is a freely available sample video on YouTube from Lighting 3. It’s a shorter version of an episode from the course. Check it out, it’s awesome.
Why I Recommend Lighting 3
First, I have to point out that I’ve learnt a lot from this course. Even though I consider myself a fairly experienced photographer. I can’t recall any other course providing me with so much new information.
Downloadable Files
All of the images that Pye’s working on throughout the course are downloadable in raw format. Therefore, you can follow along the post-production sections. You can also experiment and make your own version of the final photos. I’ve had a lot of fun with them.
Approach
Scenes Explained A-Z
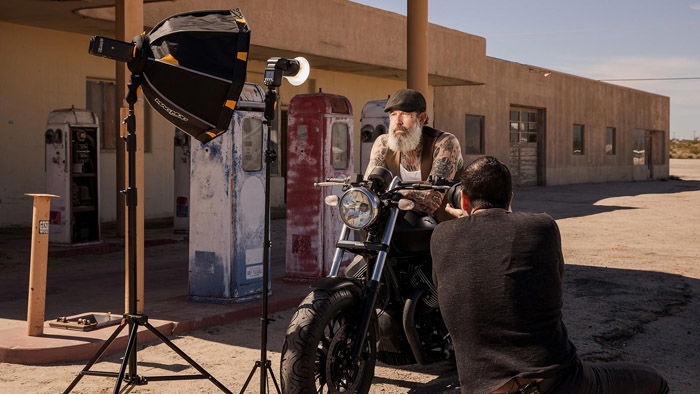
I love this form of presentation. In every episode, Pye takes an idea and develops it into a finalised, polished, professional image in different ways. We see every shoot from the setup until the final post-production steps, while getting to know the whole thought-processes and everything in between. For example, here’s how the lights were set up for “Dramatic Light with Wide Vs. Closed Apertures”.
Light Setup Sketches
Every lighting configuration is explained carefully on the spot, but Pye also helps you understand them by sketching them up. Even if something wasn’t clear when you looked at the scene, these parts will help clarify the setup.
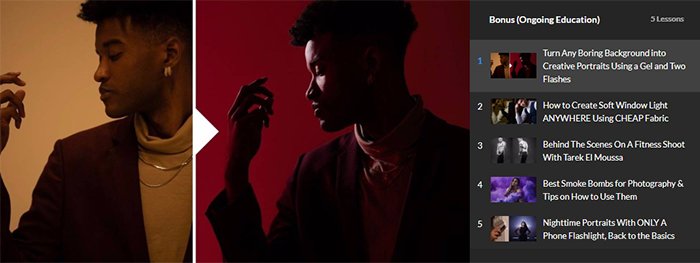
Ongoing Education
CAMP
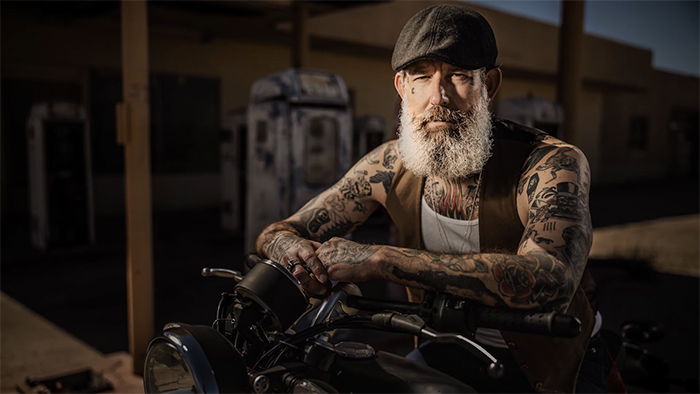
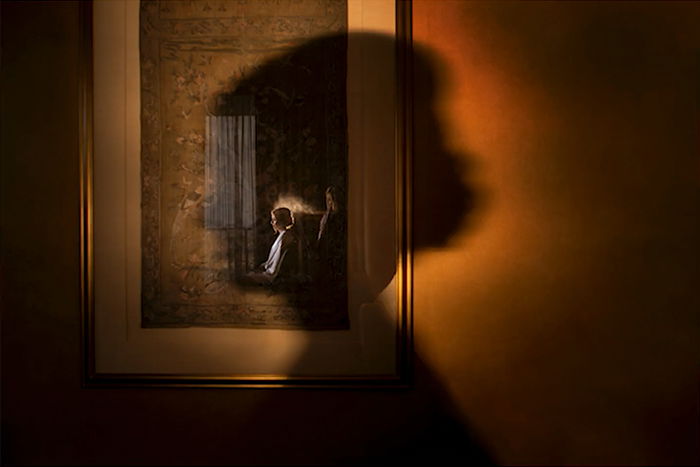
Pye calls his process of shooting the CAMP approach. This abbreviates for Composition, Ambient Light, Modify/Add Light, and Pose. In my opinion, it is a method that every photographer should pick up. And it will work for most portrait situations. Doing things in this order speeds up your photography significantly, and at the same time makes you very conscious. Throughout the course, Pye demonstrates the efficiency of this technique. If you learn it, after a while, you’ll use it subconsciously. Images such as the one below would be hard to create without a framework like CAMP.
Style
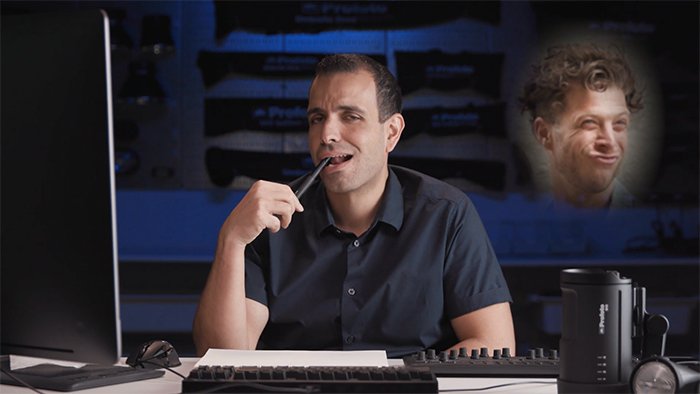
It’s not easy to find the balance between providing dry information and going over the top with catchy filler language. In this course, Pye (and the editors) found the right middle ground. Lighting 3 is very densely packed with knowledge, and it’s rather fast-paced. But there’s also room for Pye’s own personality. On a few occasions, some bloopers have been intentionally left in. They make the 8-hour course seem a bit less overwhelming and much more fun to watch. This one below caused one of the healthiest laughs I’ve had in a while.
The actual knowledge is passed on in a very concise, easy-to-understand form, even if much of it is advanced material.
Power Translations
For every light setup, flash power translations are provided. This way, you can dial in similar settings for your lights, even if you have a completely different system. This makes recreating the scenes a whole lot easier.
Imagery
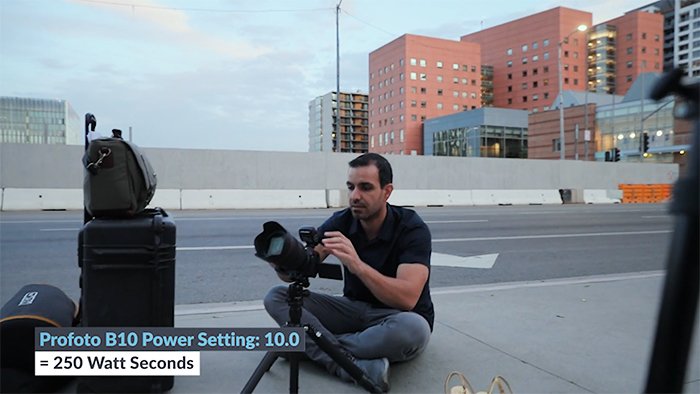
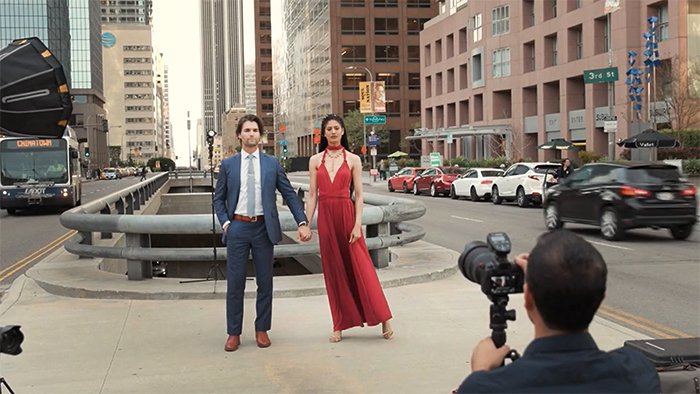
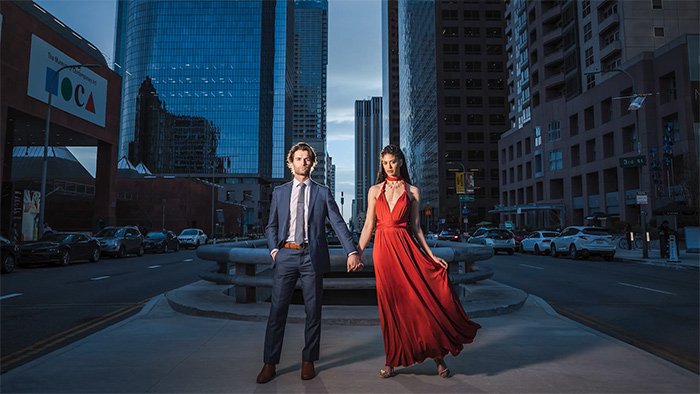
Even if this is pretty straight-forward, I have to mention that the imagery is absolutely stunning. Of course, Lighting 3 is all about creating breathtaking images. But it’s good to see that it is not just idle talk. The difference that advanced lighting makes in scenes is striking. Here’s my favourite. This busy location in the concrete jungle of downtown LA was transformed into a beautiful frame for the couple with a few well-placed lights. The ambient light: And with the lights added:
Learning to create such a shot will surely set you apart.
Production
Creating a product of such scope and span as Lighting 3 is not an easy task. Even if the course was a one-man production, the contents alone would make it stand out. Lighting 3 is professionally written, shot, edited, and mixed – and has massive production value.
Areas to Improve
There are very few things here I can complain about. Let’s mention two, though.
Playback
I like that the video player allows to speed up or slow down. However, the function allowing to set a certain resolution didn’t seem to do anything. Playback was stuck on ‘Auto’ for me. Even though my connection is very fast, it fluctuated constantly. Also, automatic continuous playback doesn’t work in full-screen mode. I had to click out, click on the next chapter, and go to full-screen again all the time. Neither of these is a big deal, and they are not a fault of SLR Lounge. But they should be fixed.
Coverage
It’s important to point out that the entire Lighting series is focusing on people- most specifically, portrait photography. I would consider adding product photography, or even photojournalistic situations to the mix.
Alternatives
There is one alternative I know of, but the two don’t exactly compete with each other.
Phil Steele’s ‘Advanced Off-Camera Flash’
This is a course I’ve just recently reviewed on our site. It sells for a similar price, but there are notable differences. It’s much less advanced, starting out at an almost beginner level, and bringing you to a solid intermediate level in lighting. It’s also shorter, looser edited, and its production value is not so high. However, if you want an easier-consumable, less advanced, but still practical course on lighting, you might want to check it out.
Lighting Training System
If you’re on the market for all-encompassing, expert education on lighting, I recommend SLR Lounge’s ‘Flash Photography Training System’. It contains all of their four courses (including Lighting 3) in one bundle. You can get it for $299 at the time of writing.
Our Verdict
Overall, Lighting 3 from SLR Lounge is the best photography course I have reviewed so far. It’s a fantastically produced, thought-out and presented product. Its price is very competitive, even on its own, not to mention the bundle options. Needless to say, I highly recommend it. Check it out here on SLR Lounge’s website.
Scores
We’re introducing an objective, score-based review system on Expert Photography. Head over to our review summary page for more information.