One way to replace a color is to use the search Color tool. But there are a couple of other ways to do it. This easy step-by-step guide will help you replace a color in Photoshop.
Color searchment Tool in Photoshop Tutorial
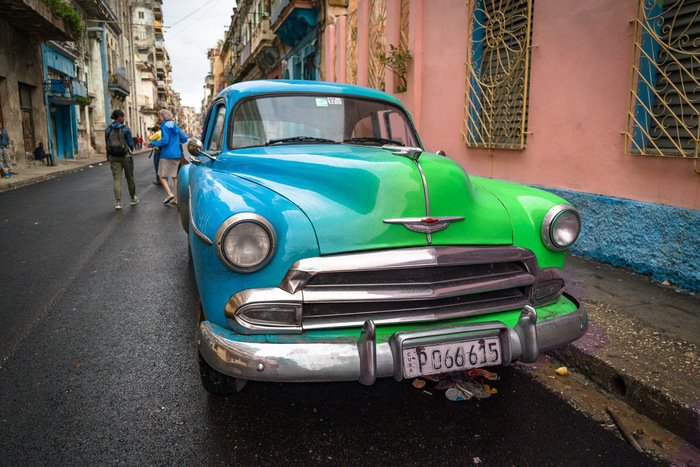
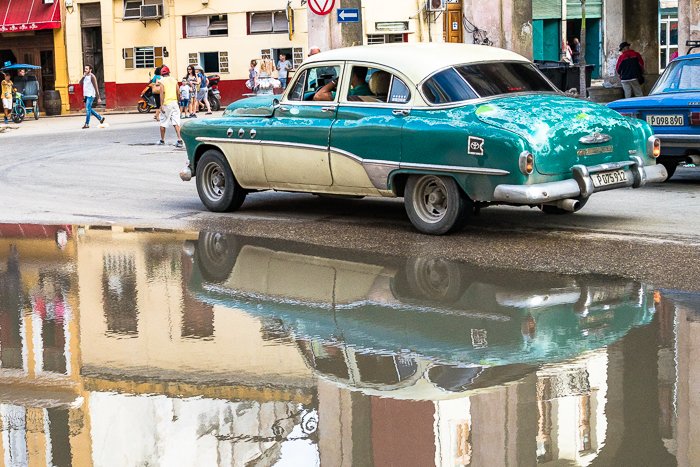
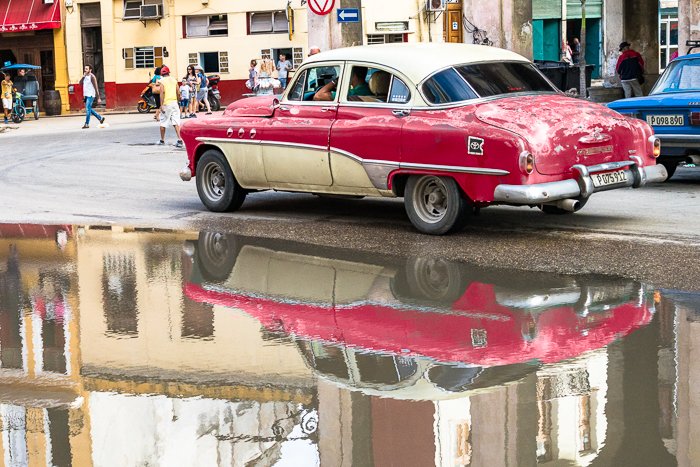
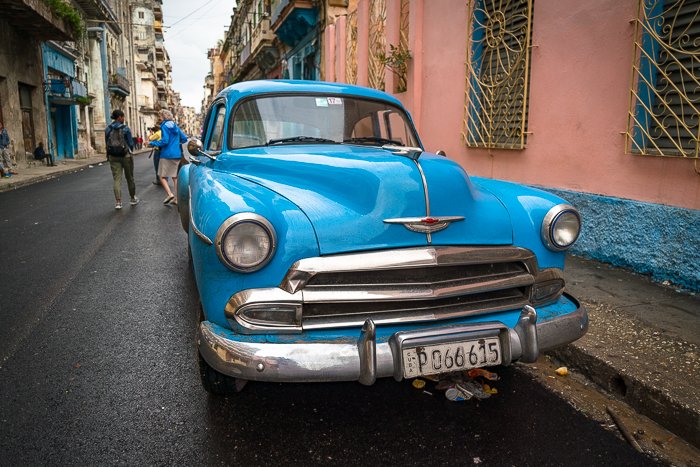
One of the easiest ways to change color in Photoshop is to brush a new color over the original one. So, using the Color searchment tool, let’s change this dull, green car into a bright red one.
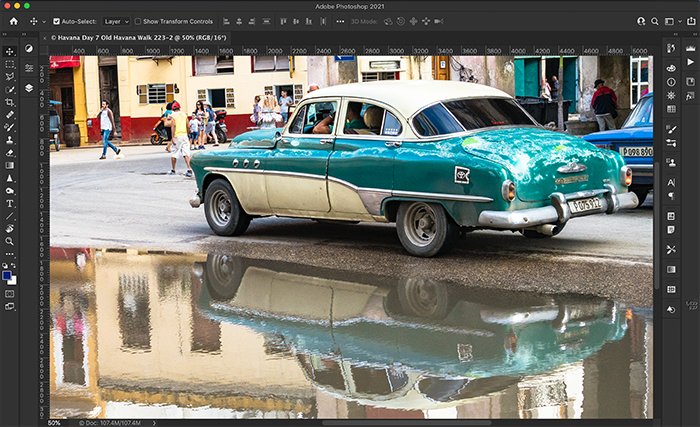
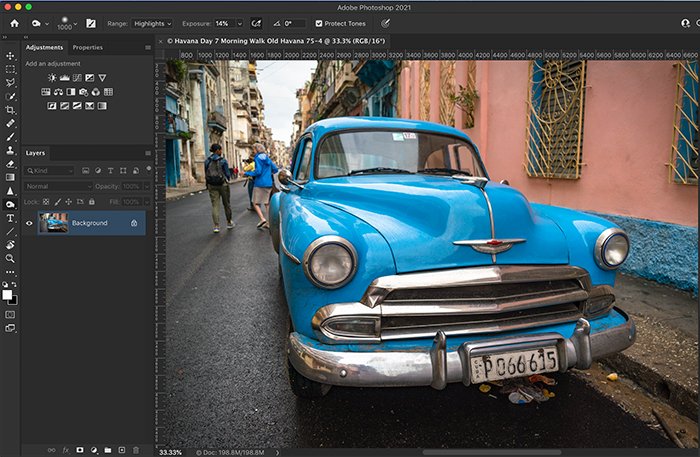
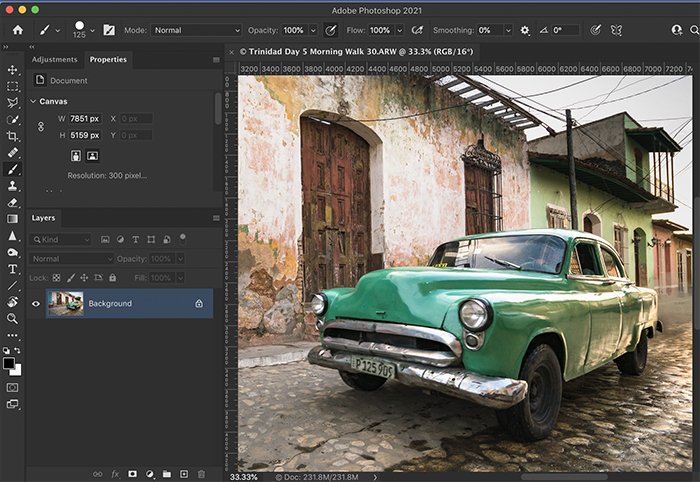
Step 1. Open the Image in Photoshop
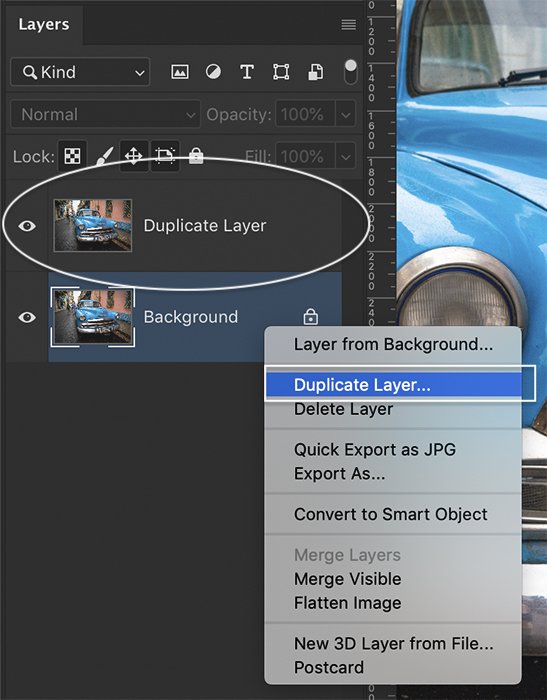
Step 2. Duplicate the Background Layer
The Color searchment tool changes your original image. Duplicating the background layer makes the tool non-destructive. You can turn off the color if you change your mind. To create a duplicate layer, go to the Layer drop-down menu and select Layer > Duplicate Layer.
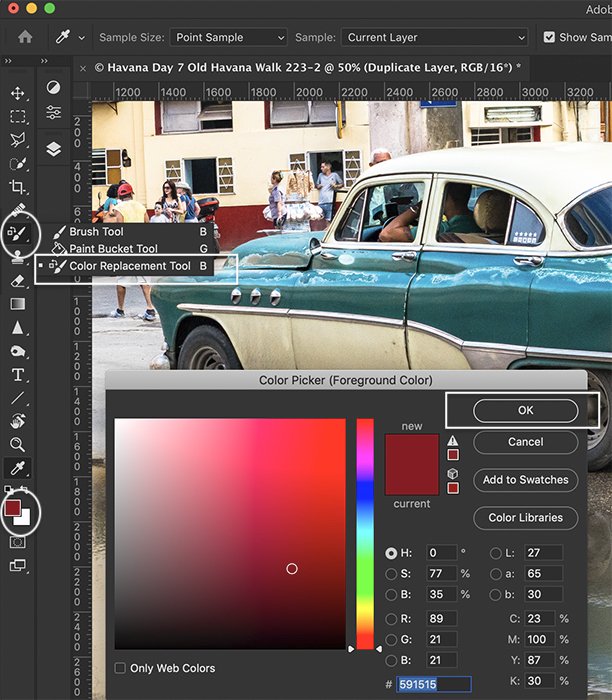
Step 3. Select the Color searchment Tool
With the duplicate layer highlighted, go to the toolbar, and select the Color searchment tool. It may be grouped with other brush tools. Then, click the foreground color icon near the bottom of the toolbar to choose a new color. Click OK.
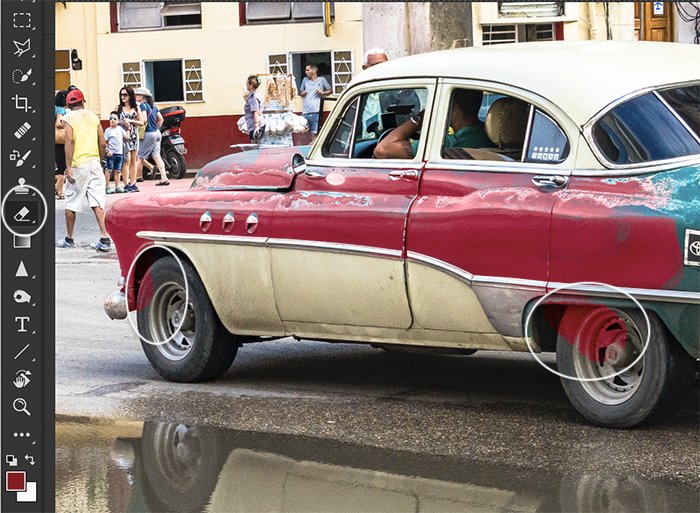
Step 4. Brush on the New Color
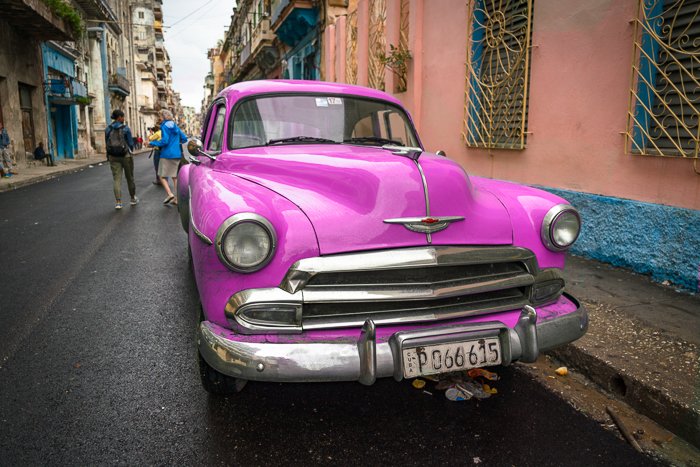
Paint the new color over the original. Keep the + in the middle of the brush on the original color. The Find Edges selection in the options bar will help keep the new color contained. If you make a mistake, select Undo (Ctrl or ⌘Z) or switch to the eraser tool and erase the color. You may need to go over an area a couple of times. Compare the image before and after the color change. This method is easy to understand, but it may not be precise enough for your needs. Notice that the shades of color are difficult to control in the reflection. If you lose the fine gradations in the color, you should try the search Color tool.
How to Use the Photoshop search Color Tool
In addition to the Color searchment tool in Photoshop, it also has a search Color tool. As you might’ve guessed from the name, the latter replaces one color with another.
Step 1. Open the Image in Photoshop
Step 2. Duplicate the Background Layer
Using the search Color tool changes your original image. Duplicating your background layer makes the tool non-destructive. You can turn off the color change if you decide you don’t want it. Right-click on the background layer and select Layer > Duplicate Layer.
Step 3. Open the search Color Tool Dialogue Box
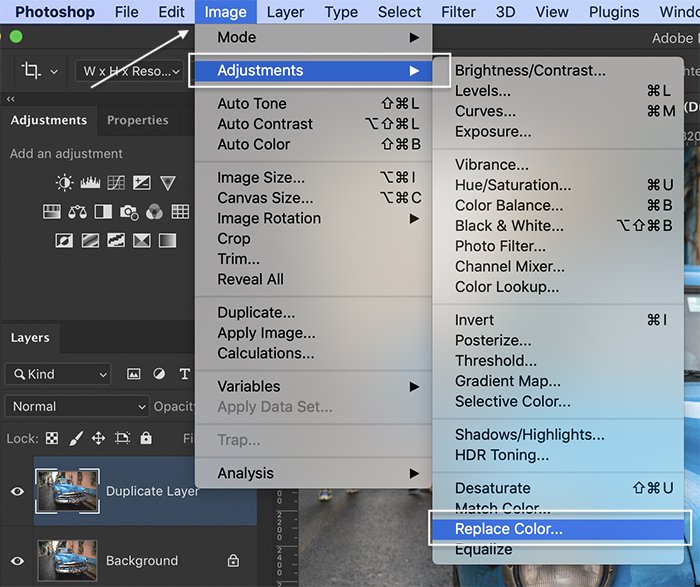
Highlight the duplicated layer. Open the search Color dialogue box by going to the Image drop-down menu and selecting Image > Adjustments > search Color.
Step 4. Select the Color You Want to search
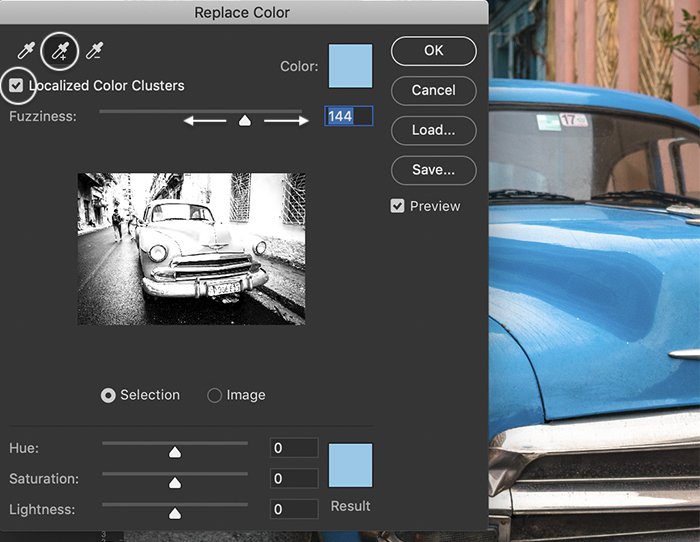
In the search Color tool dialogue box, use the eyedropper tool to select the color you want to replace. In most pictures, there are gradations of the color present. Click on the purest example of the color. Then, use the + eyedropper to add lighter and darker shades. If you want Photoshop to select only colors around the area you have selected, check the box next to Localized Color Clusters. The fuzziness slider makes the range of colors selected more or less specific.
Step 5. Change the Color
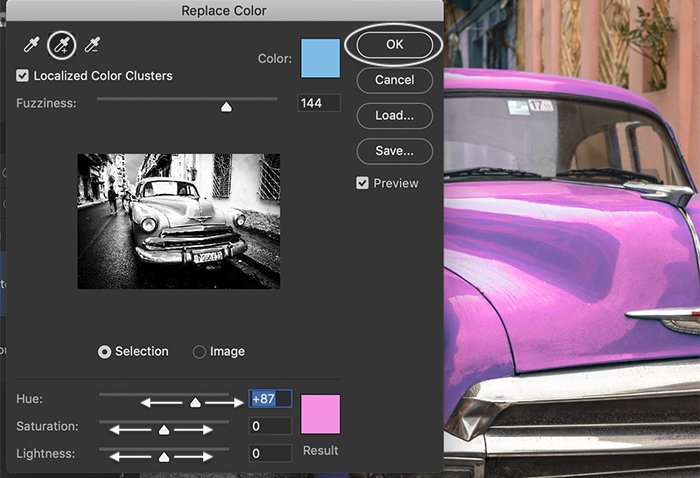
Use the Hue slider to choose a new color. Based on the results, you may need to adjust your selection to include more hues. Use the eyedropper + tool to click on areas that you want to add to your color change. Do not worry if other colors in your image also change. In the next step, we will remove unwanted color changes. Move the Saturation and Lightness sliders to adjust the color. When you are happy with the new color, click OK.
Step 6. Remove Unwanted Color Changes With a Layer Mask
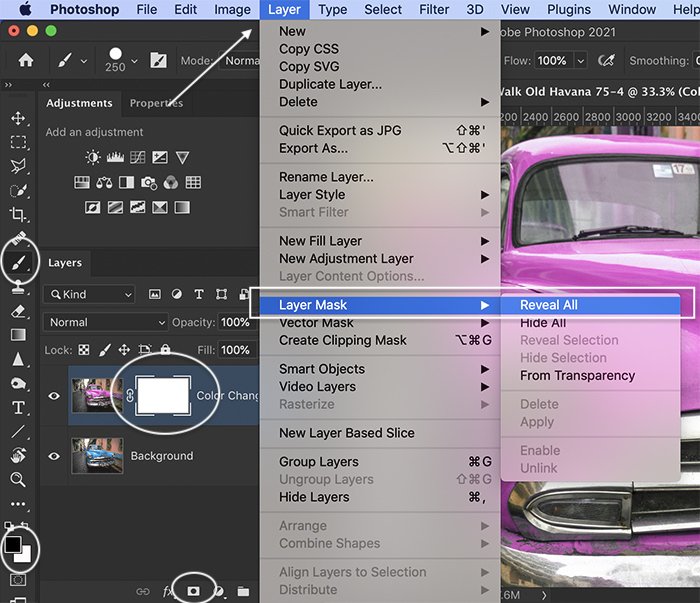
On the duplicate layer, add a layer mask. To do this, click the mask icon at the bottom of the Layers panel or go to the Layer drop-down menu and choose Layer > Layer Mask > Reveal All. Click on the mask. Using a black paintbrush, paint over the areas of your image where you do not want the color to change. If you make a mistake, change to a white paintbrush to reveal the color change. Compare the image before and after the color change. The woman’s blue jacket and the blue-painted wall also turned pink when the color was changed. Using the mask, we returned these back to their original color. The search Color tool works fine. But there are a couple of drawbacks to using this method. If you forget to add a duplicate layer, then your original image is changed. Also, you cannot go back to adjust the colors once you apply the change.
How to Use Hue/Saturation Adjustment Layers to Change Colors
The Hue/Saturation adjustment tool lets you change colors in your image. It is just as easy to use as the search Color tool. But it is non-destructive and lets you re-adjust colors at any time.
Step 1. Open the Image in Photoshop
Step 2. Add Hue/Saturation adjustment layer
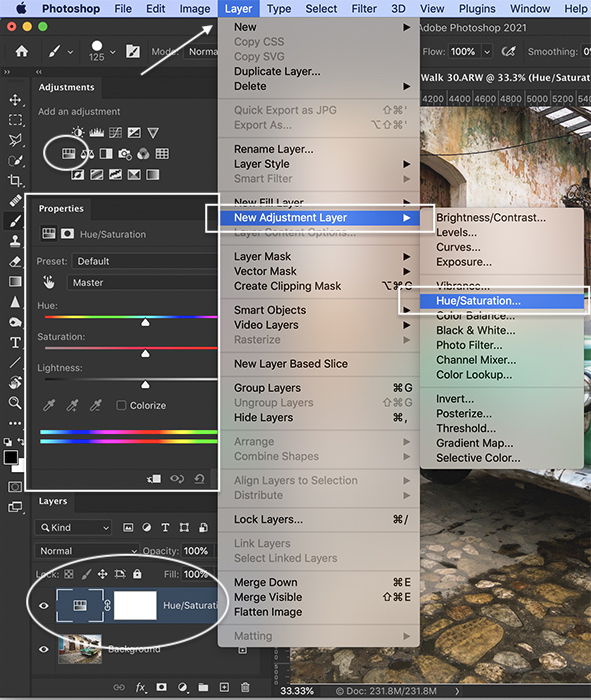
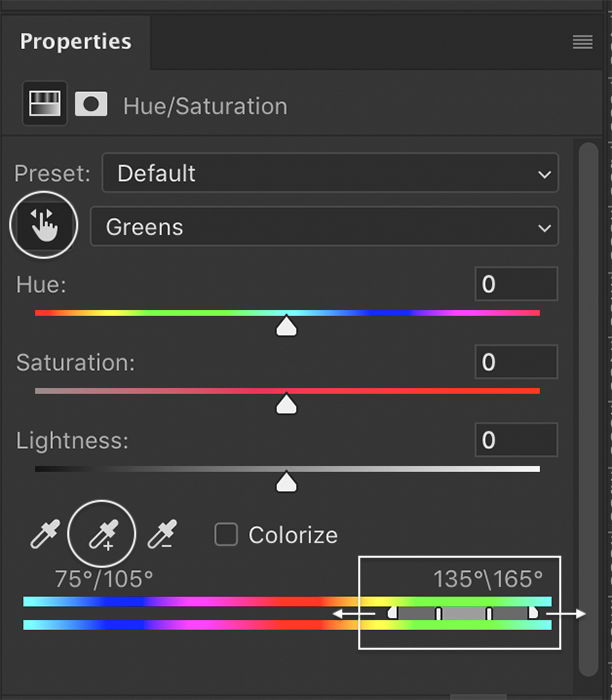
Add a Hue/Saturation adjustment layer in Photoshop. Either click on the Hue/Saturation icon in the adjustments panel. Or open the Layer drop-down menu and choose Layer > New Adjustment Layer > Hue/Saturation. When you add adjustment layers, a couple of things happen. A new layer appears in the layers panel above your original image. The adjustment layer icon appears next to a white mask. Also, a new Properties panel opens with Hue/Saturation adjustments.
Step 3. Select the Color You Want to Change
Click the Hand tool in the Hue/Saturation properties panel. This opens the eyedropper tool. Click on the color you want to change. Notice that the sliders at the bottom of the panel now show a grey area with tabs on either end. This is the range of colors that will be affected. You can add to the color range by dragging the tabs out. Or you can use the eyedropper + tool to click on more colors.
Step 4. Change the Color
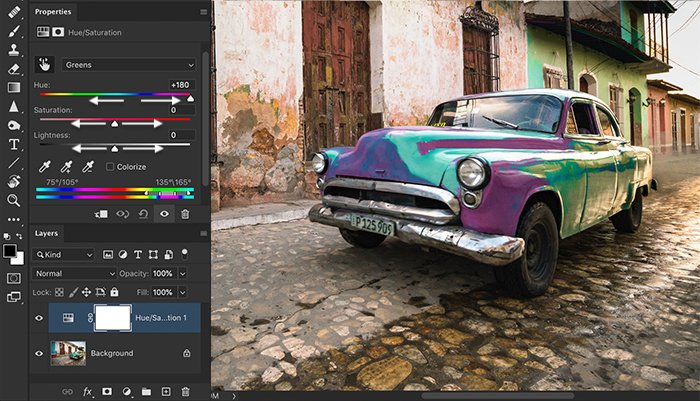
Use the Hue slider to change the color. Do not worry if other colors in your image change. You will fine-tune the details in the next step. Use the Saturation slider to increase or decrease the saturation and the Lightness slider to make the color darker or brighter.
Step 5. Remove Unwanted Color Changes With a Layer Mask
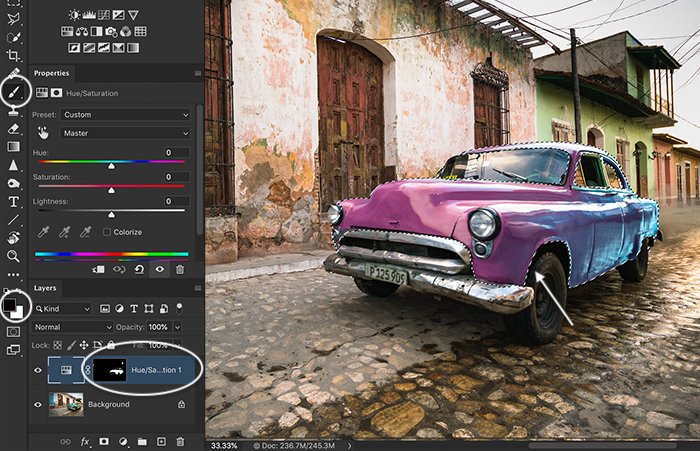
Select the white mask layer in the Hue/Saturation layer and a black paintbrush. Paint over the areas of your image where you do not want the color to change. If you make a mistake, change to a white paintbrush to reveal the color change. You can use selection tools, like the Object Selection tool or Quick Select, to help define edges. If you have not used these select tools before, start with our article 12 Photoshop Selection Tools You Need to Know About. If you want to change the results later, using the Hue/Saturation adjustment layer means you can go back and change the colors. Compare the image before and after the color change. Now the pink color stands out from the background.
Conclusion
The Color searchment tool in Photoshop is incredibly useful. But it’s not the only way to replace a color. You can also use the search Color tool or the Hue/Saturation adjustment tool. All get the job done. But the Hue/Saturation adjustment tool is the most flexible. Check out our Effortless Editing with Lightroom course to master editing in Lightroom!