Follow the image requirements so your files load properly and do not get flagged. You need to follow everything on the list. But as far as formatting goes, remember that your image needs to be at least 1000 pixels in either height or width. The product also needs to be against a pure white background and cover at least 85% of the frame.
2. Gather the Right Equipment
There are tons of DIY hacks when it comes to product photography. Unfortunately, they do not always give you the best results. It’s especially evident when you need to photograph dozens of products.
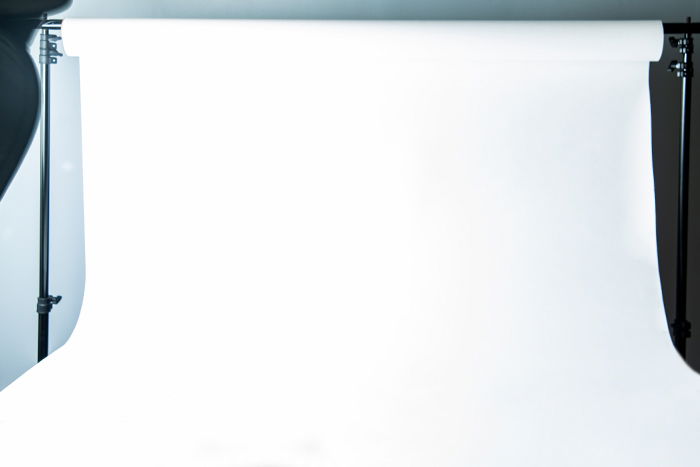
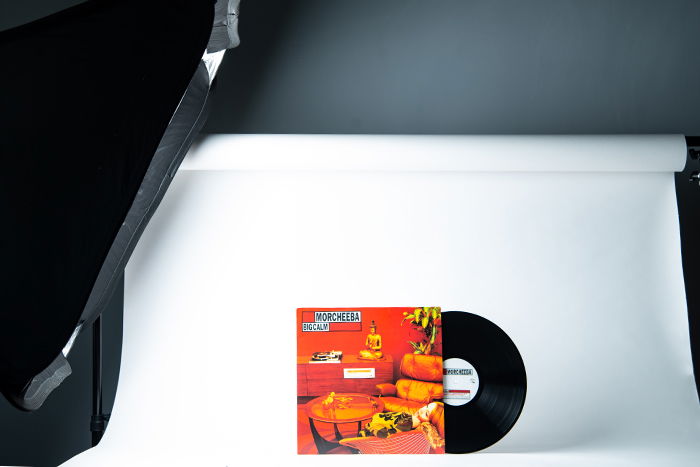
White Background
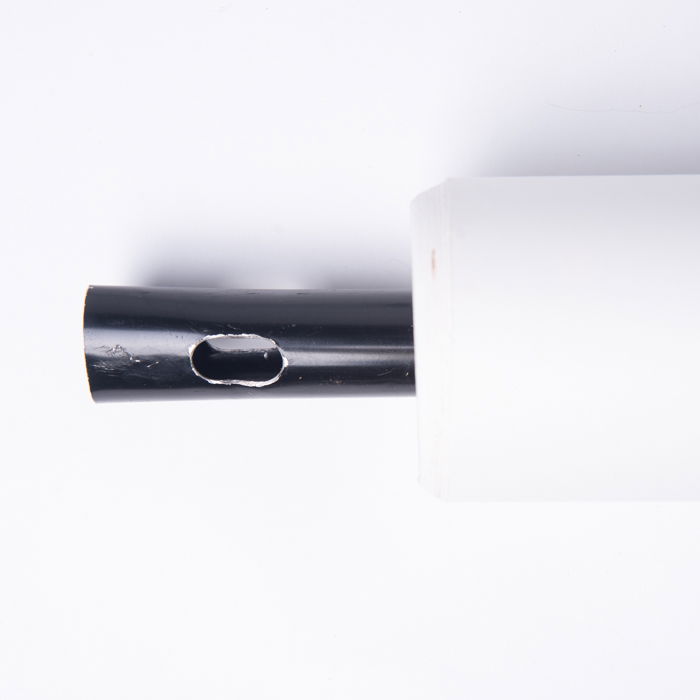
Background Stand
Of course, you will also need a rig to support your white background. Like the white background, there are many options out there. We recommend an extendable version that lets you work with both four and eight-foot rolls.
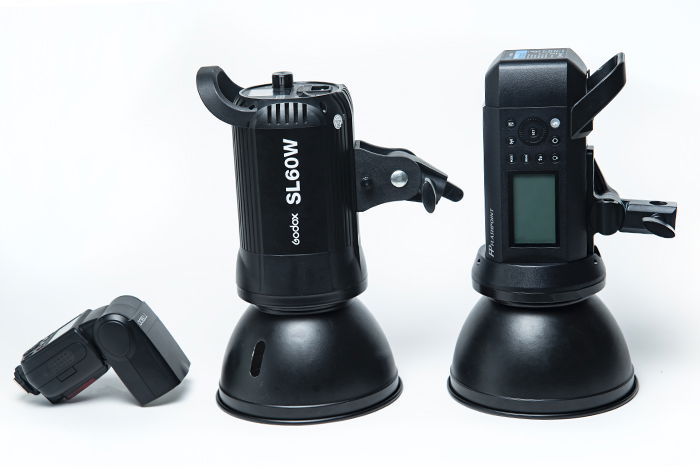
Artificial Light
Relying on natural light is not a great idea for product photography lighting. Why? Because sunlight is inconsistent. As a result, you will end up with images with varying exposures. The only way to solve this issue is to use artificial lights. The most common ones are continuous lights which come in two forms: incandescent lamps and LED. Then there is flash which also comes in two forms: flashgun and monolight. When starting with product photography, buy a flashgun with a wireless trigger. It’s not only cheaper than monolights, but it also produces a brighter light than most lamps. All you have to do is connect the remote to the hot shoe of your camera and you can activate the flash wirelessly!
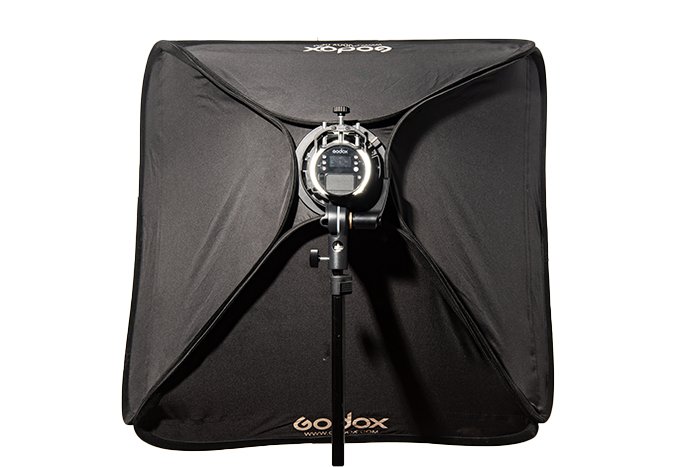
Softbox
A light source alone is not enough to produce quality images. You will also need a softbox to diffuse the light. That way, you will end up with product photos that not only look pleasing but also provide even lighting. There are all sorts of softboxes available on the market. If you need a general-purpose softbox, get a square one. It not only replicates window lighting but also spreads light evenly.
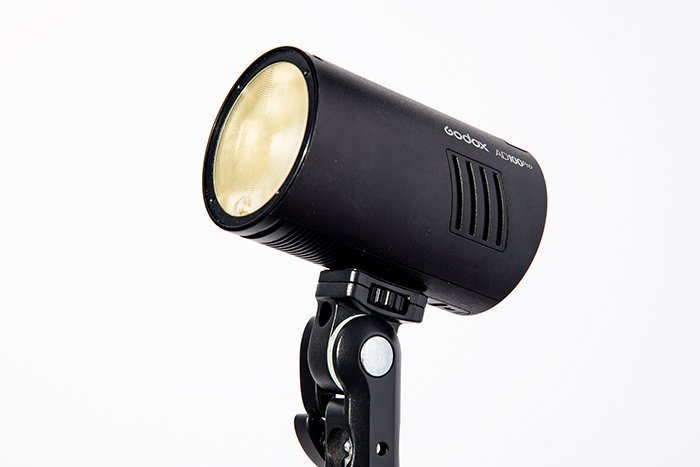
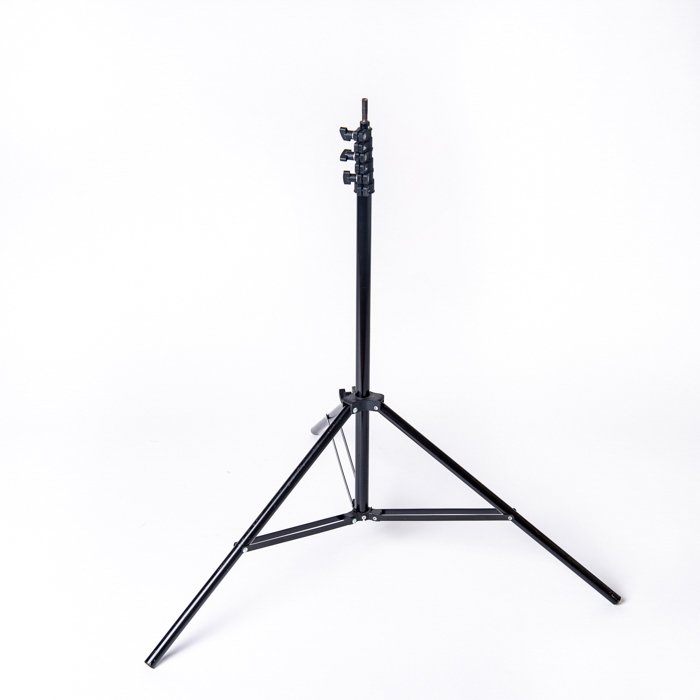
Light Stand
You will need at least one light stand to support your light while taking product images. Get one that is sturdy enough to hold the weight of both your light and the light modifier. For flash guns and small light bulbs, a regular light stand will suffice. But for larger light sources such as monolights, use a C-stand made of heavy-duty aluminum alloy.
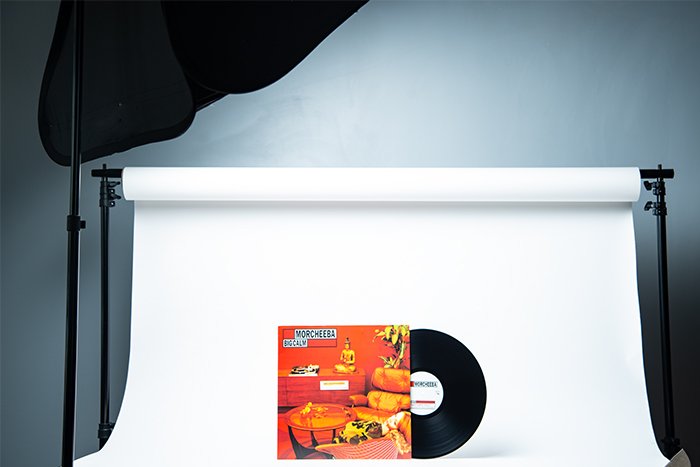
3. Set Up A Shooting Table
A shooting table is a platform with a seamless background. Also known as a still life table, its primary use is for product photography. Building a shooting table for product photography is easy. All you have to do is get a table that is at least 4 ft (1.22 m) long. Set up your background stand behind it. You can then roll down the white seamless paper until it covers the entire surface of the table.
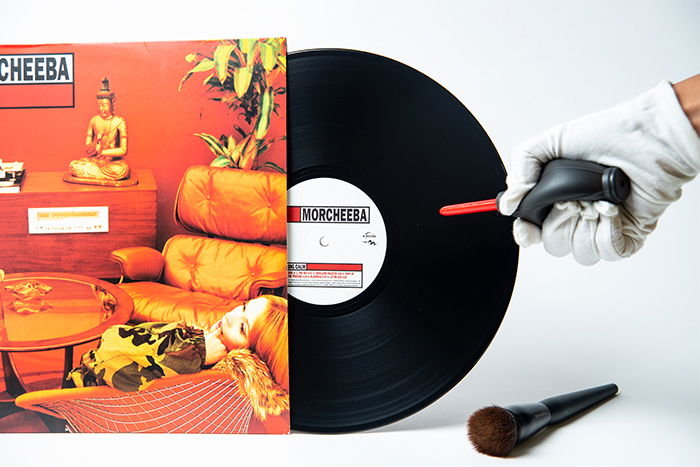
4. Clean Up Your Product
If the item you are photographing is dirty, you will find it challenging to clean it in Photoshop. To avoid this issue, take your time to wipe the surface of your product with a microfiber cloth. To remove dust, consider using a clean makeup brush or even an air blaster, which you see below. It releases a jet of air once you squeeze the rubber bulb.
5. Set Camera to Correct Settings
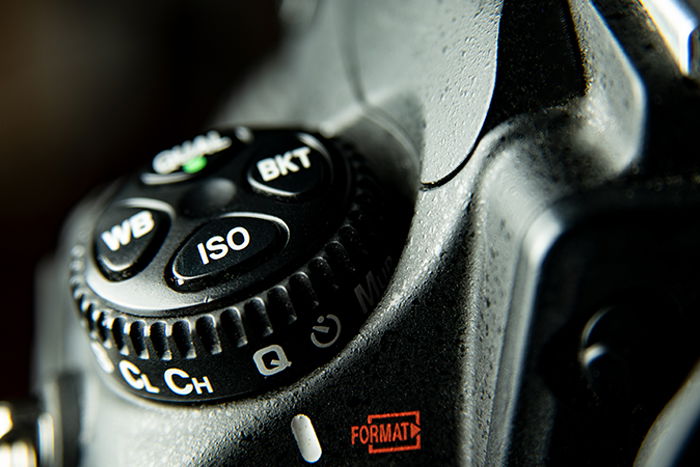
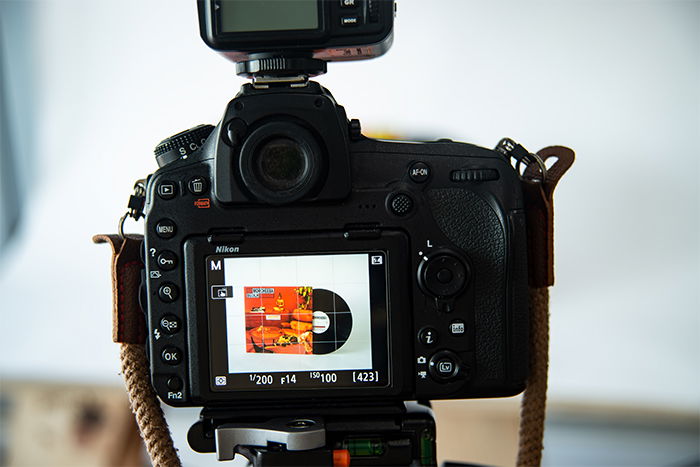
Since you are using a consistent light source, you can use the same camera settings every time. First, you will need to switch your camera to Manual mode. That way, you can adjust all the exposure settings independently. Now, set your ISO to 100 to ensure you have minimal image noise. Of course, you can use a higher setting for product photography. But remember that doing so makes the grain in your photos more visible.
For your aperture, choose between f/8 to f/16. The higher the number, the sharper your product will appear due to the Depth of Field. Finally, set your shutter speed to 1/200th of a second. Why? Because that is the maximum flash sync speed in most cameras. If you go any higher than that, you will see dark bands in your images. Why? Because the flash does not fire in time with your shutter curtain anymore. Once you set all these settings, set your flash to 1/16 power and take a test shot. Adjust it higher or lower until you achieve the correct setting.
Every once in a while, you may have to adjust your settings. But in general, you can keep these adjustments for most of your product photo projects.
6. Illuminate Your Product Evenly
As you can see in our sample photo, placing your light at the wrong angle can create unappealing shadows.
In most cases, the best angle is to place the light to the left of the product and pointing down at 45 degrees. That way, you can illuminate your subject evenly and reduce the distracting shadows.
Keep in mind that every product is different. Experiment with the position of your lighting until you achieve even illumination. Apart from the 45-degree angle, you can try placing your flash directly above or in front of your subject.
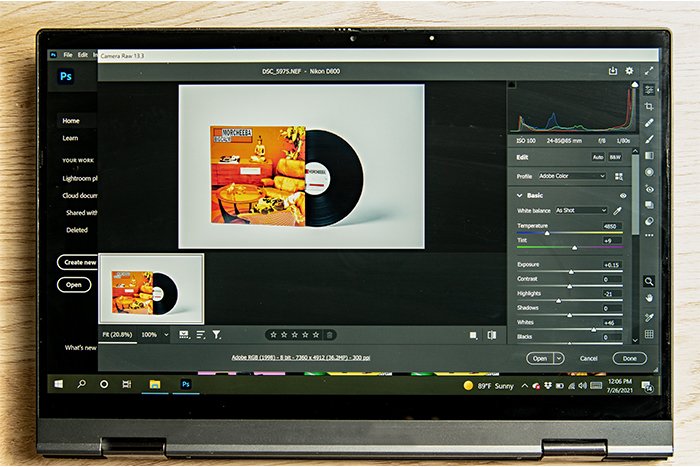
7. Pick a Good Editing Program
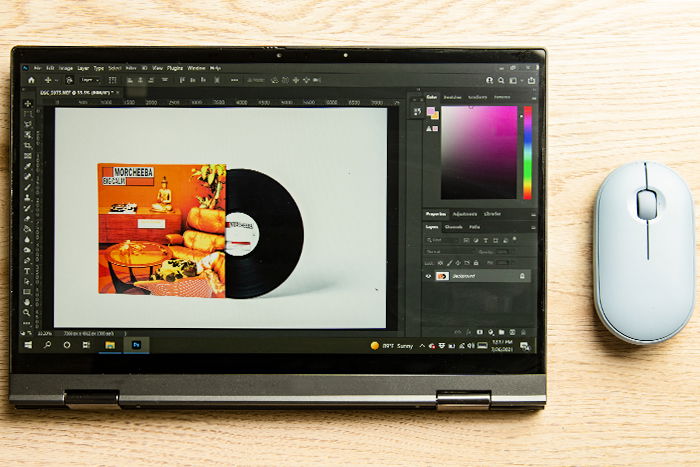
Of course, you will also need an app to retouch your photos and make sure that your background is 100% white. There are two popular editing programs you can use. The first one is GIMP which is free and has all the necessary tools you need for retouching. The second editing program is Photoshop. It’s the most popular software for product photography.
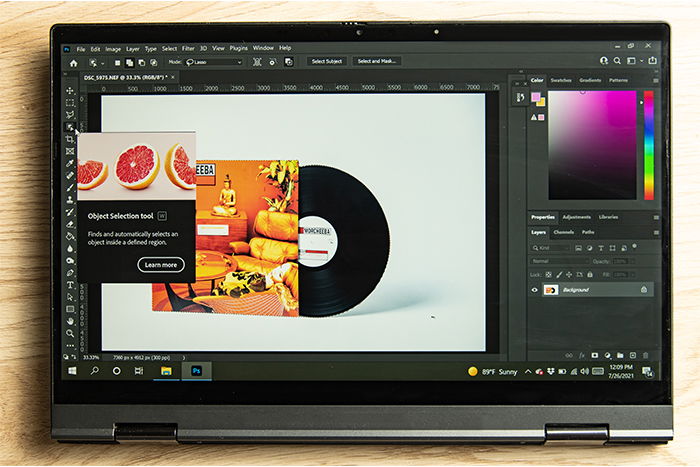
8. Isolate The Subject
It’s challenging to get a pure white background without overexposing your subject. The easy solution is to focus on the correct exposure of the product. But even if your subject is properly exposed, you still have to deal with the greyish background. So how do you solve this issue? The answer is to isolate the subject in Photoshop. There are plenty of methods to ‘cut out’ your product from the rest of the image. But the easiest one is by using the Object Selection tool. Drag your mouse until your subject is inside the box. Once you let go, Photoshop automatically selects it for you.
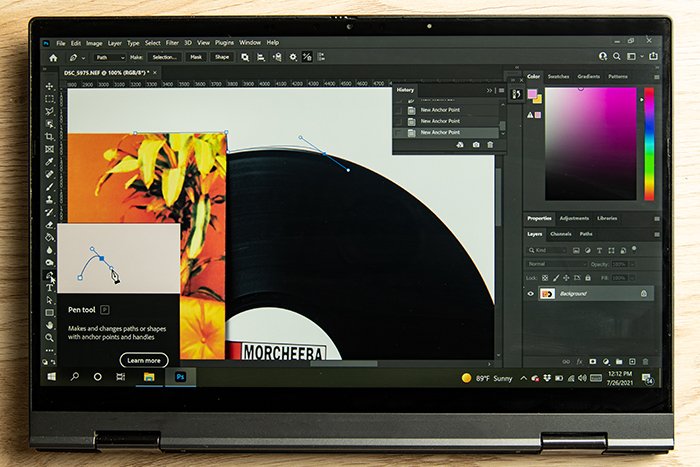
If you want to cut out the subject yourself, you can use the Pen tool instead. To make a selection, click on the corners of the product until you connect all the dots. For curved items, you will need to drag the points until they conform to the object’s curvature.
Once you isolate the object, you can then cut it out and place it in front of a pure white background.
9. Clean Your Image
Even when you clean your product meticulously, it’s still bound to gather dust. So you must remove all the dirt (as well as scratches) on your subject in post-production. The easiest tool to use for removing dust is the Spot Healing Brush tool. All you have to do is click on the specks and Photoshop automatically removes them for you. And if you still see dirt, you can use the Patch tool instead. Using your mouse, ‘draw’ around the spot you need to remove. Once you make a selection, drag your mouse to an area you want to ‘copy’ and PS then patches up it up for you.
10. Do Not Color Grade
A great product photo needs to represent the real item being sold faithfully. That is why you should not attempt to change the colors of your image. When editing your pictures, feel free to look at the real product for reference. The colors of your file need to match the ones on the object.
Of course, you can change the exposure values to help make the product image pop. Adjust settings such as brightness and other parameters to get the correct exposure.
Conclusion
Capture attention-grabbing product photos that stand out and sell with our Products in Focus course!