1. Live Music Photography: Understanding How to Get the Biggest Shows
6. Exposure, Focus, and Moments. In That Order
There are three key areas to zero in on for all genres of photography, but especially in live music photography. Attend to these three areas in the following order of importance:
4. Be the Best “Pro” in the “Pit”
Whether a venue has an actual “pit” or not, you will often be working right next to and near other concert photographers. Being a professional in this context is crucial to your long-term success. This is an all-important area that can get you gigs, or cost you big time. Photography “professional etiquette” is claimed by many, but not often demonstrated in my experience. It’s obvious when it’s present. And obvious when it’s not. Being a “pro in the pit” means you do not deliberately get in others’ way while shooting. It means you’re generally pleasant and easygoing. It means you’re courteous and share the limited space you have with other shooters doing the same job. You need to be assertive, but not aggressive when shooting shows. You’re sharing small spaces for a short period of time, under pressure. People can get weird in these situations. Don’t be one of them. Your professional etiquette also needs to extend to event organisers, sound, light, and other crew people. Many times, you will see these people again. You want and need to have a good rapport with these folks. I’ve gotten into many shows over the years on the recommendation of crew people whom I’ve developed good relationships with.
5. Always Shoot in RAW
Shooting in RAW format (regardless of camera brand) is imperative if you’re serious about concert photography. The fast-paced and low-light situations you face with concert photography require you to have as much post-processing flexibility as possible. Shooting in JPG has its advantages, and is adequate for some photography genres, but not for live music photography. I made the mistake of shooting in JPG when I first started doing concerts because I didn’t know any better. Don’t believe me? Do an experiment. Shoot an identical scene in both JPG and RAW (doesn’t have to be a concert). Then pull both images up in your post-processing software. I use Adobe Lightroom, Photoshop, and a few other programs in my workflow. Now experiment by moving faders and adjustment settings on each image. You’ll quickly see how much additional “room” you have to process your images in the uncompressed RAW format. This will help you make otherwise unusable shots (due to exposure needs), usable. Even the best shooters out there sometimes capture great moments that are a bit over, or underexposed. Post-processing in RAW can quickly and easily remedy this.
Exposure
Without proper exposure, you may never achieve clear focus of your subject(s). When it’s dark in concert photography (and it often is), you must set your camera to compensate. Better gear gives you more options here (see #2). But even the best cameras and lenses will struggle to focus if the scene isn’t exposed properly. It’s critical to understand the nuances of exposure. Achieving the perfect combination of shutter speed, aperture, and ISO in live music settings is the first step to capturing memorable concert photos.
Focus
This is everything in photography. Without a focused image, no matter how perfectly exposed or composed, the image is unusable. Over/underexposed, imperfect composition, etc. is fixable in post. Out of focus shots are not. Understanding your camera’s auto-focus modes and how manual focus works is crucial before you shoot your first show. I didn’t fully understand this with my gear early on. The results were several properly exposed images of decent moments that were useless because they weren’t in-focus.
Moments
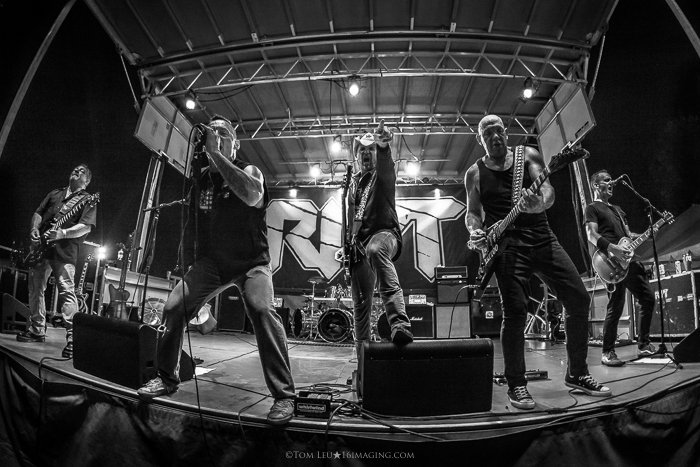
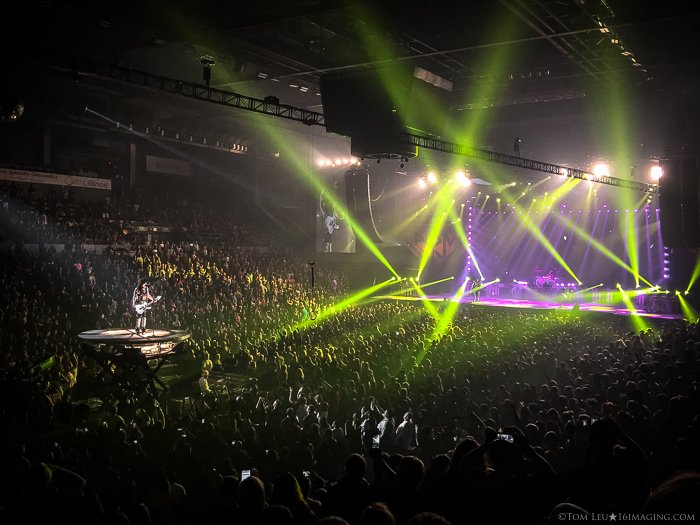
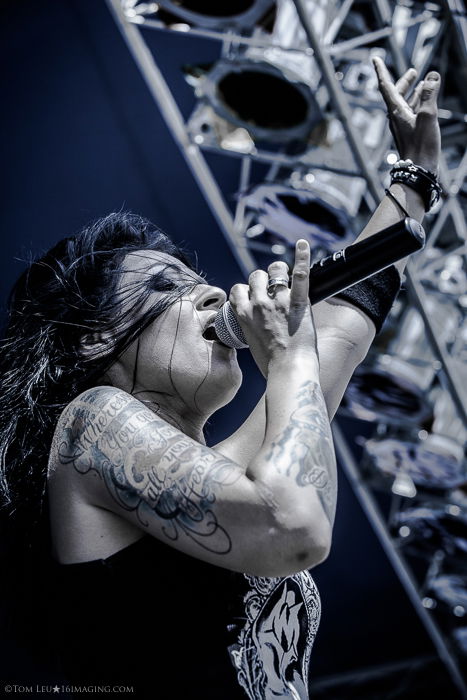
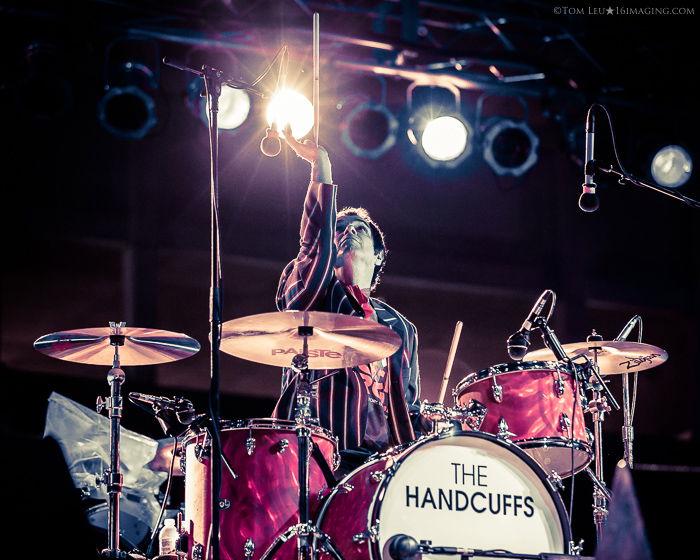
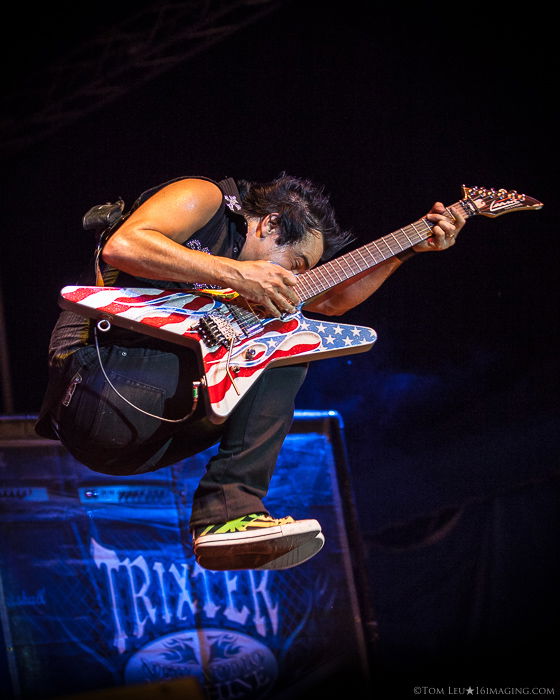
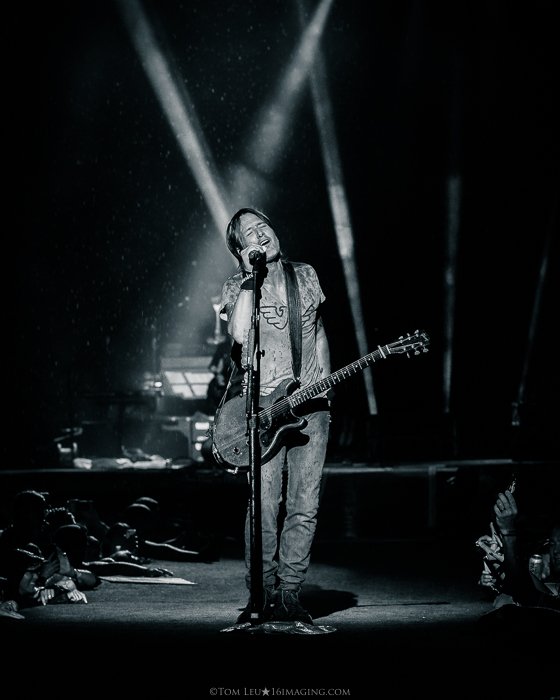
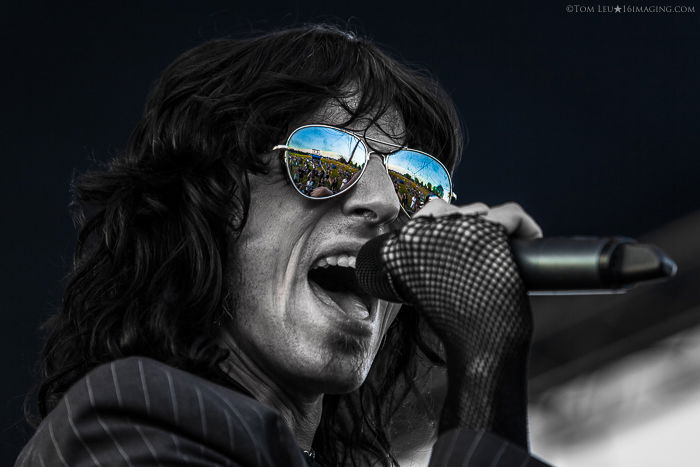
Because it’s discussed in more detail HERE and HERE, I’m including the concept of “composition” into this section because it’s correlated. The greatest photos capture the greatest moments. This is true for any photography genre. You need to be able to anticipate moments to become great at concert photography. I define “moments” as those split-second shots that few, if any others, have captured. Great moments can be some combination of facial expressions, body posture, proximity to other people, places, or things. Or they might contain interesting lighting, or expressed emotion for example. You also need to pay attention to your shooting angles, and perspective. Are you low enough? Wide enough? Close enough? What’s your relative position in-relation to the shot in front of you? Can you get a more interesting moment by moving where or how your camera is positioned? Can you elicit interest from your subject to engage with you while getting a one-of-a-kind shot? Think about where you need to be for the next moment. You know you captured a great live music moment when other photographers ask if your image is “composited.” (This is a post-processing technique that combines two or more images to make a single picture). One key point to remember: You’re not going to get every shot. Move on. There will be many more opportunities provided you’re ready for them. Also, about moments: “chimp” as much as you need to, especially early on. This is controversial, and exactly why I’ve included it here. Especially as a beginner, you need to see and understand what kind of images you are getting in the moment. From your camera settings to the moments you’re capturing, you need to know if you’re in the ball park. Note specific settings that are working. Or that you successfully got a particular moment (say a good guitar solo shot) so you can move on to other shots. Chimping teaches you this because you get immediate feedback on how you’re doing. It’s an advantage of digital photography. You’ll get better as time goes on, and you’ll need to do this less and less. Finally, study videos of artist performances on YouTube before shooting the artist live. This helps you get a feel for how they move, and better understand their stage dynamics, patterns, and set-flow. You want to know when the lead singer jumps off the drum riser so you can grab that mid-air shot!
7. Post-Process to Make the Most of Your Shots
Commit to spending a good amount of time post-processing your best and most memorable moments to make them stand out from the competition. This requires skill and discipline.
Skill
Know how to use your chosen software programs well. Regardless of what software you choose, invest time in learning what your program can and can not do. Spend time watching video tutorials (but not too much). When I first got serious about photography, I attended several post-processing seminars led by expert photographers. These trainings taught me how to pull the best qualities out of the images I worked so hard to capture in the first place. I see many beginning, as well as seasoned photographers, rush images out. They capture these great moments that end up looking average. Now there’s nothing wrong with good. But strive to be great by learning how to post-process like a champ.
Discipline
Mastering post-processing requires patience, which requires discipline. Work on your images for some amount of time, and then walk away. Come back to them with fresh eyes. Don’t process images when you’re tired if you can help it. You’ll cut corners and produce mediocre work. Often while processing images, I can feel when I’m not quite done with a particular shot. But I start to feel impatient. I want to get it done and move on. This is where discipline comes in. You need to have the presence of mind to come back to it later. Most times when I do finally return, I suddenly “see” the changes I wanted to make earlier that eluded me. These are the nuances that really make the image pop and define your style. Finally, only publish your very best shots. The fewer the better. Few people want to see 30, 40, 50 or more images of the same artist. Even if you love the band, that’s overkill. My rule of thumb: 15-25 images or so is plenty depending on your assignment.