Although it sounds a bit complicated, the process is quite simple. We’ll even show you how to do 360 product images using DIY materials!
What is 360 Degree Product Photography? Exploring the Benefits of 360 Product Photography
The process for 360 product photography is surprisingly simple. In most cases, it merely involves placing a product on a turntable. You turn the turntable from left to right or vice versa in increments (either manually or automatically) and take a photo each time. Once you complete a rotation, you upload it on a 360 product photography program that animates the images for you. When the animation is complete, you can download it or copy a shortcode that the program provides. When you paste the link to a website, people can move it around by dragging the image to the left or right.
What Tools Do You Need for 360 Product Photography?
DSLR or Mirrorless Camera
To avoid working with large amounts of data, a lot of photographers choose lower-resolution entry-level cameras. In most cases, a 24-megapixel crop sensor option offers excellent quality without slowing down the websites that display 360 product photos.
Zoom Lens
Since the sizes of products vary, you’ll need a lens that can fit either large or small items in the frame. The best option is to use a zoom lens. That way, all you have to do is zoom in or out to make sure the object is in the shot.
Tripod
You don’t want to end up with shaky 360-degree photos. Make it a habit to use a tripod while shooting to ensure the best results for your product images every time.
Remote Control
You’ll need a remote to activate your camera wirelessly. Doing so ensures you don’t accidentally move your device while it’s taking 360 product images.
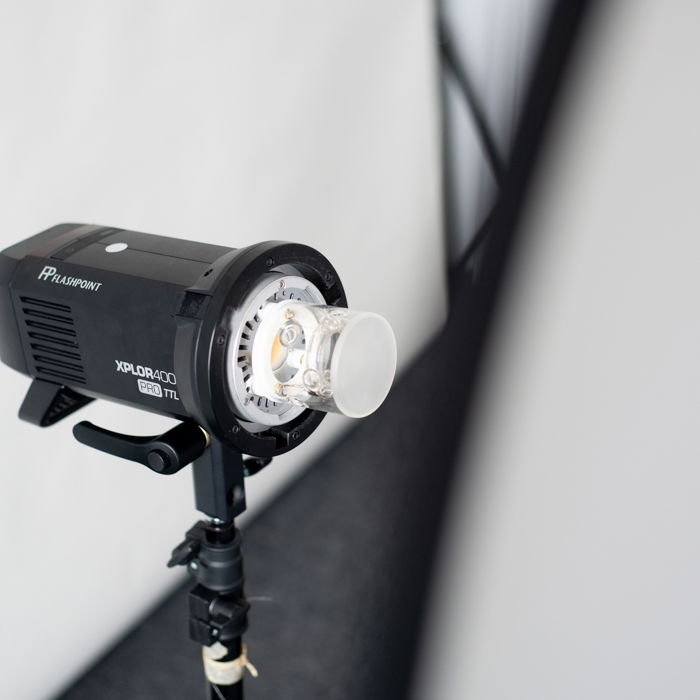
Lighting Equipment
You’ll need a bright light source for 360 product photography to ensure consistent results. That means you can use either LEDs or strobes. In most cases, you need two to three lights to guarantee optimal illumination. On top of that, you’ll need between two to three softboxes to create 360 photography. Rectangular ones are the most ideal, although umbrellas or octaboxes also work. Most of the time, product photography requires soft light conditions to achieve evenly lit surfaces and a detailed image. Of course, you’ll also need light stands to support your light source. Two or three will suffice, depending on the number of lights you have.
Turntable
Several photography equipment brands sell turntables for 360 product photography. But you don’t necessarily need to shell out thousands of dollars to get professional results. We’ll show you how to make one below!
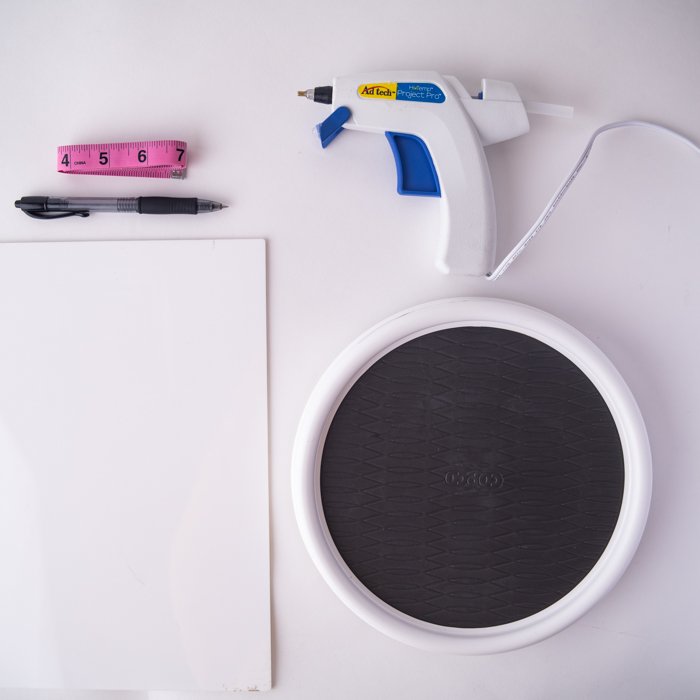
Materials Needed to Make a DIY Turntable
Most commercial turntables have motors that automatically turn at precise increments. But these devices can be cumbersome and expensive. Thankfully, you can create your own using simple tools.
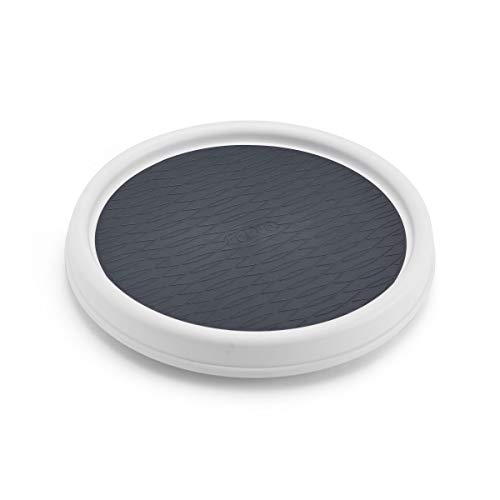
Lazy Susan
This will serve as your platform, which you will use to turn the product for 360 photography. The ideal diameter should be at least 12-inches to make sure you can fit bigger items.
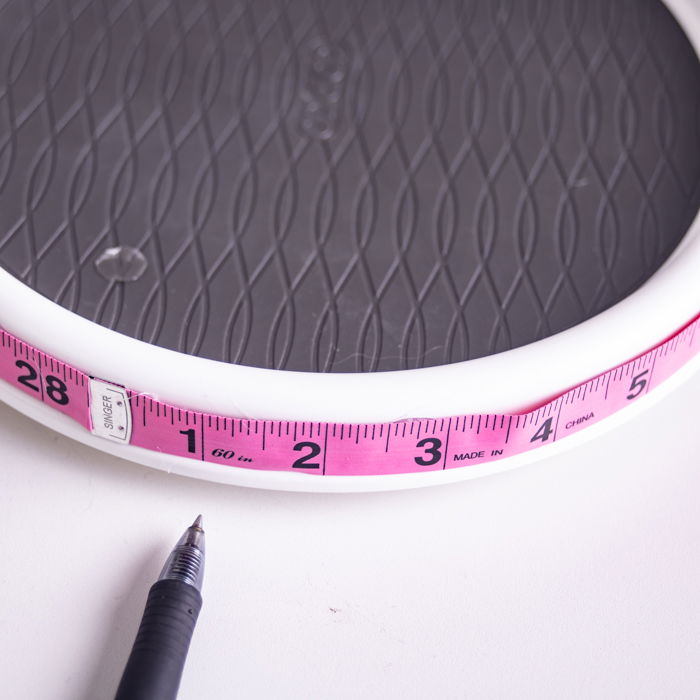
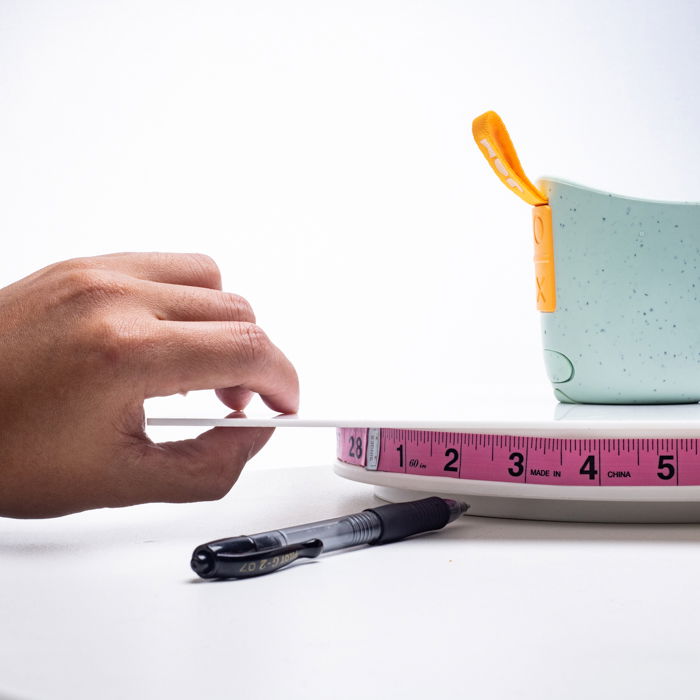
Tape Measure and Pen
The notches on the tape measure allow you to move your turntable at precise increments while shooting. Meanwhile, you can use the pen as a pointer that shows you exactly how far you move the turntable.
White Foamboard
You’ll need this as a platform you can put on top of the Lazy Susan. You can cut it in a circular shape slightly larger than the Lazy Susan disc. You can also use a white acrylic panel which I used for this project. It creates nice reflections and bounces backlight quickly.
Glue Gun
Lastly, you will need a glue gun to hold everything in place. Be careful, as the heated glue can get hot!
How Do You Make a DIY Turntable for 360 Product Photography?
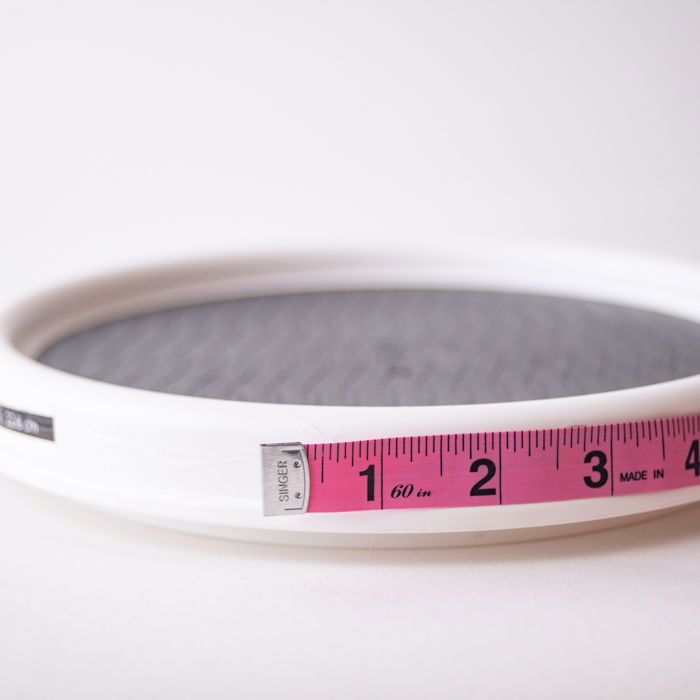
Step 1:
Glue or tape the measuring tape to the outer edge of the Lazy Susan. Then cut the rest of it once you cover the entire circumference of the disc.
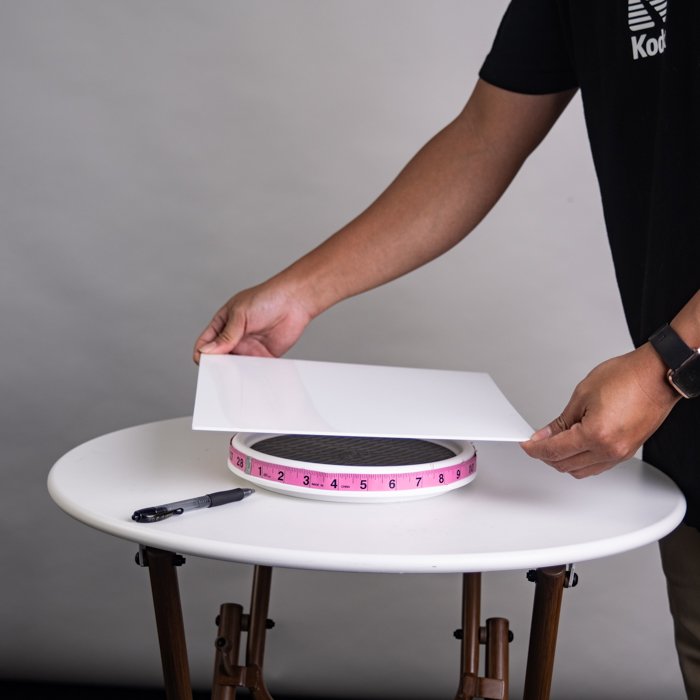
Step 2:
Place your foamboard cutout or acrylic panel on top of the Lazy Susan. Make sure it’s in the middle, so your product doesn’t lose balance.
Step 3:
Place your pen on the table with the sharp point facing the measuring tape. You can position it directly in front of the camera or at 45 degrees, as shown in the image below.
How Do You Take 360 Product Photos?
Step 1:
Place the 360 product turntable on a table using the directions we mentioned in the previous section. Once the turntable is in position, place the product in the middle. Feel free to spin it to see that it doesn’t wobble. It may take a while to adjust everything, so be patient.
Step 2:
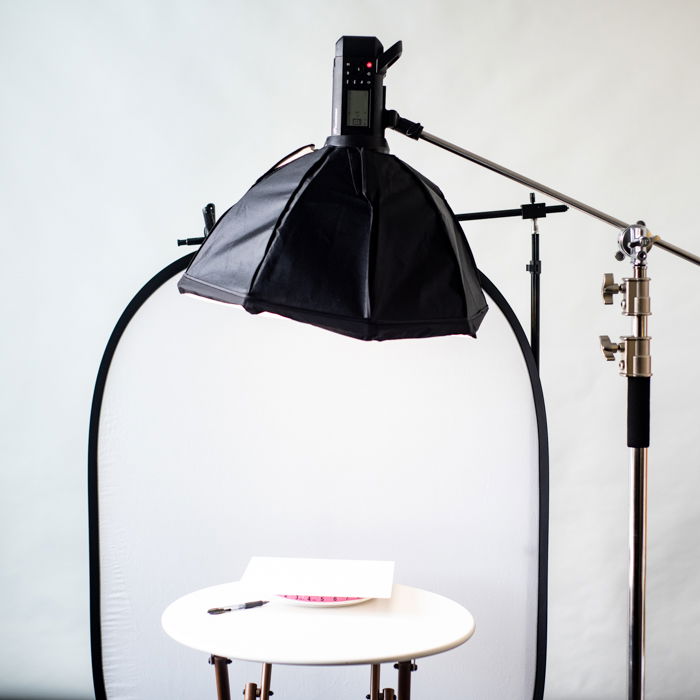
Set up your lights. I found that a two-light set-up was the easiest for 360 product photography. All I had to do was place the first light over the 360 product photography turntable to provide even illumination. I used an octagonal softbox on my strobe light as a modifier.
Then I set up the second light behind my subject to create backlighting. I used a scrim behind the table since it had a large surface area. But you can always use a large softbox if you have one.
Step 3:
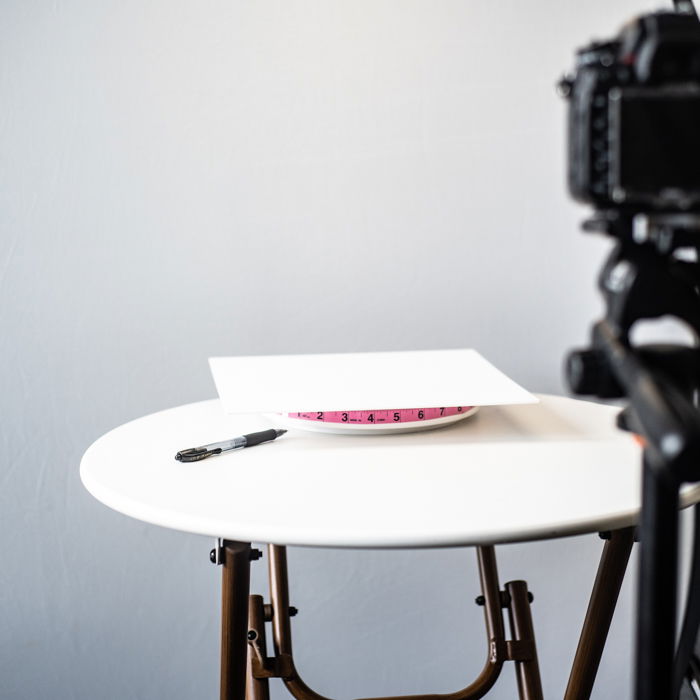
Install your camera on a tripod and place it in front of your 360 product photography table. Zoom into the product and make sure you have enough white space around it. Next, switch to manual focusing and start adjusting your lens until your subject is sharp. When it comes to 360 product photography, using Manual Mode is essential. That way, you have full control over the settings you use. For ISO, it would be best to use 100. Doing so allows you to minimise image noise. To ensure your product is in focus, consider using a narrow aperture between f/8 to f/16. Feel free to pick f/16 if you have plenty of light. But f/8 will suffice if you’re working with LEDs. The shutter speed will depend on the brightness of your lights. Start with a value such as 1/125th. If it’s dark, go down a notch and take a photo. If it’s still underexposed, repeat the process until you achieve the correct exposure. If your product image is too bright, then keep going up. Just beware that if you’re using flash, you can only go up to either 1/200 or 1/250th until your shutter stops syncing with the light. If you reach that value, consider using a narrower aperture until you get the proper exposure for your 360 product photography.
Step 4:
Switch on your camera remote mode and take a test shot to see if your remote communicates with your device. Once that’s ready, it’s time to start spinning your 360 product turntable. To do this, pay attention to where the pen is pointing at the measuring tape. You can start at the 1-inch mark and take a picture. Then, slowly move the 360 photography turntable to the 2-inch mark and take another photo. Keep doing it until you reach the 1-inch mark again, signifying you have achieved one complete rotation.
Step 5:
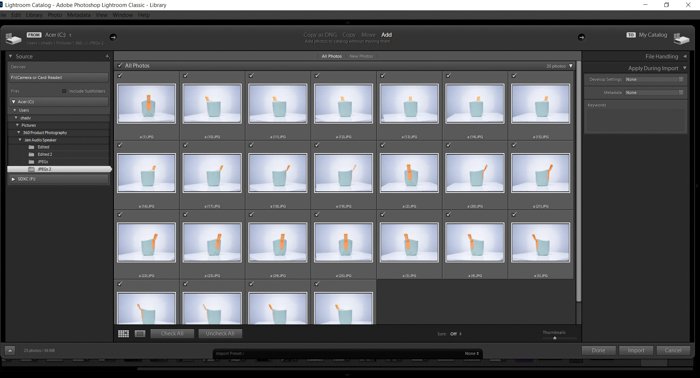
Once you finish taking your 360 product photos, it’s time to edit them in Lightroom. First, import your images to Lightroom. Now click Develop, and press CTRL + A to select all the pictures. That way, all your edits will apply to all the files. If you need some more help with Lightroom, check out our Effortless Editing course!
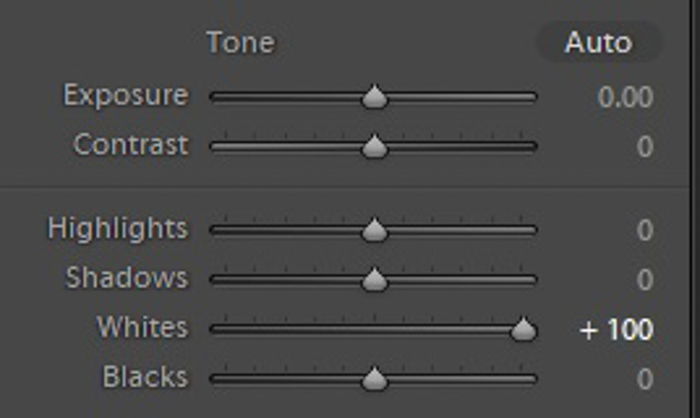
Under the Develop module, go to Whites and move it until the background looks white.
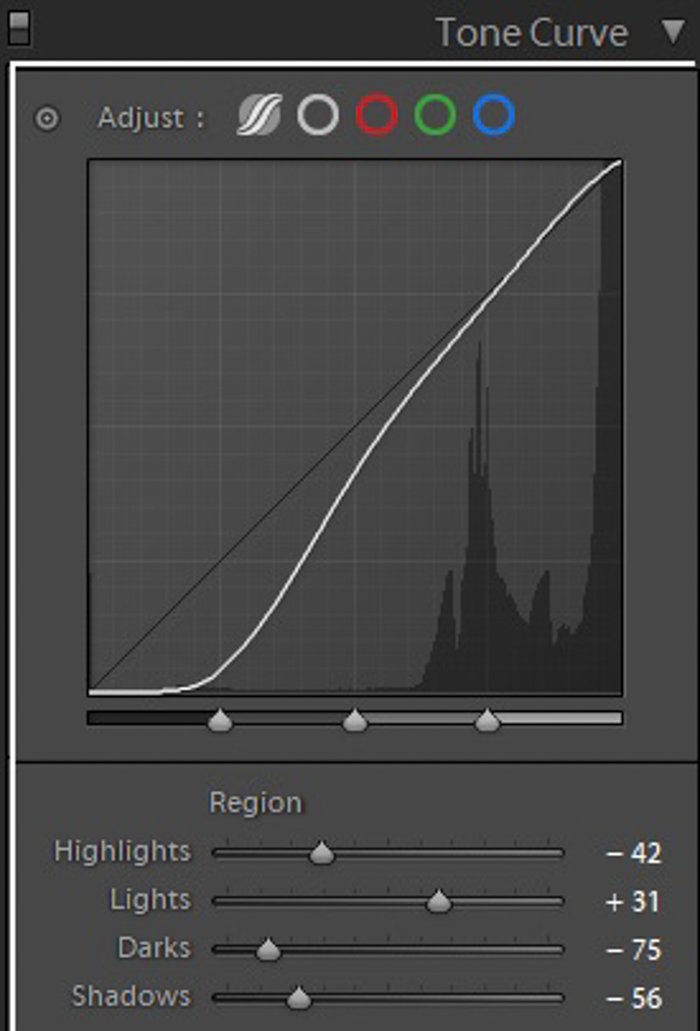
After that, go to Tone Curve and adjust your Highlights, Lights, Darks, and Shadows. Your goal is to ensure the 360 product has proper exposure and has the correct colors.
Once you finish your edits, you can then export them.
Step 6:
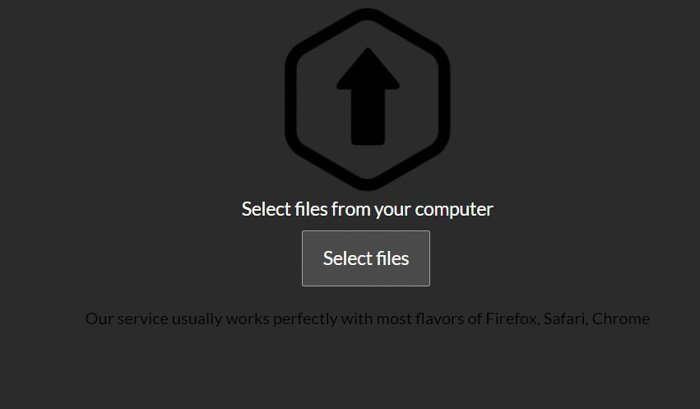
Load the images to a 360 viewer. There are tons of 360 product photography desktop apps out there. Most of them will require you to subscribe. But there are also options that at least allow trials. I recommend Spinzam because it’s relatively easy to use. Once you create an account, click Upload at the top right corner of the screen. Then Select Files and choose the images you want to turn into a 360 photo.
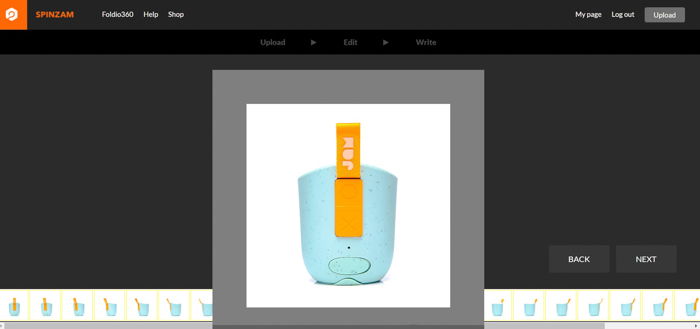
After Spinzam finishes uploading the 360 product files, a cropping tool appears on the screen. Drag it around and make sure your product is in the middle. When you’re satisfied, press next.
You can then add a title, tag, and description to your file.
Once you press upload, it will only take a few moments before the full 360 product image appears. Below is the result of our DIY project.
Conclusion
360 product photography requires studio photography equipment. If you already have studio equipment, all you have to do is build a DIY 360 product photography turntable to try it. Trust us; it’s not as difficult as you think!