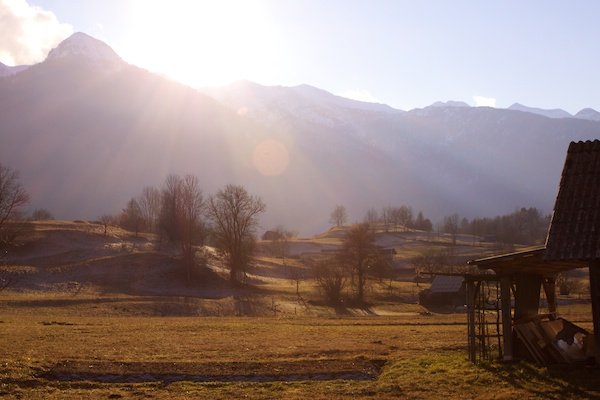
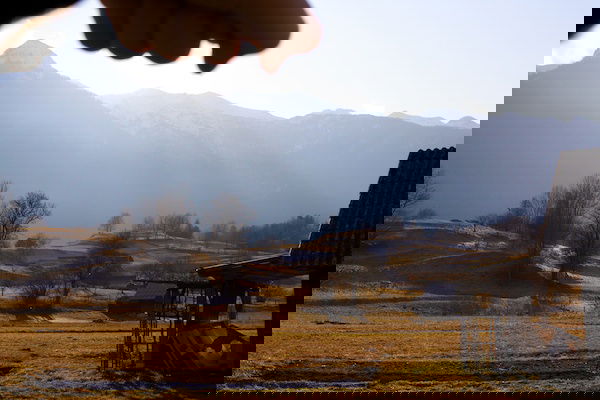
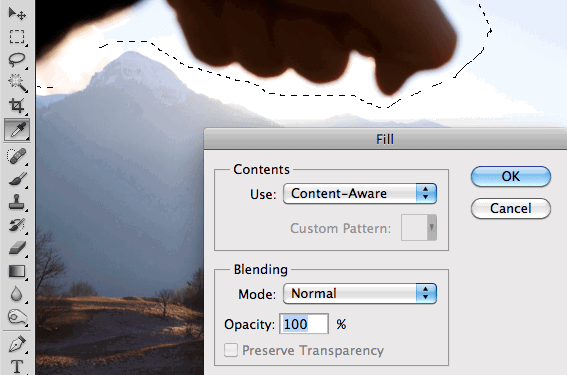
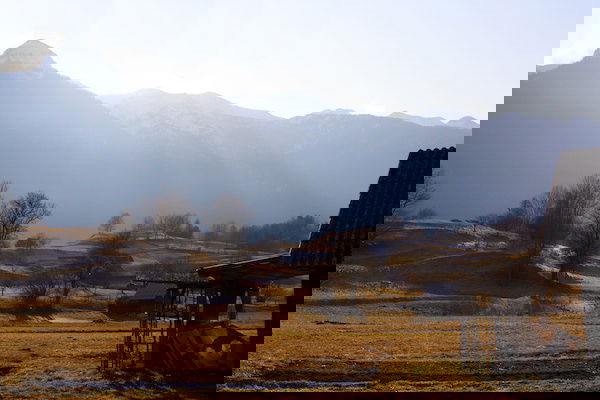
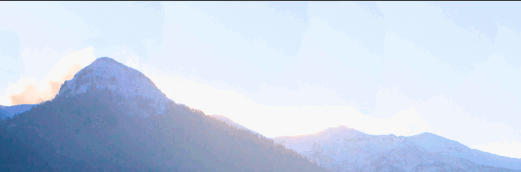
All you need is a piece of paper or cardboard, and a little bit of creativity. Read on to learn how to remove lens flare using this simple but effective technique. Here’s the magic part of the trick… Take the photo as you normally would but use your hand to block out the sun in the sky. This will probably mean reaching over and holding your camera awkwardly but you’ll have so much light available that you can crank up the shutter speed to account for any camera shake. You’ll notice that my hand is only in the sky in this photo. Make sure you do the same as the next step won’t work so well if you’re covering the ground (although, if you’re lucky, it might). Compare this photo to the one above and you’ll see that the mountains and foreground are much clearer with the sun covered. It was, however, a misty day and the sun was going down over the mountains in the distance; this accounts for the lack of detail in the mountains. As you can see, the effect of shooting into the sun has remained but all the unnecessary lens flare that was ruining the photo has been toned down somewhat. Now you have the problem of a large hand blocking part of the photo but anyone with experience in retouching photos knows that that is easily resolved. You have a couple of options, the first of which is to use the likes of Aperture, Lightroom or GIMP. Simply use the clone and repair tools to brush over the hand, using the other half of the sky as a basis to go by. This can be time consuming but will provide very good results if you’re good at it. If, however, you have Photoshop, there’s a much better option available: the content-aware fill. Simply draw around the hand with whichever tool you like to use (I used the lasso tool), then go to Edit>Fill and use Content-Aware with blending set to normal and 100%, as I’ve done below. For those of you who don’t know, the content-aware tool will remove the area selected and very intelligently work out what should be there instead, judging by what’s in the surrounding area.When you’re done, it will look something like the image below but it’s not finished yet. It may appear to be pretty much perfect but, if you tilt your screen away from you, you’ll see that there are still imperfections. This will require a small amount of retouching, this time using the clone and repair tools. I prefer to do this in Aperture or Lightroom but you can carry on in Photoshop if you like. To reveal these imperfections, you may want to increase the black point and turn down the brightness, making them stand out.. Simply go round and retouch them until you’re happy. For example, I missed part of the area where the light went around my jacket on the left hand side, so I would remove that with the clone tool and retouch the areas between the changes of the blue color.This last step took me less than a minute. I may be a bit of a perfectionist but I believe it’s worth doing. Here’s what it looks like now (still with the brightness and black point adjusted). When you’re done, feel free to add any more post production techniques you like to include but I’ve left mine as it is for now to help show you how effective the technique is. Of course, there are other ways to do this sort of thing, such as merging two images. That technique really requires a tripod and, in my opinion, is a lot harder; it’s hard to prevent the image appearing unrealistic because of the loss of brightness from the sun. So, next time you’re out and want to shoot a scene but it requires looking into the sun, don’t forget that you have a hand at your disposal. Here’s the finished image.