Enjoy watching your phone videos and photos with an affordable DIY smartphone projector!
DIY Smartphone Projector Tutorial: What You Need
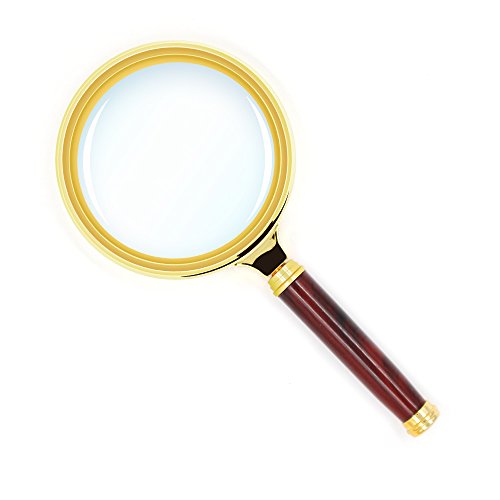
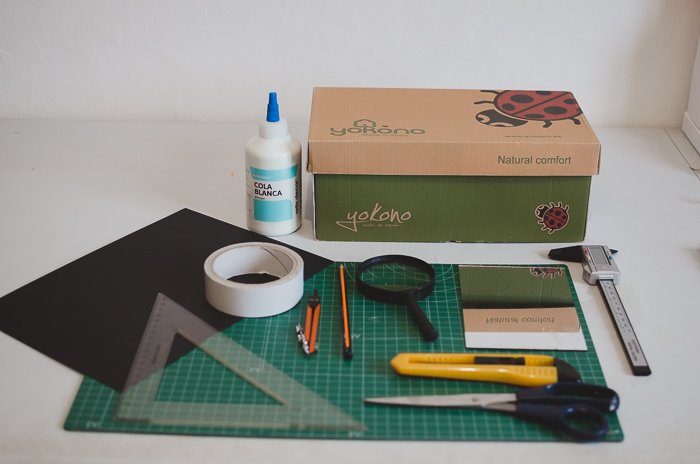
Shoe box (or similar) Thick black paper or black matte paint Pencil Ruler Glue and brush Double-sided tape (optional) Scissors or precision knife Magnifying glass Mirror.
Step 1: Choose the Right Mirror and Box for Your Homemade Projector
To build this projector, we will place a mirror and a magnifying lens in a box to make the light rays coming from your phone create a bigger projected image. The more light reaches the magnifying glass, the brighter your final image would be. For that reason, you want to have a relatively narrow box to avoid light dispersion before reaching the glass. You need a long box so that you can adjust the distance between the projecting lens and your phone. With that in mind, you need to use a box that your phone’s screen will fit across. In my case, I took a box 16x31x12 cm. The mirror should be rectangular and plain and be at least the same size as the phone you will use.
Step 2: Black Out the Inside of Your Projector for Better Image Quality
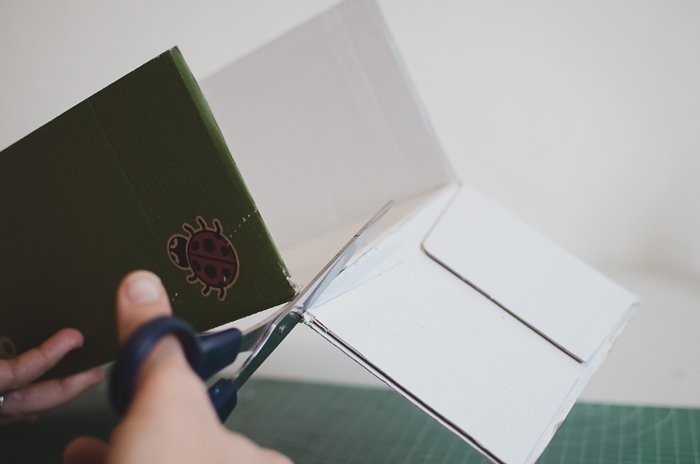
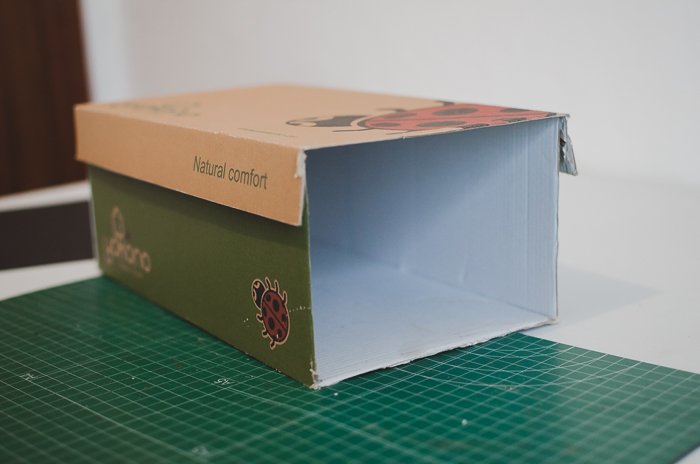
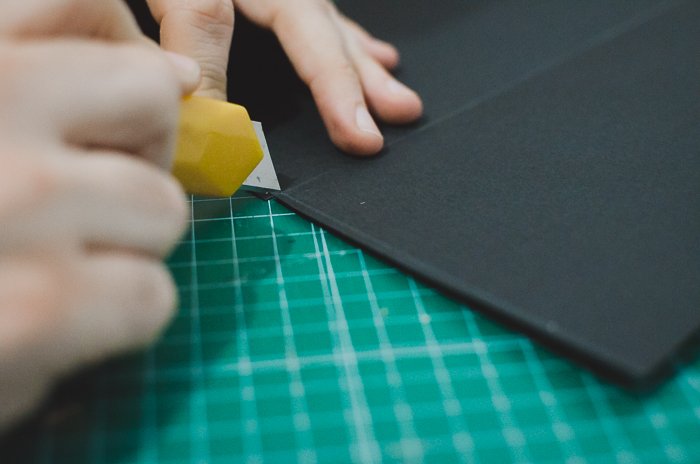
Using a precision knife or scissors, cut out one of the narrow sides of your outer box. Keep it because it is an essential piece of your projector.
Make sure to cut the lid of the box as well.
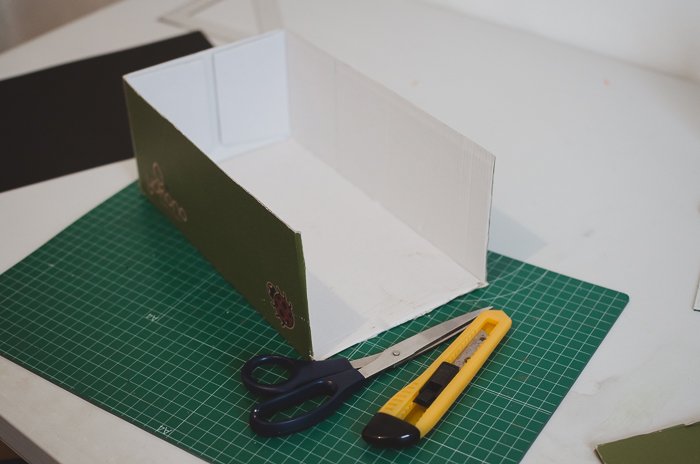
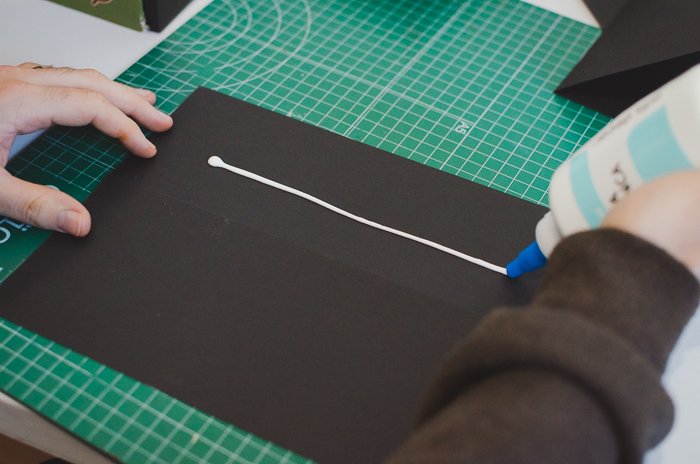
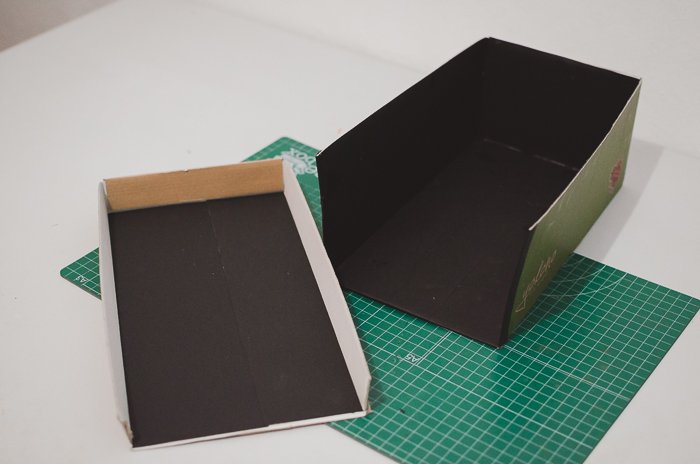
Light reflecting off from the walls of the box would cause noise and can result in lower image quality. To avoid that, you should make the inner sides of the projector black. You can coat the inside of the projector by glueing black matte paper.
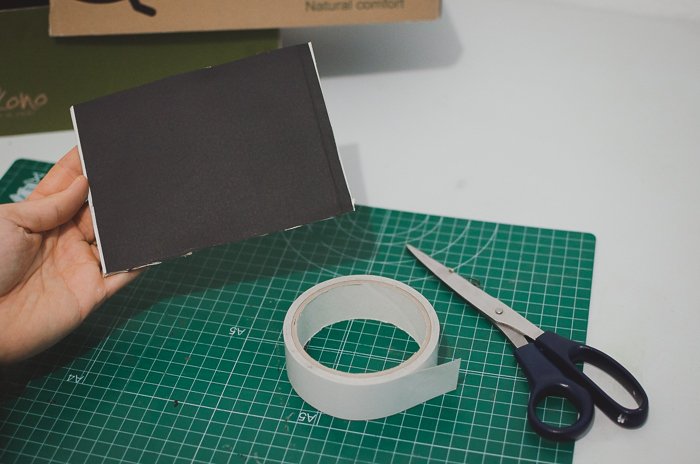
Use a brush to evenly spread the glue so that the black paper is attached firmly to the box. If you prefer, you can use double-sided tape instead of glue.
Another option is to paint the box. Keep in mind that you will need to let the paint dry and make sure to use a product that has a matte texture. You also need to coat the inside of the box lid and the narrow box side you cut out previously.
Step 3: How to Install the Lens in Your DIY Smartphone Projector
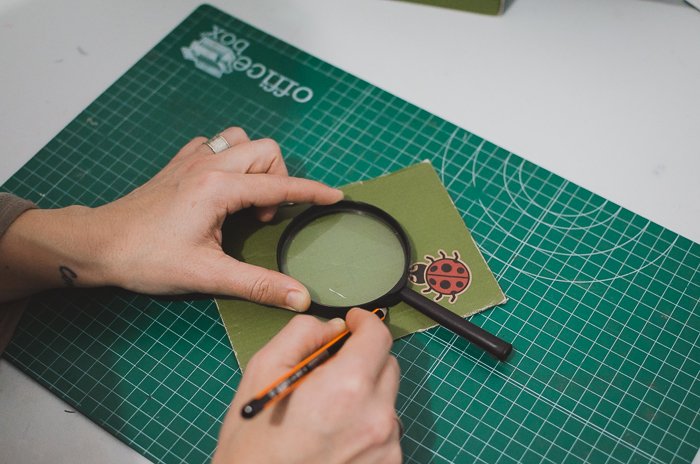
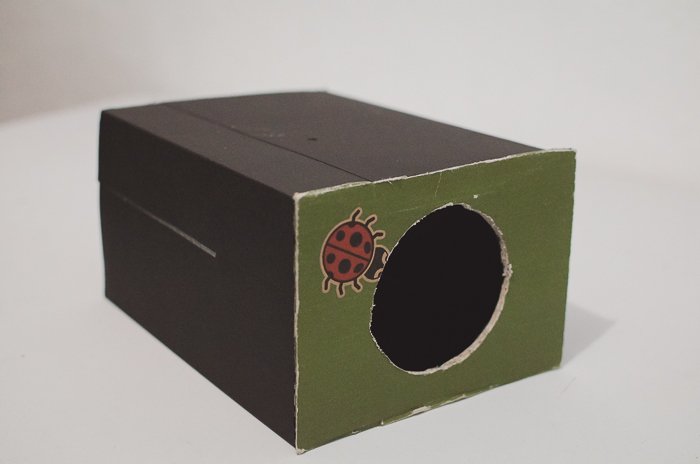
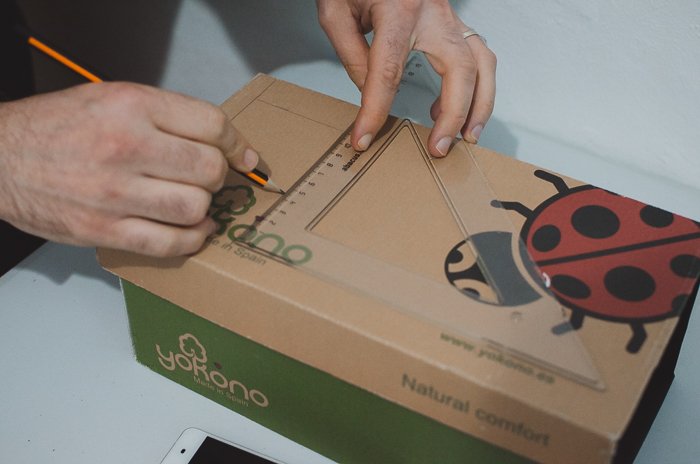
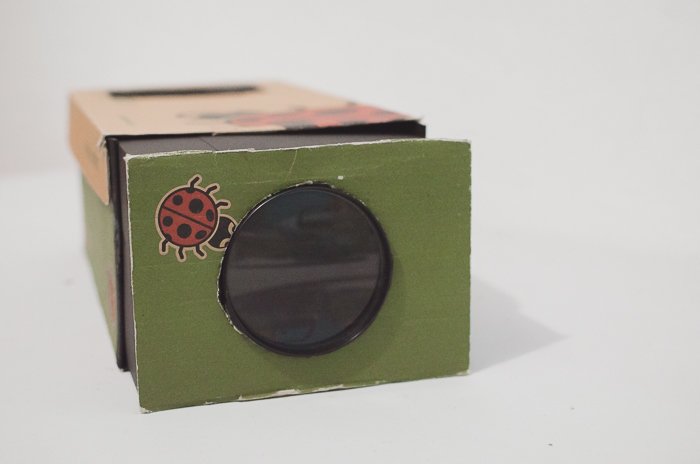
Take your magnifying glass and remove its handle. Trace the outline of the magnifying glass on the center of the narrow side you’ve cut out.
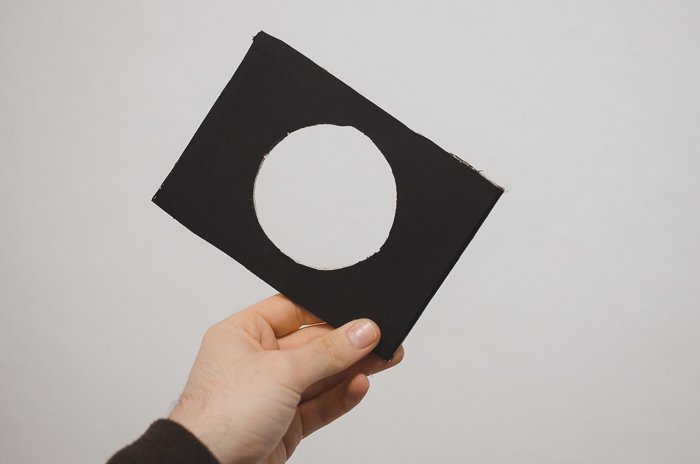
Use the precision knife to cut out the outline so that the magnifying glass fits snugly in the opening you’ve made. Now you have your Lens side ready to be installed.
Step 4: Making an Adjustable, Manual Focus for Your Smartphone Projector
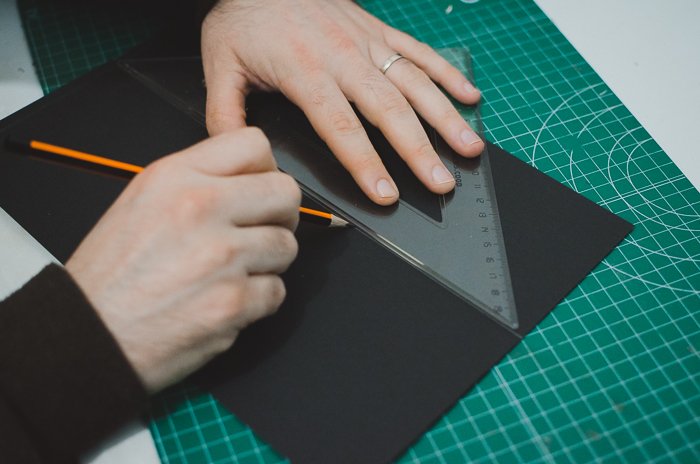
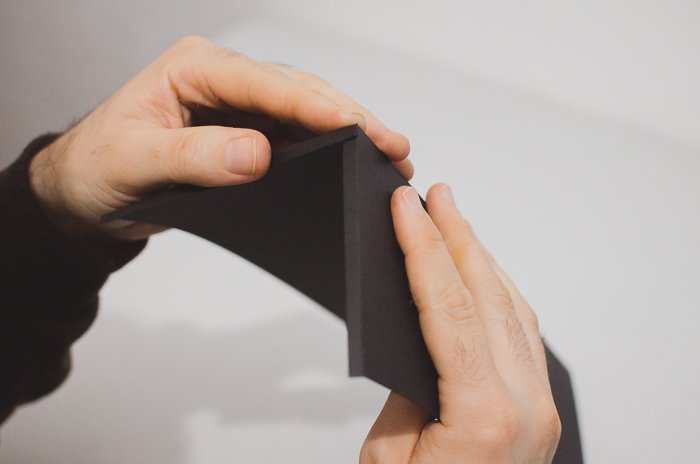
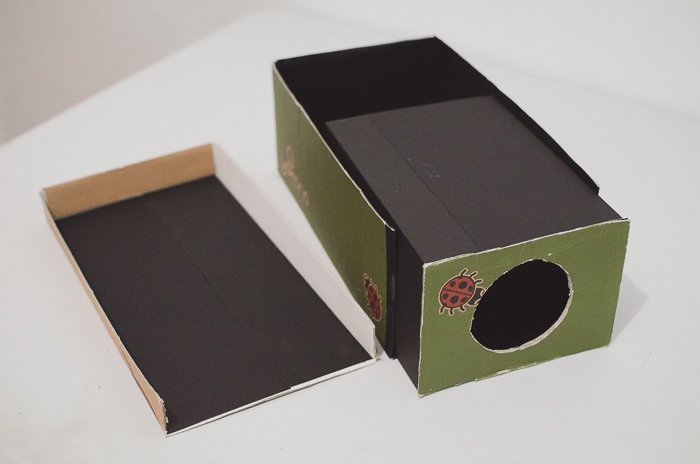
Having an adjustable focus means we need to be able to move the lens in relation to the phone. To achieve that, you need to construct a second box that will fit inside the outer box. Take the measurements of the inside of the box. Create folds in 4 sheets of black paper so that they fit the edges of the box, use a ruler to create precise folds in the paper.
Once you have all four folds, make 5mm deep cuts at one of the edges and fold the flaps you’ve made.
Attach the flaps to its adjacent ones using glue.
This will make the structure more rigid. Then glue the papers to each other to make an open box. Finally, glue the lens side onto the flaps of the inner box.
The inner box should have a relatively tight fit inside the outer one.
Step 5: Installing the Mirror in the Cardboard Smartphone Projector
The lens projects images from the phone by concentrating and refracting the light. This means that the image we get on the wall is flipped upside down and left to right. Fixing the first is easy. All you have to do is to deactivate the phone’s screen auto-rotate option and place the phone upside down. To correct the image left to right, you need a mirror to get a mirror image the lens would invert. Place the mirror at a 45⁰ angle on against the side that is opposite of the lens. Check that when you look at the mirror from up, you can see the projecting lens.
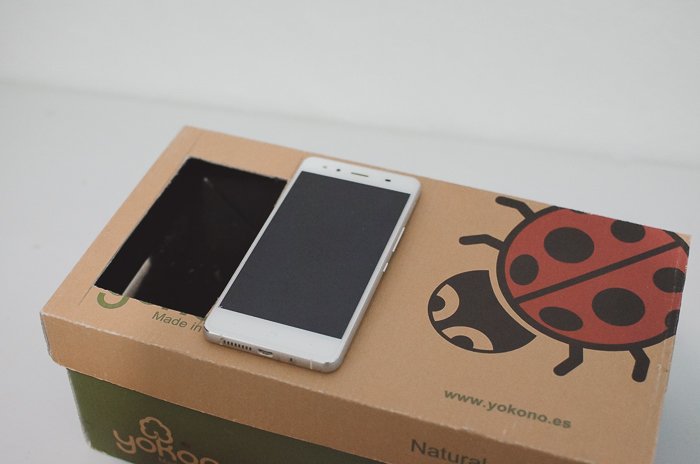
Step 6: Cut Out a Window for Your Smartphone
Measure the width and length of your phone’s screen. Draw a rectangle with your phone screen size on the lid of the projector, right above the mirror.
Cut out the rectangle with a precision knife. Don’t worry if you can cut the rectangle a bit too big, but be careful not to exceed the size of the phone itself.
Fit the magnifying glass into the hole you cut out in step 3. And with that, you are done! You’ve made your very own smartphone projector. If you want, you can decorate it using paints, colorful papers or any other materials you have around.
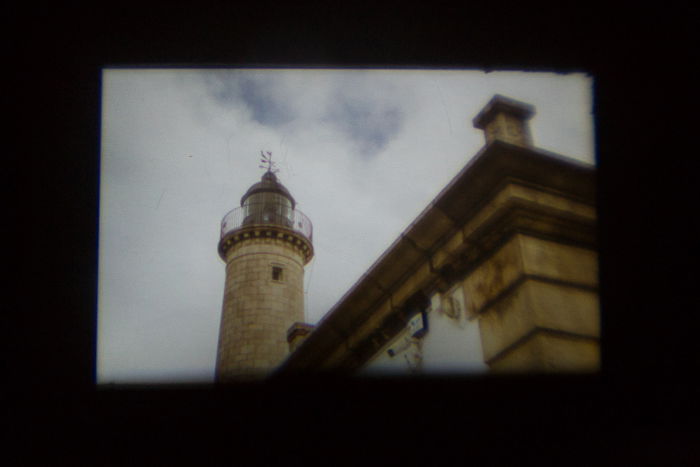
How to Adjust Your Projector’s Focus for an Optimal Image
To set up your projector, place it in front of a white wall or a screen. Turn your phone’s brightness to maximum and place it facing down on top of the cut-out opening you’ve made. I recommend you to turn off the auto-rotate and set the screen sleep time to “Never”. Next, turn off all the lights in the room, the projector should be the only light source. Start sliding the lens slowly away from the mirror while looking at the image on the wall. Stop moving the lens when you get a sharp image. You might need to change the distance between the wall and the projector if the image is not sharp enough.
Building Your Projector Without a Mirror
If you don’t have a mirror available, you can still make a projector. Place your phone with the image upside down directly in front of the lens. To keep the phone secured in its position, I recommend attaching it with a Velcro. This will also make taking the phone out easier. Without the mirror, your smart phone projector won´t correct the inversion of the image. For that reason, I recommend you avoid anything with writing.
Common Questions
How Does a Homemade Projector Work?
The idea behind a projector is that light rays coming from your phone pass through a magnifying lens placed in a certain distance. This creates a bigger projected image. This image will be inverted, but this can be fixed by placing a mirror between the phone and the lens.
Why Is my Homemade Projector Image Upside-Down?
The image of your homemade projector is upside-down when it is built with just one convex lens. The image will be inverted and enlarged.
Which Lens Is Used in a Homemade Projector?
You need a convex lens to build a homemade projector. These lenses are bigger in the center than on their edges. The easiest way to get a convex lens is to use a magnifying glass. You can remove the holder and place it in your projector.
How Do I Make my Projector Screen Bigger?
Most projectors have a zoom ring to enlarge the image. If you have a homemade projector, you probably won’t have a zoom ring. The easiest way to make the screen bigger is by placing the projector further. You might need to readjust the focus by moving the phone back and forth.
Who Invented the Projector?
Image projectors with lenses exist since 1659 when Christiaan Huygens invented the magic lantern. Eadweard Muybridge invented in 1879 the first projector used with moving images. Although Edison built his movie projector in 1894, the first successful one was invented by the Lumière brothers one year later.
Conclusion
Building your own projector is a fun DIY project that you can do either by yourself or with the whole family. Although it is not a professional projector and might not produce a perfect image, it gives a pretty nice result. You can use it as a neat little gadget for your kid’s birthday party or create special effects for Halloween. This project is a fun way for kids to learn about lenses and light and an excellent way to re-utilize materials. Check out our posts on choosing an iPhone camera lens or best macro lens for iPhone next!