Transfer Photographs To Fabric: What You Will Need
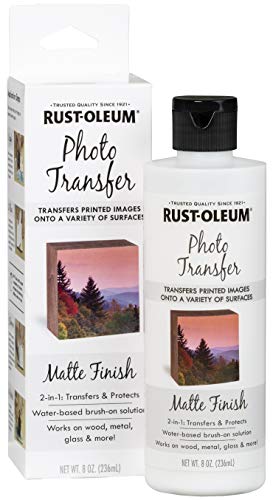
Images, printed with a laser printer on regular paper Fabric to transfer your printed image onto Transfer gel medium A clean brush Clean, lukewarm water A hairdryer An iron
I recommend you to protect your table (or any other work surface) from damages. Use a craft mat, a board of plywood or cardboard to work on. This will also reduce sliding and make it a bit more comfortable to work.
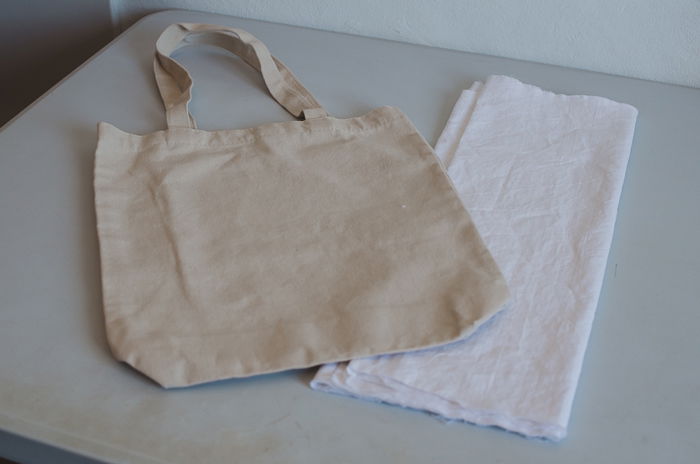
What Fabric Should You Use to Transfer Your Photos Onto?
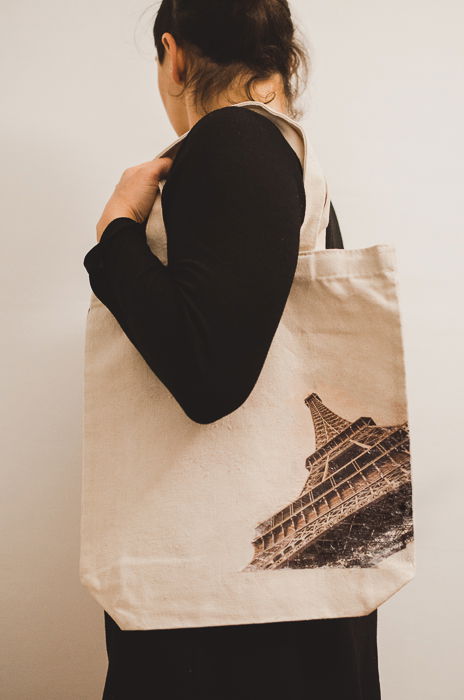
Although you can transfer photos onto many types of fabric, I recommend using one made of cotton. You can use a simple piece of fabric, or you can transfer your photo onto finalized products such as bags or pillows. You can use materials of any color, but keep in mind that it might affect the visibility of the colors of your image. For that reason, it is common to use light/natural colored fabrics.
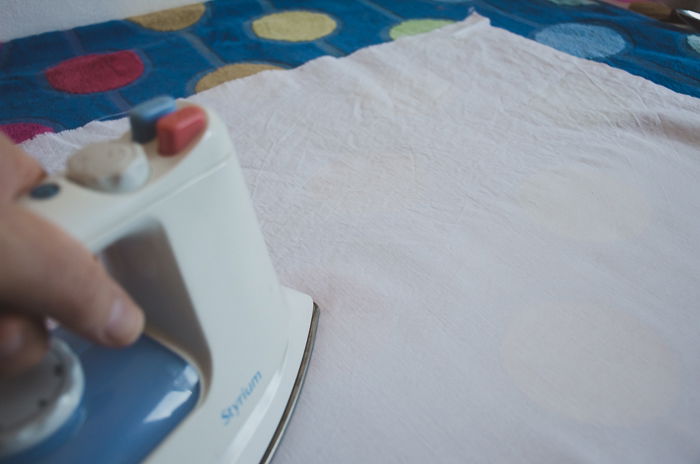
How to Prepare Your Fabric for Photo Transfer
To avoid surprises, wash your fabric before transferring the image. This will also remove any little stains that it might accidentally have. Wrinkles and folds will affect the quality of the photo transfer, so after the cloth is clean and dry, you should iron and straighten it.
How to Transfer Images Onto Fabric With Transfer Gel
This technique requires some practice. I recommend you try to transfer the printed image onto some scrap fabric first, and only then start with your final project. So print a few extra copies and look in your closet for a shirt you are willing to risk (or just buy some cheap fabric) The transfer gel is a suitable method for transferring any intricate image with lots of details. I recommend it for any photo, but especially for portraits and landscapes. The gel transfers the colors quite well, so you don´t need to restrict yourself to black and white images. On the other hand, it is a method that, although quite simple, can be a bit time-consuming. Make sure to give the gel enough time to dry and be careful when you reveal the image. Do not get frustrated if you’re unhappy with your results the first couple of times you try the transfer gel.
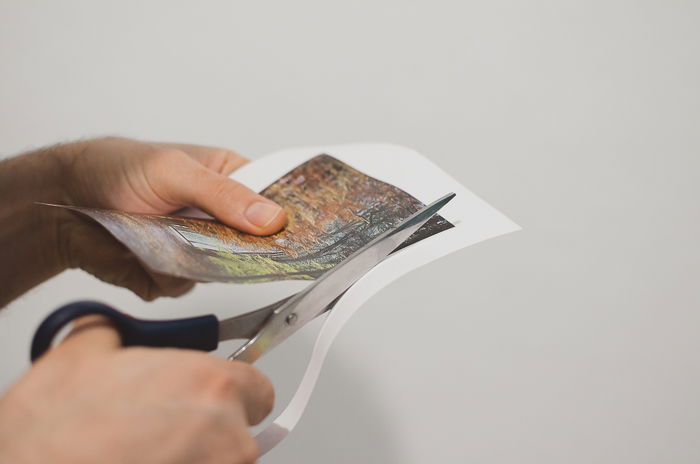
Print Your Photos With a Laser Printer for a Successful Transfer
With laser printers, the image is printed only on the surface of the paper, that’s why we can transfer the pigment to the fabric. Inkjet printers, on the other hand, inject the ink deep into the paper, so we don’t have a layer of pigments. Make sure to print your photo on regular paper. Photographic paper is laminated, so it should be avoided. To make your life easier and save time, cut any excess of paper around the image before applying the gel medium.
Apply the Transfer Gel on the Image and Place it on the Fabric
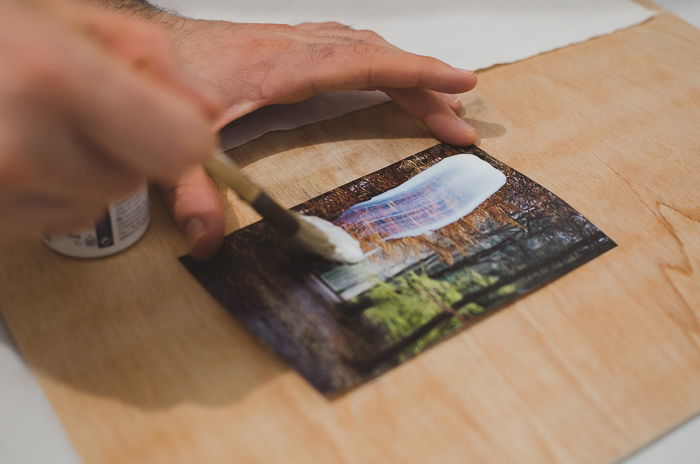
With a brush, apply the transfer gel on the face of the image (not on the back of it). The amount you use is important. First, put a generous amount of gel and make sure that it covers all the image evenly. I recommend following an order. I start by brushing the image in horizontal strokes from left to right and from the top part of the image to the bottom.
As you go along, add as much gel transfer as you need.
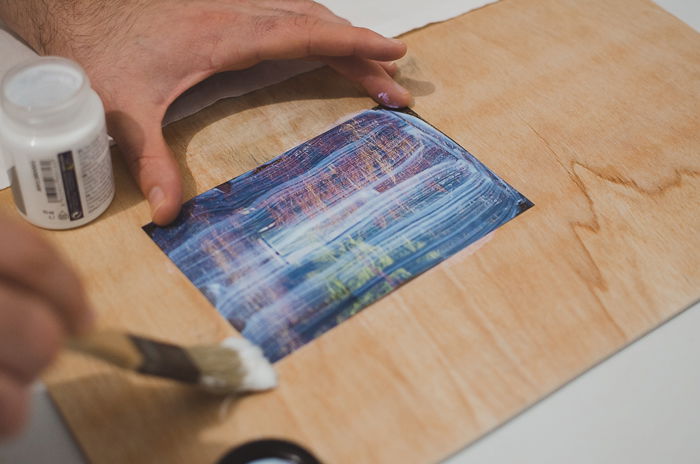
Do a second pass with the brush to make sure the gel is spread evenly and to remove the excess gel. It’s best to do it with the brush clean of gel.
Let the Transfer Gel Dry for a Couple of Hours
Place the photo facing down on the fabric so that the gel comes in contact with it. Press the photo onto the fabric and make sure that there are no bubbles. Let the transfer gel dry for a couple of hours. To make sure that the photo transfer to the fabric is successful, take care not to move the fabric or the paper.
Use Water to Remove the Paper and Reveal the Image
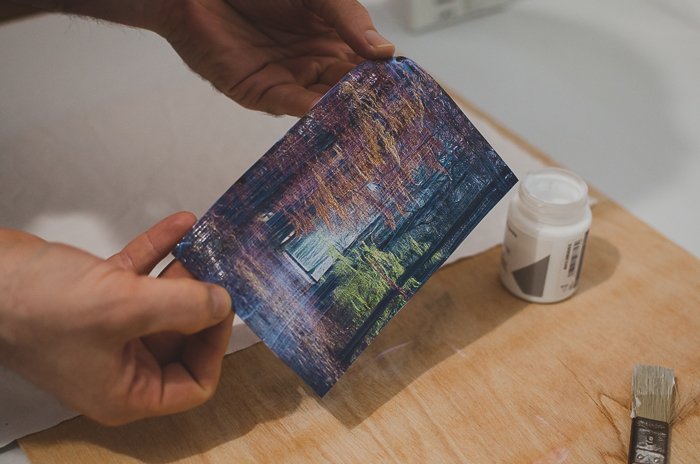
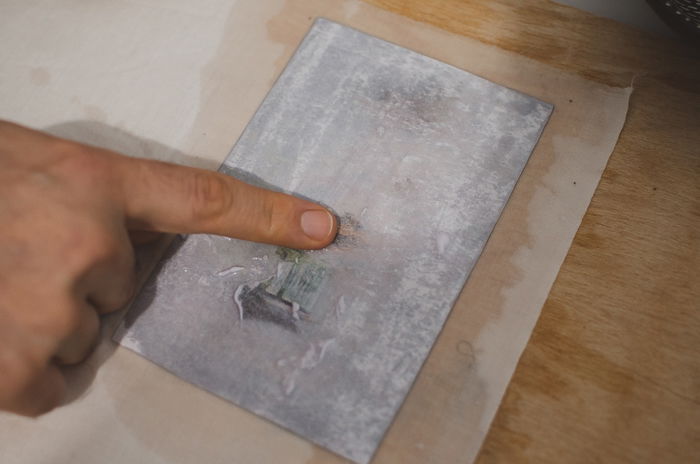
This is the most delicate step of all. You need to wet the paper with water by either dabbing your finger or using a clean brush.
Make sure the paper is completely soaked.
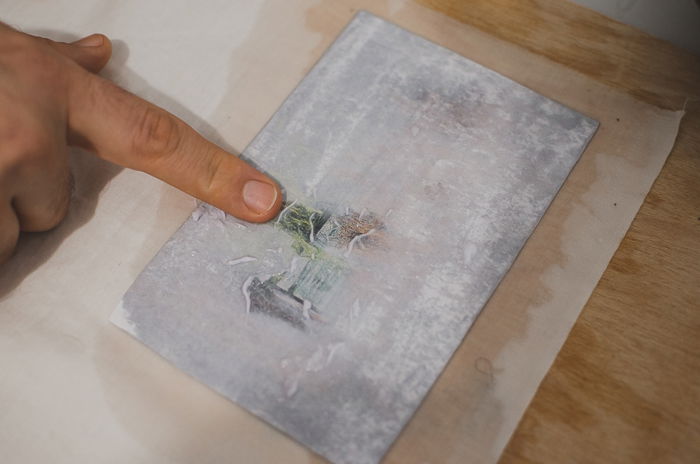
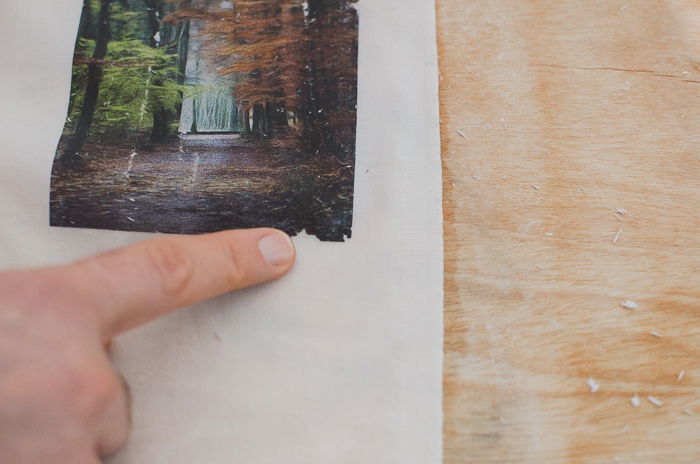
Then start removing the paper by rubbing your finger against it. You need to do it very carefully to avoid breaking the image. Here are some tips: Start rubbing from the middle of the image and work towards the outside. This way you can avoid breaking the corners by mistake
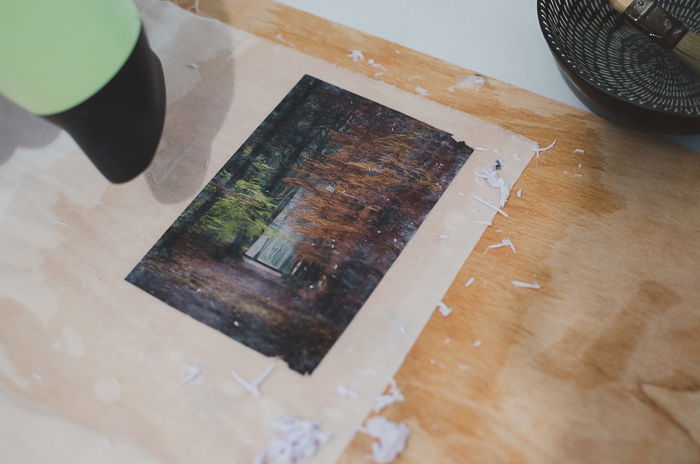
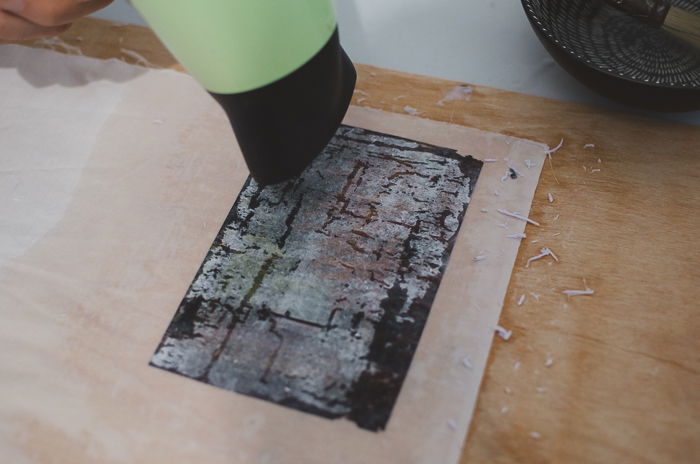
It is better to make several soft rubs than to make one rough stroke This step can take long and requires a lot of patience. Take it easy and rest from time to time if you need to. To make it more enjoyable, I like grabbing a tea or a nice cup of coffee. Put some music on and sit comfortably. If you don’t remove all the paper, the image will have matte areas with dull colors. At a certain point, as you progress with your work, it is difficult to see whether you removed all the paper or not. When this happens, you can dry the image with a hairdryer. Then you can see the areas you still need to work on, wet them again and keep rubbing.
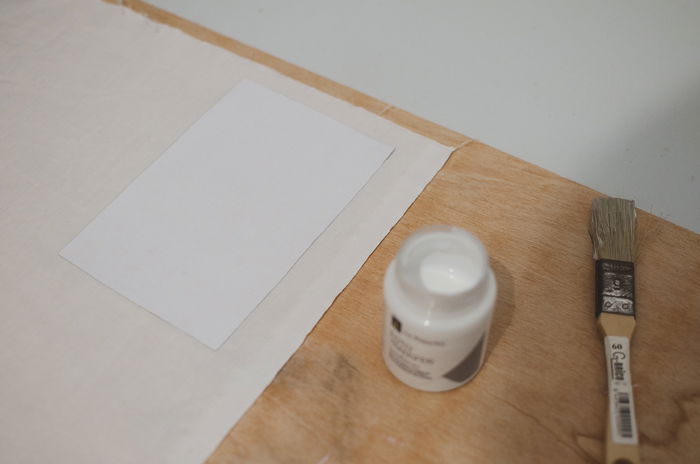
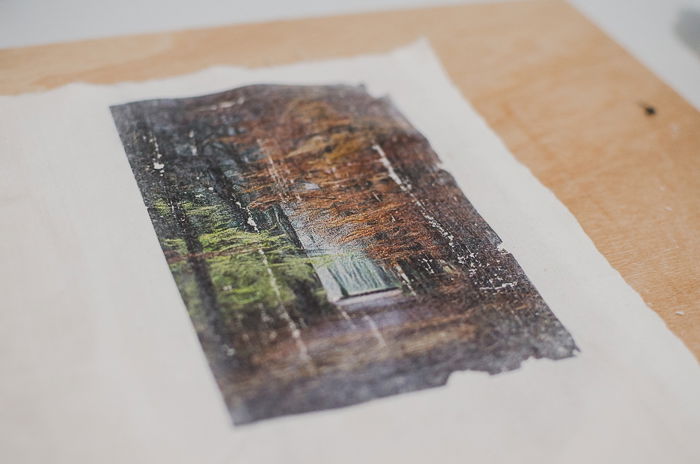
Let the Fabric Dry and Fix the Image Colors to the Fabric
Once the fabric is dry, you should iron it from the other side to help fix the colors. Doing this will enable you to put it to wash without losing the image. Keep in mind that it is better to wash it by hand with cold water. You can apply a thin layer of the same transfer gel on top of the image to create a protective coat. I also like to apply a closing/protective layer such as varnish.
Common Questions
How Do You Transfer a Picture Onto Clothing?
There are different ways to transfer pictures onto clothing. You can print it on standard paper with a laser printer and transfer it to the clothing using gel medium or a synthetic acetone-based varnish spray. Another great option is to print it on hot transfer paper and iron it onto the fabric.
How Do You Transfer a Photo Onto Canvas?
The simplest way is using the transfer gel medium. First, print the image on a regular paper using a laser printer. Cover it with transfer gel and place it facing down onto the canvas. Let it dry, soak the paper with water and carefully rub the paper off with your fingers.
How Do You Iron a Picture Onto a Shirt?
Print the picture reversed on heat transfer paper. Place the paper with the image facing the shirt. Iron all the surface while applying steady pressure. Press the iron onto the fabric for three minutes, let it cool down and remove the backing paper.
Can You Print on Cotton?
Printing on cotton at home is not as easy as it sounds. You might accidentally ruin your fabric or even your printer. You can print on fabric with inkjet printers using freezer paper or with commercial cotton sheets.
Conclusions
Photo transfer onto fabric is a great way to display your photos and use them in creative and unique ways. Be patient and start with small projects, increase the difficulty as you gain experience. For better results, make sure to use clean and ironed fabric. You can also look into other techniques such as using fabric transfer paper or printing straight onto the fabric with freezing paper. Check out how to transfer photos to wood, or make a DIY photo backdrop stand next!