What if we told you there was a way you can create a single image that will show day to night photography together?
[ExpertPhotography is supported by readers. Product links on ExpertPhotography are referral links. If you use one of these and buy something, we make a little bit of money. Need more info? See how it all works here.]
Day To Night Photography: How to Find the Perfect Location
First, you need to find a place to capture your day and night photographs. This location can be anywhere, but it needs to be a large area with some interesting elements. Also, the area needs to be used in both daytime and nighttime. A great example of this would be to have something that will light up at nighttime, such as buildings. This will help to ensure that part of the scene isn’t dull. If you scroll through Stephen Wilkes picture gallery, you can find some ideas and inspiration. He photographed the always busy Times Square in New York, the Trafalgar Square in London or the Eiffel Tower in Paris. But you can choose a simple solution and photograph your home too. Visualise how the scene is going to look like. Can you see two areas in your image that will work well at both contrasted times of the day? Will the places have enough light? Where are the two ideas going to meet? By imagining the scene play out in front of you, you can have a better idea of how you are going to make it work.
How to Set Up Your Gear
Let’s make sure you have all the gear you are going to need:
Camera with Lens. This can be a DSLR or Mirrorless system. As long as you can shoot in RAW format, your camera is fine. In terms of lens choice, you want to use something that gives you a wide enough angle of view to capture a big area. A wide-angle lens (35mm or below) will work well. Tripod. The tripod is going to hold your camera steady. Shutter Release Cable. A shutter release cable is going to take the image without you physically pressing the shutter release on the camera. This will minimalise camera shake, resulting in sharp, high-quality images.
Any equipment that you may use for a landscape or architectural photograph will work well here. You can use neutral density filters, but it is only an option. You will need to work them into your camera settings. In terms of camera settings, the RAW format is a must. This image format holds much more information than that of a JPEG image, which allows more play in post-editing. You are going to be working in low light conditions, so a low ISO is needed for the best quality. ISO 100 or 200 should be fine. Use a closed down aperture, such as f/18 to keep the whole scene in focus without lens diffraction. If you have many moving parts, such as leaves and people, consider a fast shutter speed above all.
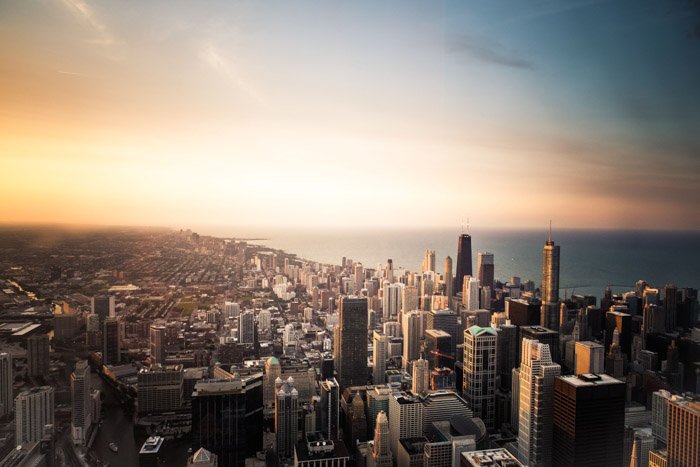
How to Find the Best Angle
This image is going to photograph a wide space, and your camera angle needs to reflect the scene for this particular style. These images can be of landscapes, but buildings will also work well. The best vantage point should allow you to capture still and moving objects. The sky will be present in the image if you take pictures outdoors. Adopting the rule of thirds here will help to compose the image well. Again, look for some inspiration among Stephen Wilkes photos. He took the day to night pictures of landscapes too. He paid attention to incorporate the sky in his images about Coney Island, the Grand Canyon or the Serengeti National Park. When there are no city lights, it is easier to use the sky as a reference point for the time of the day. Having a line, or something similar in the center will help you during the post-processing stage. It will allow you to meet the day and night areas of your image seamlessly. Getting up high and shooting at a downward angle is a great way to show a large space from an interesting point of view.
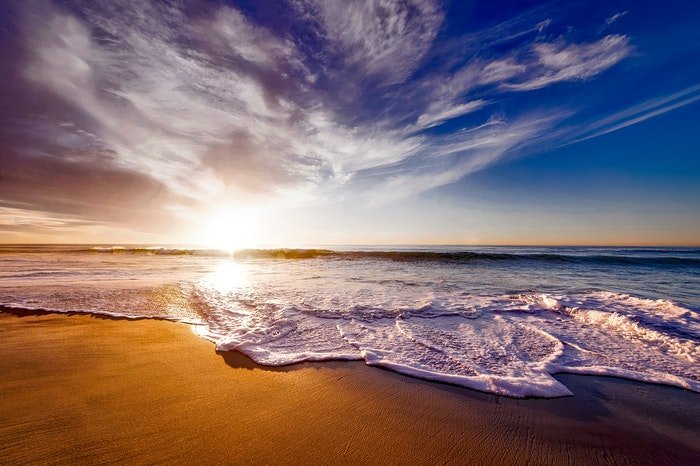
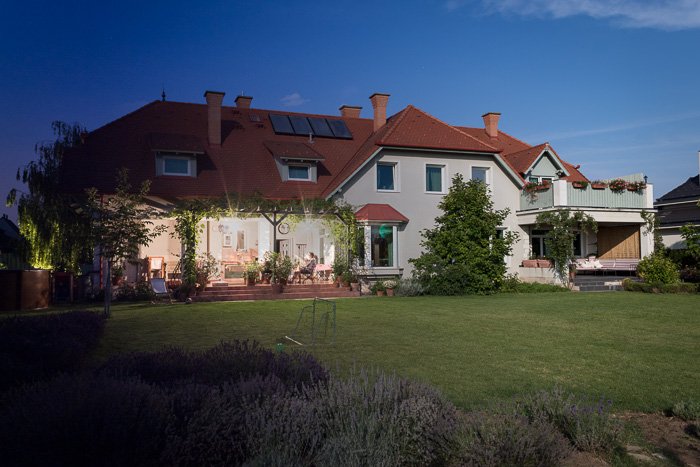
How to Capture the Daytime Shot
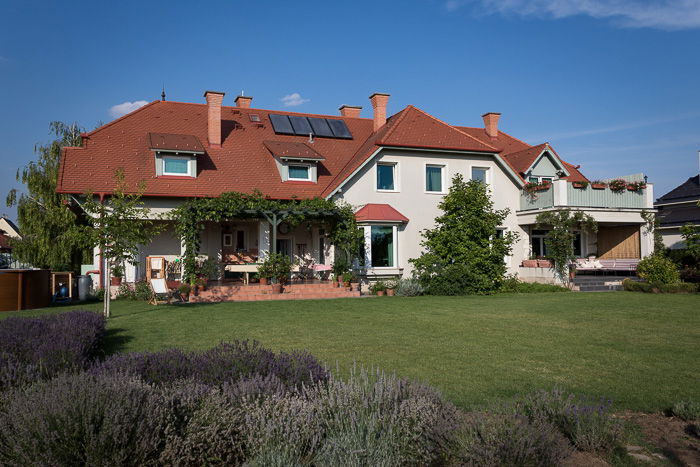
Once your camera is on the tripod, frame your scene. Then choose the camera settings, and you are ready for the shot. Use manual focus for the photoshoot both during the day and the night. This allows you to have a focus on the same spot in both pictures. Avoid the sun at its highest (usually noon) as it will cast very long shadows. These shadows could be interesting, but they will be a nightmare to eliminate at a later stage. The golden hour around sunrise or sunset is always the right choice for taking pictures. It’s the time when you get the best light. Here, the natural sun is scattered and diffused, allowing an evenly exposed image. You could even use a polarising filter to enhance the sky further. When you capture the daytime shot, always scan the area for elements that may be interesting. Double-check the exposure and take a few bracketed images to ensure you have an exposure that works. Better to be safe than sorry. In this project, we photographed a house as we will show the property during day and night. Easy, simple and will be very effective, especially for all those property photographers out there.
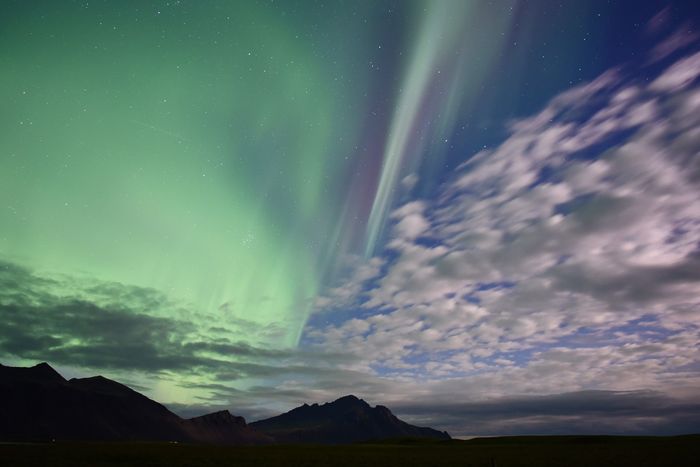
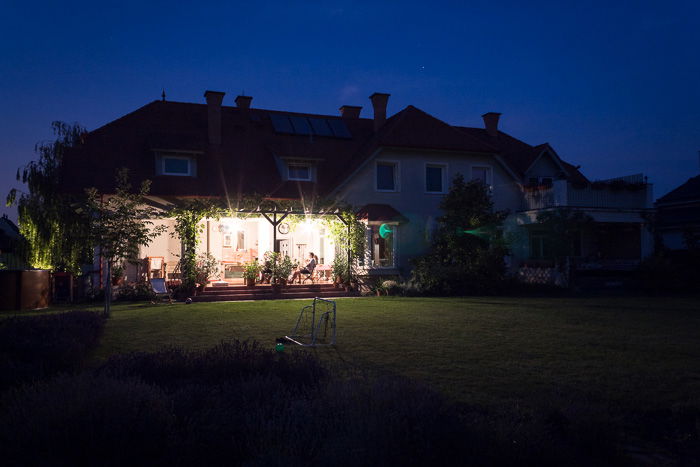
How to Capture the Nighttime Shot
The nighttime shot will be trickier than the daytime capture. It’s even harder when it comes to dark areas with no lights. Set your camera up to capture the right white balance, and account for the change in light. Do this right after you capture your daytime photo. This way, you will have your camera settings ready, and you can even leave your device at the exact same spot. You don’t have to do the set-up in pitch dark conditions. Increase your ISO levels, widen your aperture or use slower shutter speed. You can also choose to shoot in Aperture Priority mode. Set the aperture and ISO to the same numbers that you used for your photo during the day. Your camera will adjust the shutter speed. If you cannot leave your camera at the same spot, you need to adjust the settings when the night arrives. Take as many test shots as you need to find the right conditions and the best exposure. The other thing to look out for is the light sources that may change. Moving cars can be made more interesting by using slow shutter speed. Make sure to use the shutter release here to eliminate camera shake. If the nighttime part of your image has no lights to capture, think about focusing on the stars instead. This will definitely add interest and really push the fact that it is definitely nighttime. In our image, we lit only one side of the house as that is going to be the nighttime section of the image.
How to Merge the Photographs in Post-Processing
Once you have your images, it is time to merge them together to create one single photograph. So how do you change day to night? First of all, you will need an image editing software such as Photoshop. Here are the steps to creating a day to night photograph in Photoshop:
Conclusion: Street Photography Quotes
And there you have it. It is simple to do, yet very effective. If you find that you cannot wait hours for the sky to go dark, remember your camera settings and placement of your tripod. Use tape to mark the location and return. The best idea would be to try and photograph as close to the end of the day as possible, so you have a minimal amount of time to wait. Start with a simple and accessible scene. When you feel confident with your day to night pictures, move to a more advanced location and experiment again. Day to night photography is one of the topics we cover in our creative photography course, Wow Factor Photography. If you’d like to learn more, check out the course here.

title: “How To Create Amazing Day To Night Photography” ShowToc: true date: “2023-02-14” author: “Jose Harrison”
What if we told you there was a way you can create a single image that will show day to night photography together?
[ExpertPhotography is supported by readers. Product links on ExpertPhotography are referral links. If you use one of these and buy something, we make a little bit of money. Need more info? See how it all works here.]
Day To Night Photography: How to Find the Perfect Location
First, you need to find a place to capture your day and night photographs. This location can be anywhere, but it needs to be a large area with some interesting elements. Also, the area needs to be used in both daytime and nighttime. A great example of this would be to have something that will light up at nighttime, such as buildings. This will help to ensure that part of the scene isn’t dull. If you scroll through Stephen Wilkes picture gallery, you can find some ideas and inspiration. He photographed the always busy Times Square in New York, the Trafalgar Square in London or the Eiffel Tower in Paris. But you can choose a simple solution and photograph your home too. Visualise how the scene is going to look like. Can you see two areas in your image that will work well at both contrasted times of the day? Will the places have enough light? Where are the two ideas going to meet? By imagining the scene play out in front of you, you can have a better idea of how you are going to make it work.
How to Set Up Your Gear
Let’s make sure you have all the gear you are going to need:
Camera with Lens. This can be a DSLR or Mirrorless system. As long as you can shoot in RAW format, your camera is fine. In terms of lens choice, you want to use something that gives you a wide enough angle of view to capture a big area. A wide-angle lens (35mm or below) will work well. Tripod. The tripod is going to hold your camera steady. Shutter Release Cable. A shutter release cable is going to take the image without you physically pressing the shutter release on the camera. This will minimalise camera shake, resulting in sharp, high-quality images.
Any equipment that you may use for a landscape or architectural photograph will work well here. You can use neutral density filters, but it is only an option. You will need to work them into your camera settings. In terms of camera settings, the RAW format is a must. This image format holds much more information than that of a JPEG image, which allows more play in post-editing. You are going to be working in low light conditions, so a low ISO is needed for the best quality. ISO 100 or 200 should be fine. Use a closed down aperture, such as f/18 to keep the whole scene in focus without lens diffraction. If you have many moving parts, such as leaves and people, consider a fast shutter speed above all.
How to Find the Best Angle
This image is going to photograph a wide space, and your camera angle needs to reflect the scene for this particular style. These images can be of landscapes, but buildings will also work well. The best vantage point should allow you to capture still and moving objects. The sky will be present in the image if you take pictures outdoors. Adopting the rule of thirds here will help to compose the image well. Again, look for some inspiration among Stephen Wilkes photos. He took the day to night pictures of landscapes too. He paid attention to incorporate the sky in his images about Coney Island, the Grand Canyon or the Serengeti National Park. When there are no city lights, it is easier to use the sky as a reference point for the time of the day. Having a line, or something similar in the center will help you during the post-processing stage. It will allow you to meet the day and night areas of your image seamlessly. Getting up high and shooting at a downward angle is a great way to show a large space from an interesting point of view.
How to Capture the Daytime Shot
Once your camera is on the tripod, frame your scene. Then choose the camera settings, and you are ready for the shot. Use manual focus for the photoshoot both during the day and the night. This allows you to have a focus on the same spot in both pictures. Avoid the sun at its highest (usually noon) as it will cast very long shadows. These shadows could be interesting, but they will be a nightmare to eliminate at a later stage. The golden hour around sunrise or sunset is always the right choice for taking pictures. It’s the time when you get the best light. Here, the natural sun is scattered and diffused, allowing an evenly exposed image. You could even use a polarising filter to enhance the sky further. When you capture the daytime shot, always scan the area for elements that may be interesting. Double-check the exposure and take a few bracketed images to ensure you have an exposure that works. Better to be safe than sorry. In this project, we photographed a house as we will show the property during day and night. Easy, simple and will be very effective, especially for all those property photographers out there.
How to Capture the Nighttime Shot
The nighttime shot will be trickier than the daytime capture. It’s even harder when it comes to dark areas with no lights. Set your camera up to capture the right white balance, and account for the change in light. Do this right after you capture your daytime photo. This way, you will have your camera settings ready, and you can even leave your device at the exact same spot. You don’t have to do the set-up in pitch dark conditions. Increase your ISO levels, widen your aperture or use slower shutter speed. You can also choose to shoot in Aperture Priority mode. Set the aperture and ISO to the same numbers that you used for your photo during the day. Your camera will adjust the shutter speed. If you cannot leave your camera at the same spot, you need to adjust the settings when the night arrives. Take as many test shots as you need to find the right conditions and the best exposure. The other thing to look out for is the light sources that may change. Moving cars can be made more interesting by using slow shutter speed. Make sure to use the shutter release here to eliminate camera shake. If the nighttime part of your image has no lights to capture, think about focusing on the stars instead. This will definitely add interest and really push the fact that it is definitely nighttime. In our image, we lit only one side of the house as that is going to be the nighttime section of the image.
How to Merge the Photographs in Post-Processing
Once you have your images, it is time to merge them together to create one single photograph. So how do you change day to night? First of all, you will need an image editing software such as Photoshop. Here are the steps to creating a day to night photograph in Photoshop:
Conclusion: Street Photography Quotes
And there you have it. It is simple to do, yet very effective. If you find that you cannot wait hours for the sky to go dark, remember your camera settings and placement of your tripod. Use tape to mark the location and return. The best idea would be to try and photograph as close to the end of the day as possible, so you have a minimal amount of time to wait. Start with a simple and accessible scene. When you feel confident with your day to night pictures, move to a more advanced location and experiment again. Day to night photography is one of the topics we cover in our creative photography course, Wow Factor Photography. If you’d like to learn more, check out the course here.
