In this tutorial, we’ll show you how to create oil and water photos using simple ingredients and a little bit of creativity. So if you’re ready to experiment with your photography skills, keep reading for some tips and tricks on how to get started! [ExpertPhotography is supported by readers. Product links on ExpertPhotography are referral links. If you use one of these and buy something, we make a little bit of money. Need more info? See how it all works here.]
Oil And Water Photography: What You’ll Need
Camera A macro lens or extension tubes (I used Kenko products) A set of chairs (milk boxes are another good option) Sheet of glass Tripod Dish Soap Glass cleaner Paper towel or a rag Newspaper Colorful materials for the backdrop Cooking oil (I use vegetable oil, but other types work just as well) Water A spoon or eyedropper
1. Gather the Materials
Before we get started, we have to gather a few materials together. To get a colorful and vivid photo, you will need a backdrop. Look for colored cardboard paper or magazines, tea towels, posters or wallpapers. Any exciting material can work. You can even download a few photos on your tablet and use it as a backdrop for your oil and water photography. I’ve found that the stronger the color of the material, the better. It adds a greater degree of contrast and depth to the image. Duller toned elements like brown or black won’t reflect light as much. Aim for brighter colors for the best results. Keep in mind that the background of your photograph will be blurry. Don’t worry too much about picking out detailed patterns and shapes in your materials. Next, you need to suspend your subject over the background with a transparent layer of glass. This is to create a good distance from the backdrop. I sourced my piece of glass from a large photo frame I found at a charity store. A glass bowl or even an unused fish tank will work too. Grab some glass cleaner and give your glass a good wipe-down. We don’t want any dust bunnies or fingerprints making an appearance in our photographs!
2. Minimise Mess
Oil can be a messy substance to work with, so preparation is vital. Try setting up your rig for this project outdoors on flat and even ground. Always have some paper towel or an old rag at the ready in case of any spills. Use a spoon or eyedropper to apply the oil to the water in small, even doses. I recommend placing a layer of newspaper beneath your work site to protect the floor from spills. If you use your tablet as a backdrop, make sure you cover it in a protective case!
3. Set up Your Photoshooting Scene
It’s time to set up for your shoot. Grab your pair of chairs and place them a small distance apart from each other. Then set your piece of glass between the chairs, forming a small bridge. If you don’t have enough chairs, you can use milk or juice boxes too. Take a few pieces from your colorful materials and place them on the ground beneath the sheet of glass. Depending on the height of your chairs, you may need to elevate your colored materials. You can use something like a few books or bricks so that the backdrop fills the frame of the camera.
4. Choose the Camera Position and Settings
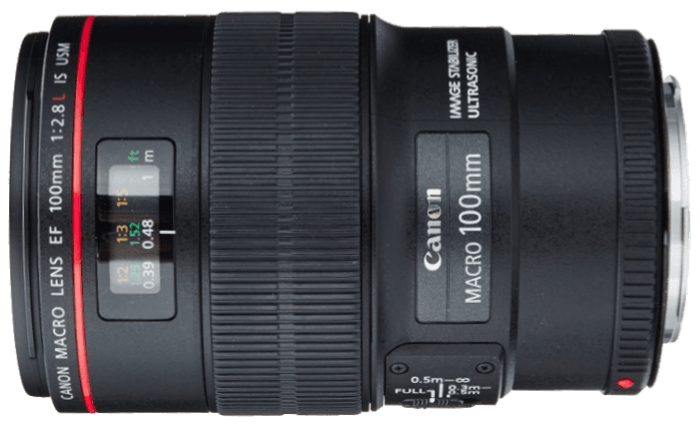
The camera settings can be a bit tricky when it comes to abstract macro photography. A macro lens or an extension tube can reduce the amount of light that reaches your camera’s sensor. That’s why you may need to use a longer exposure. I recommend using a tripod to keep your device nice and steady while taking the shot. Using a tripod will also free your hands up for manipulating your oil and water mixture on the glass. Lock your camera into your tripod and arrange it so the lens is nice and close to the glass. Make the front element as parallel to the glass surface as possible. This will make focusing much easier. Focus your camera on an area directly in front of the lens and switch on Live View Mode. Live View Mode will enable you to watch what is happening on the glass without hunching over too much. Using Live View Mode will also reduce camera shake. Use manual mode and an aperture around f/3.5 to make sure that you only focus on the oil circles and not on the backdrop object. Setting the ISO to 100 or 200 should be fine for your bubble macro photography. The shutter speed will depend on the lighting conditions.
5. Start Shooting Your Abstract Oil and Water Photography
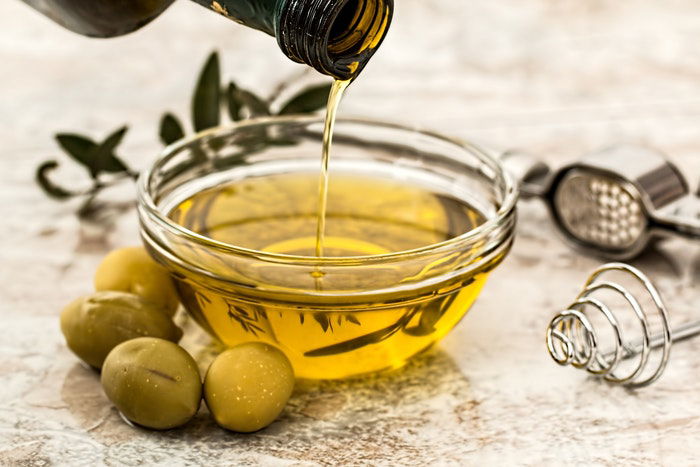
Once you are all set up, its time for the fun part! Grab your water, oil and your rag or paper towel and have them close at hand. Fill your glass dish with water first. Make sure to use enough water; otherwise, the glass texture of the dish will also appear in your photo. Use your eyedropper or spoon and apply a small amount of oil onto the water surface, beneath your camera lens. Feel free to use olive oil, sunflower oil, or any vegetable oil. Only add a few drops and see how the oil and water combination functions. You can always add more oil, but you cannot take it out. If you find the oil droplets too big, add some dish soap and mix it well. The oil bubbles will get smaller and more vibrant. Watch your LCD screen in Live View Mode to see what’s going on. There are endless ways to shape your oil and water for unique results. You can build up layers of bubbles by alternating between droplets of water and oil on your sheet of glass. You could use a spoon and swirl the liquids together for a mixture of smaller and larger oil bubbles and shapes. Different ratios of water to oil create completely different effects. Once you have used up a particular batch of oil and water, mop up the mixture with some paper towel and start all over again! While you’re experimenting, don’t forget to change up your backdrop too. Layer up different materials to get interesting gradients or focus on a single color for a striking profile. Oil on water photography is all about getting creative and trying new compositions.
Conclusion
Contrast is a powerful photographic tool that highlights the similarities and differences in an image. Similarities bring the picture together, and differences add extra space and depth. Why not take the chance to experiment with some oil and water photography? You only need some extra time and a few simple ingredients around the house. The results will surprise you!
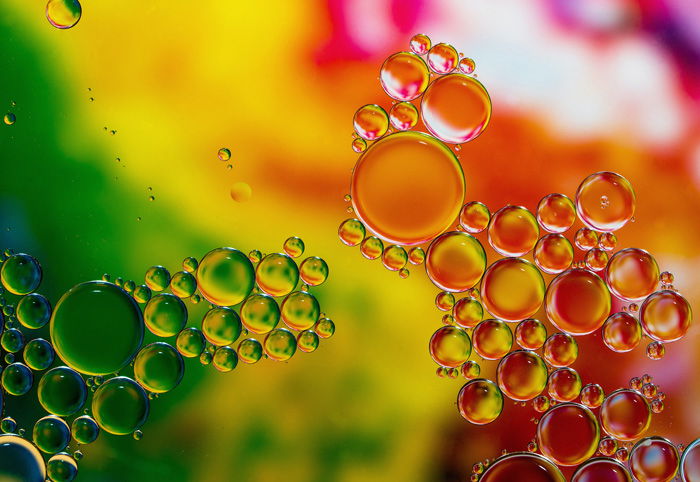
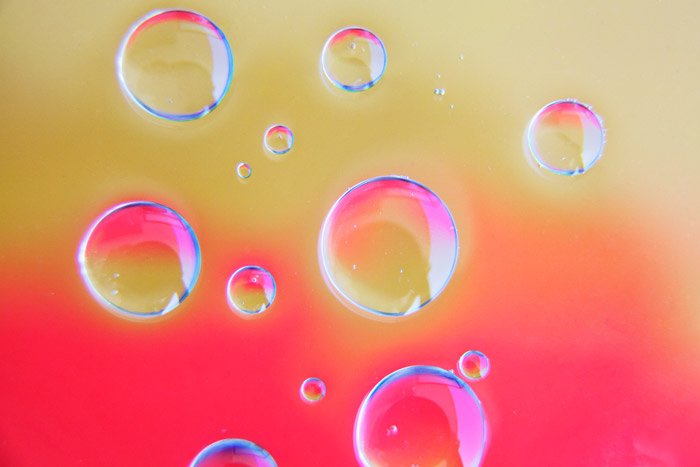
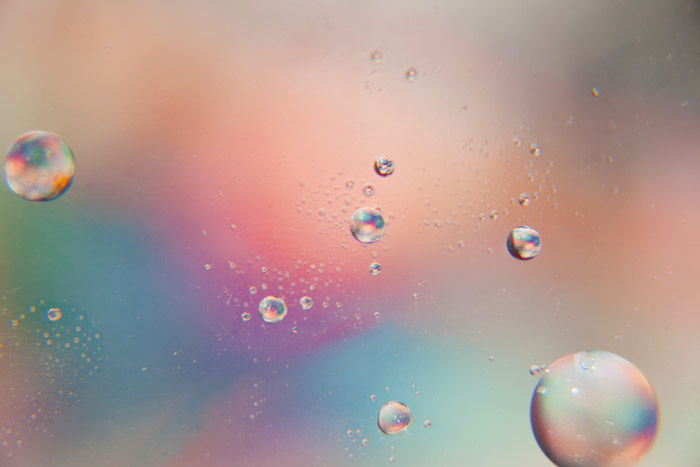
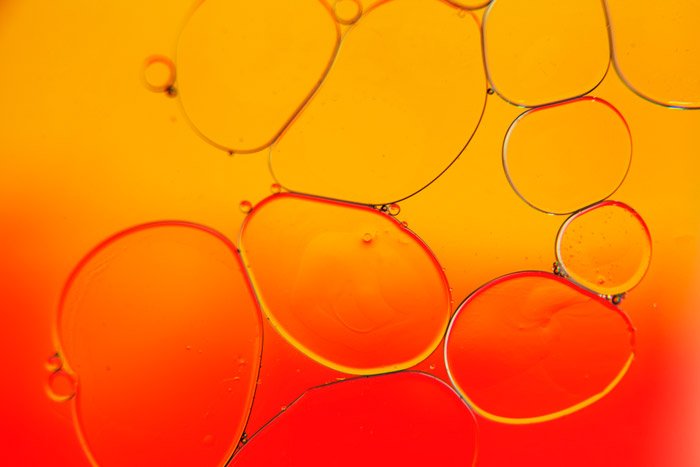
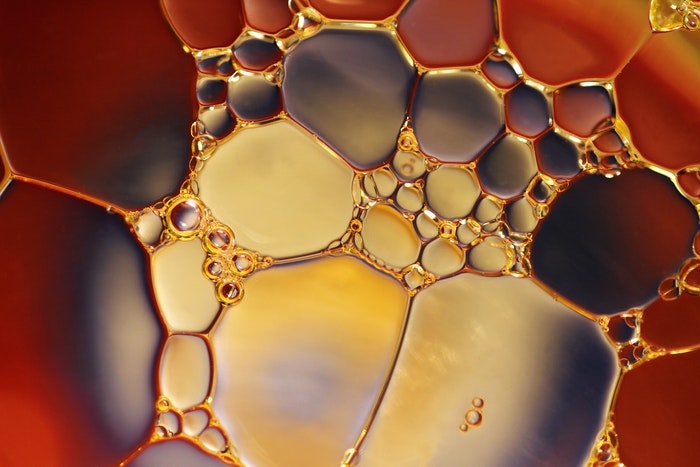
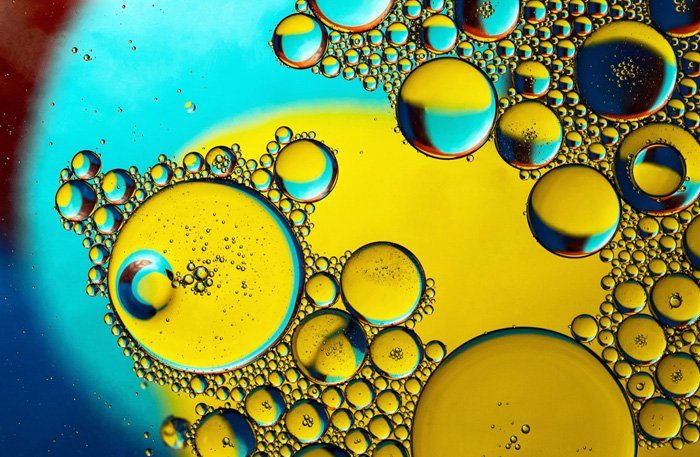
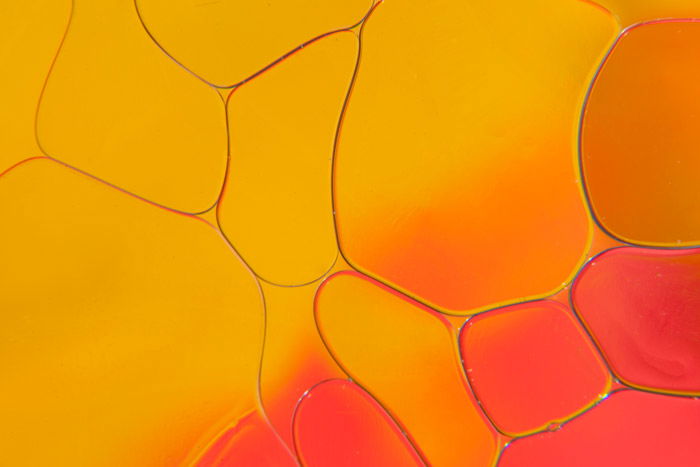
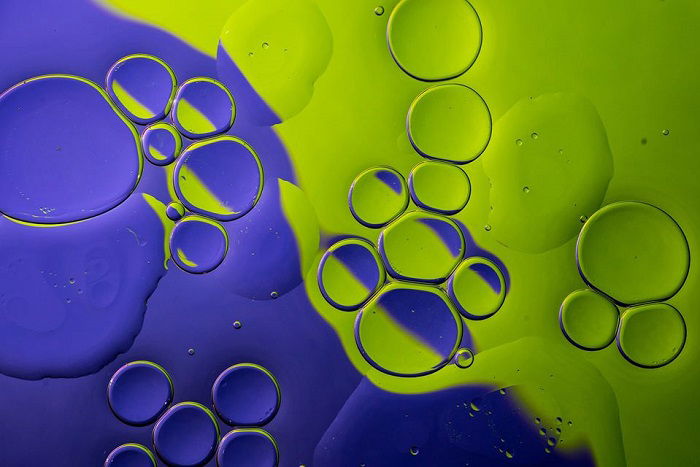
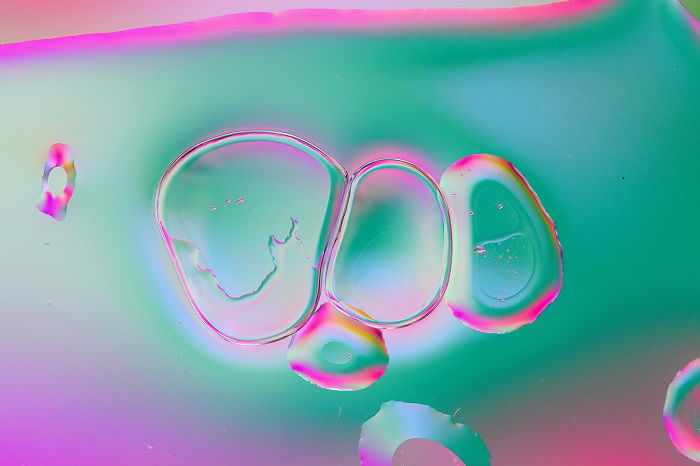
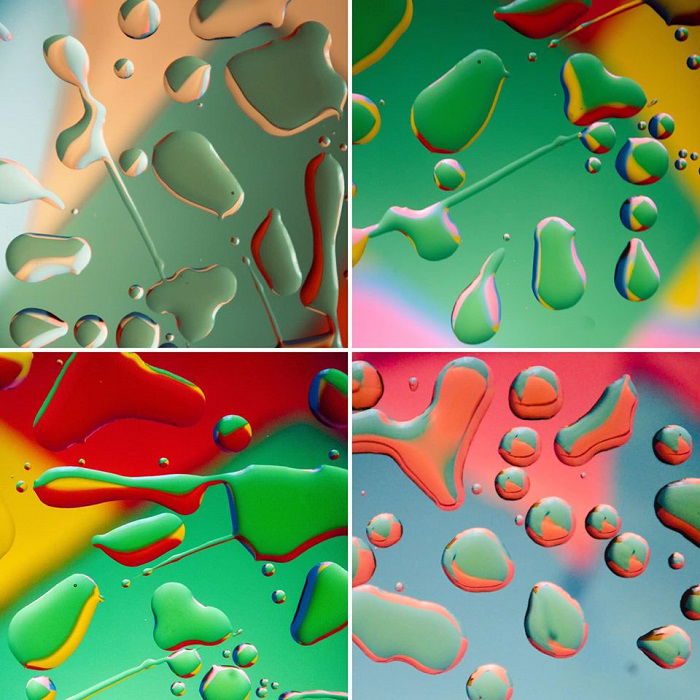
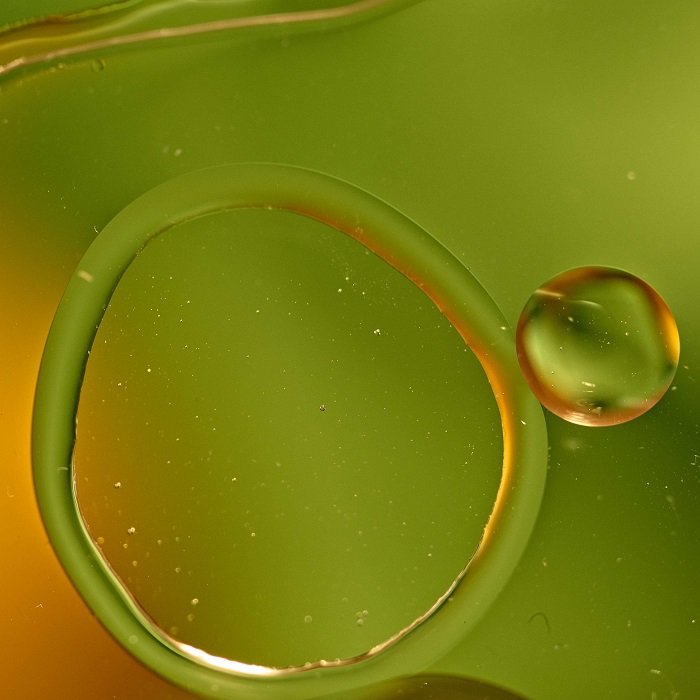
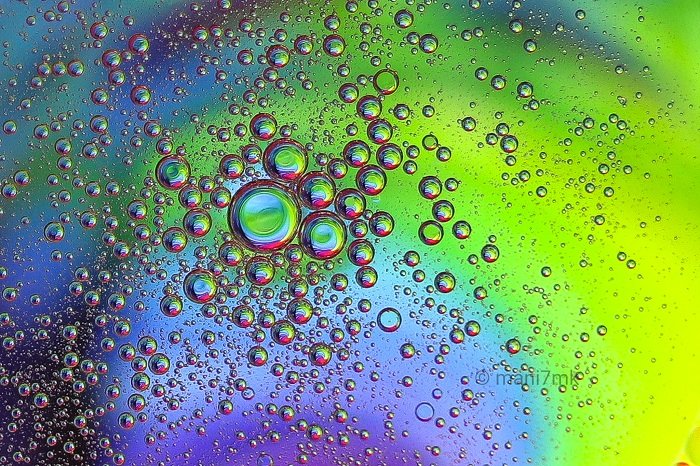
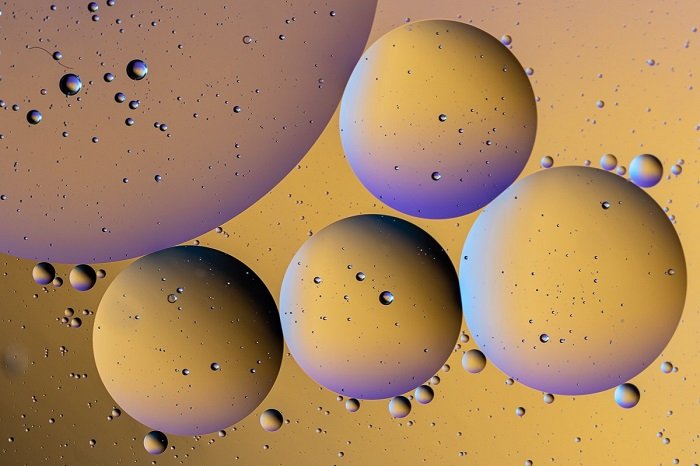
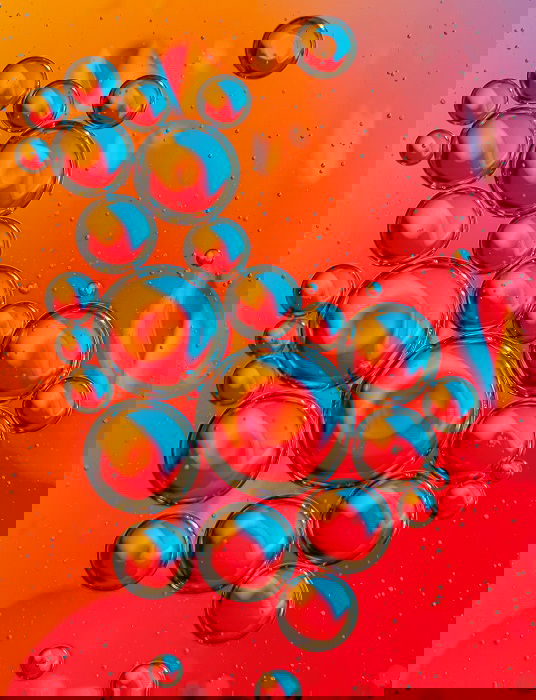
Examples of Abstract Oil and Water Photography
Oil and water photography is one of the topics we cover in our creative photography course, Wow Factor Photography. Below are some of the photos taken by our students. If you’d like to learn more, check out the course here.