Nighttime Architecture Photography Gear
Architecture photography does not require a lot of specific photographic gear, with the notable exception of the pricey tilt and shift lenses. These are mostly used by pros in order to correct unwanted perspective effects (falling buildings) directly in-camera. For the amateur, however, perspective correction tools come with all major editing software, allowing us to correct the perspective after the fact.
Camera and Lenses
If you are in for a quick snapshot of interesting buildings, any camera will do, including camera phones and entry level compact cameras. To be able to “work” the location and the angles, though, high-end compact and bridge cameras, as well as DSLR and mirrorless cameras are a must. This is because of their image quality, capability of shooting in RAW and flexibility due to their zoom lenses and/or their ability to change lens. Nighttime architecture photography is effectively long exposure night photography. In these conditions, sensor size does not affect the image quality too much. Fast lenses (low f-numbers) are also not necessary and we tend to shoot at the lens’ sweet spot (typically f/5.6 to f/11). When it comes to the best lenses for architecture photography, a good travel zoom is a great option. It ensures maximum flexibility without having to drag around multiple lenses. Wide angle, fisheye and telephoto lenses are also valid alternatives.
Accessories
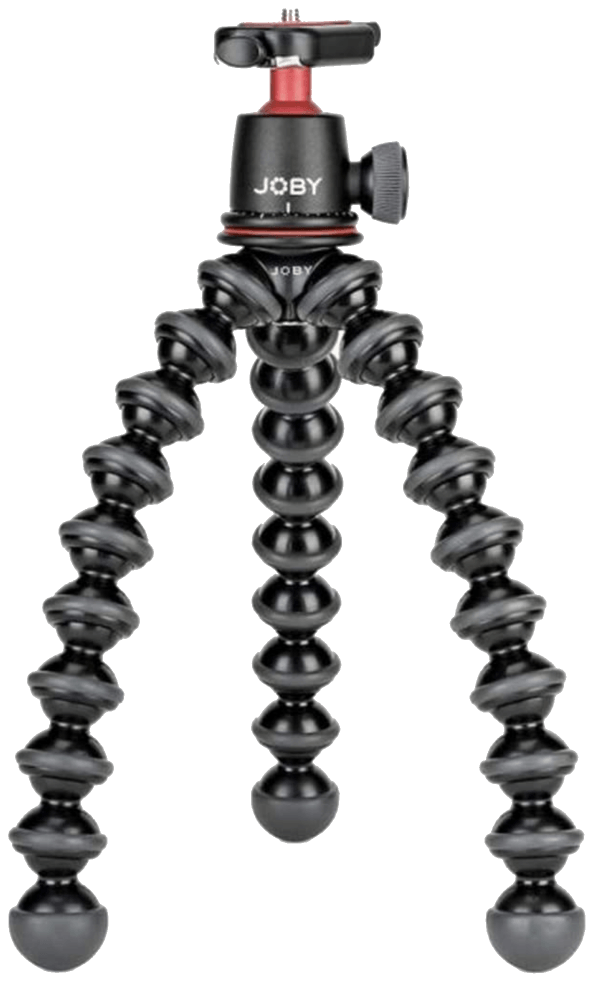
a good, stable tripod to ensure motion free pictures and carefully framing and composition; a remote release shutter (or, alternatively, you can use the self timer) to avoid camera shake; ND filters, to allows you to do long exposures in daylight to “empty” the scene from moving crowd and traffic and to motion blur moving clouds.
Architecture photography is not difficult and can be done by any amateur photographer. The game gets technically challenging if you want to do it professionally. This is mainly because you have to deal with the leaning building problem by using expensive tilt and shift lenses to correct this perspective effect.
Why Photograph Buildings at Night?
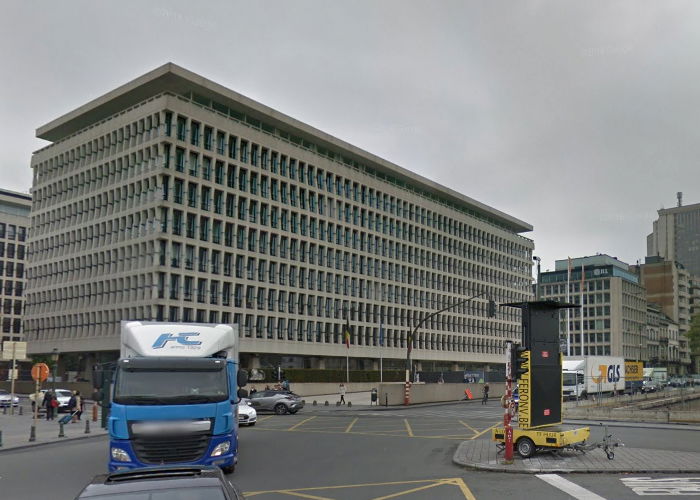
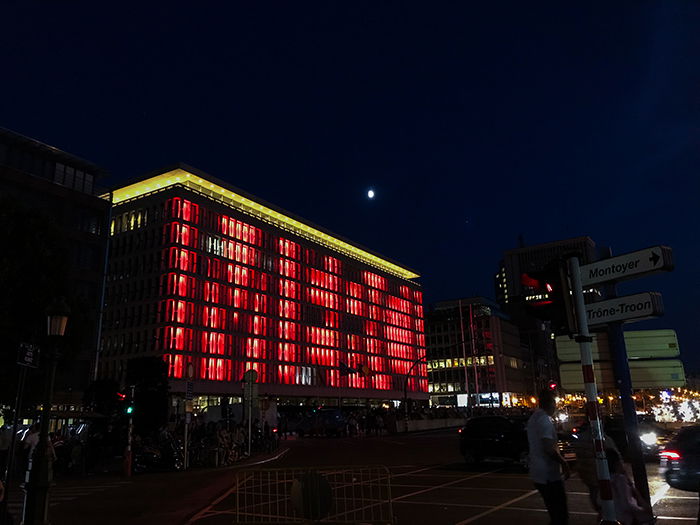
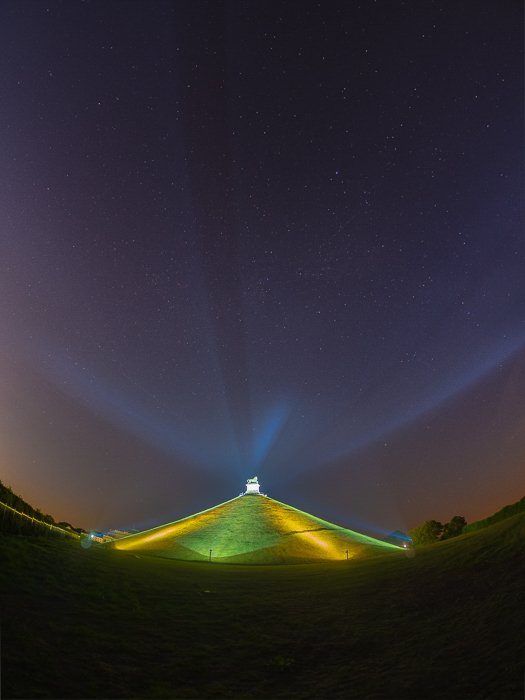
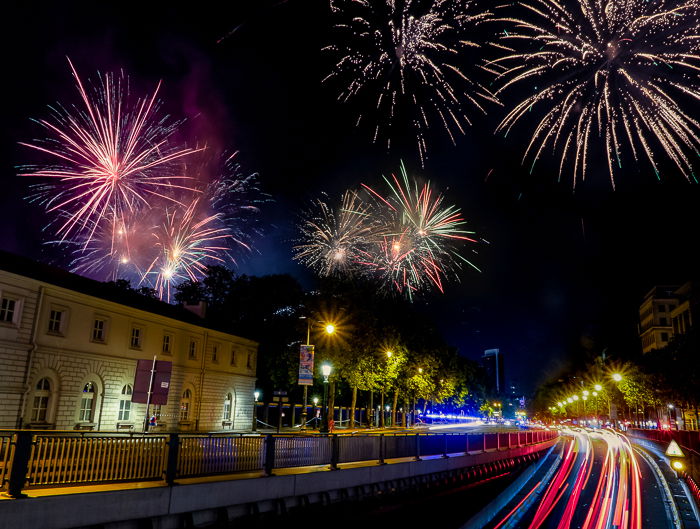
Nocturnal architecture photography is a great way to create more original images and to document how the city transforms itself at night. Take, for example the building in the image below, taken from Google street view: it is clearly nothing special. At night, that building springs to life thanks to a changing light display, like the one created to thank the Belgian football team for their performance in the recent World Cup Championship. Some famous landmarks outside the city, like the Butte du Lion, a battlefield memorial near Waterloo (Belgium), can also show some amazing light displays. Many other things happen at night and you can use them to make your images more interesting. Light trails from passing traffic, for example. Fireworks are another nighttime display you can use to create great images.
A Word Of Caution
Camera Settings
With the camera on a tripod, I use my go-to camera settings for night photography:
Capture images in RAW format; f/5.6 or f/8; Lowest possible ISO value, typically 100 or 200; Long exposure noise reduction active, except if I am shooting light trails, fireworks or for image stacking, where I need to take many images; Image stabilization OFF. Some cameras are clever enough to disable it if they sense the camera is on a tripod, but some are not. I got some bad results when I forgot to disable it on my Sony RX10 bridge camera.
Shutter speed set to expose to the right, ETTR, i.e., I overexpose the image without clipping the highlights to pure white. This way I don’t have to brighten the shadows to reveal details in the dark areas and avoid introducing extra noise in the images.
If you do not have a tripod, leave the image stabilization on. Try to work at lower ISO and use a larger aperture (small f- numbers) if possible. It also helps to lean on something, like a wall, car, light pole, etc. Another solution can be using a DIY string tripod to help you to keep your camera as steady as possible.
7 Tips For Better Creative Nighttime Architecture Photography
1. Day to Night Transition
Day to night photography is a real thing and consist in documenting how a scene changes from day to night time. Photographer Stephen Wilkes is the master of this technique. Below, is my day to night transition in Mons des Arts, a very touristic spot in Brussels. You can see how the city lights up when night is approaching (left side). If you want to know more about how to shoot and edit day to night transition, head here.
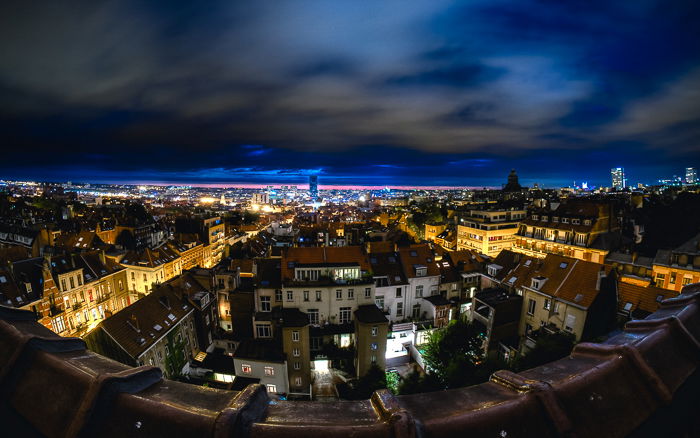
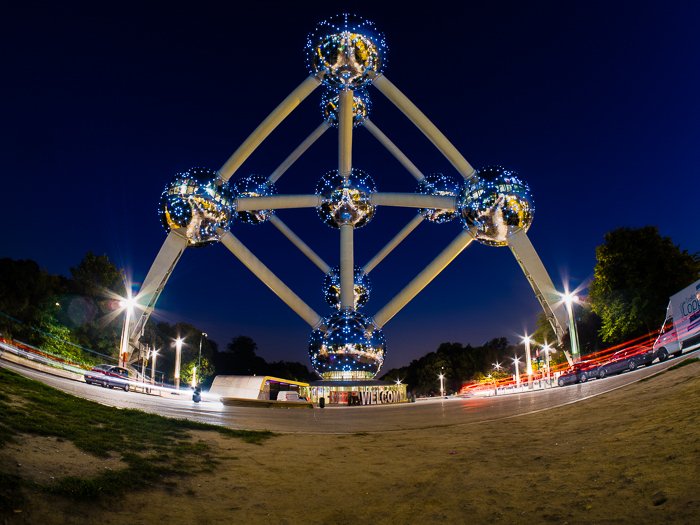
2. Use a Wide Angle Lens
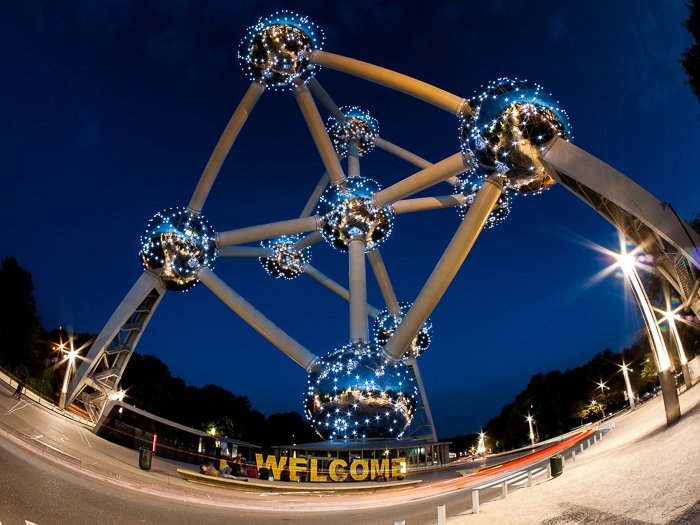
Night photography calls for night cityscapes, like this one of Brussels from the roof of my building. You can see the older parts of the city with yellow light and more modern ones with mostly blue lights. Buildings at night are another subject, along with monuments. Because they are often rather large and tall, a wide angle or fisheye lens is a must have to capture them whole. You will have some perspective distortions, particularly if you are shooting them from up close or if you are using a fisheye. Try to move around to find a composition that can benefit from those distortions. Below is the Atomium, probably the best known landmark in Brussels. A fisheye lens allowed me to get it whole from just a few metres away. I have chosen an angle that, thanks to the fisheye distortions and light trails from incoming traffic, creates a more dynamic photo. If your lens does not go wide enough, you can always shoot for a vertical panorama. With the camera in landscape orientation, cover the entire height of the building by taking two or three photos that superpose about 1/3. Those can then be stitched together in Photoshop to create a vertical panorama. If you have a mobile phone or compact or bridge camera, you may have a built-in panorama mode. I would still suggest the method above to ensure the best results. You don’t have to limit yourself to a single building either.
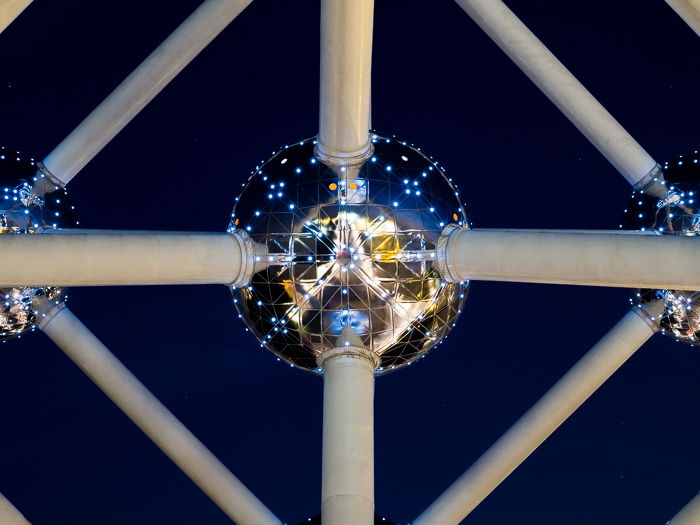
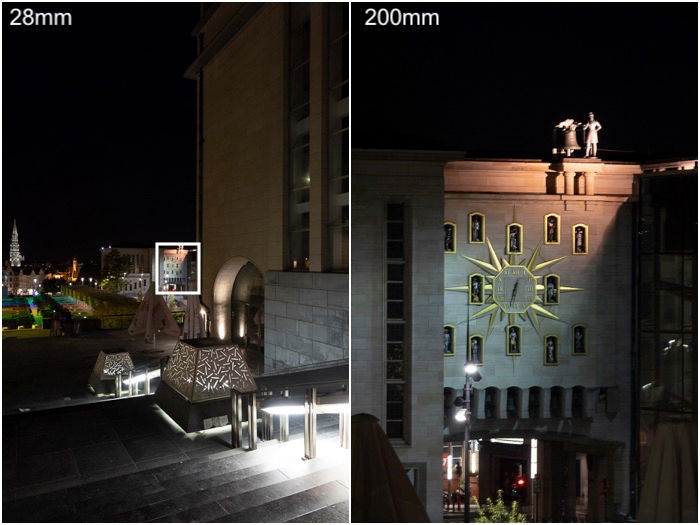
3. Use a Telephoto Lens to Highlight Details
If the wide views are nice, don’t forget the details. Architecture is often loaded with nice, small details that you can isolate. If you are at the Atomium, you can isolate one of the sphere and play with the symmetry of the arms. Here is where a travel zoom with large focal range pays off. You can go from capturing the large view to isolating a detail in a matter of seconds, without the need to change your lens. Bridge cameras come in handy here.
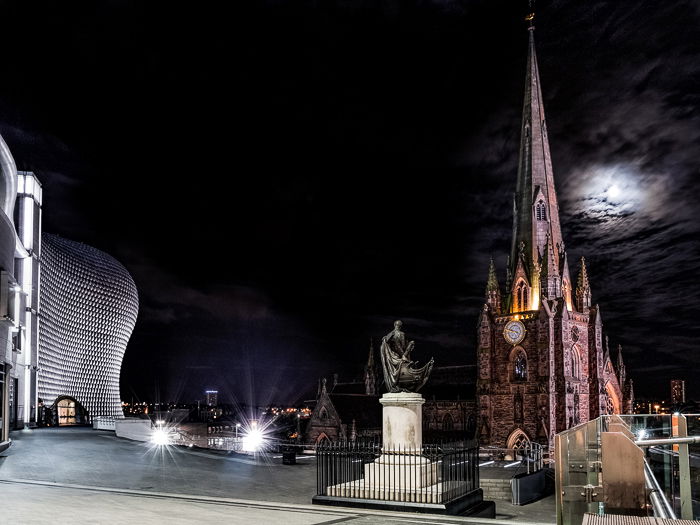
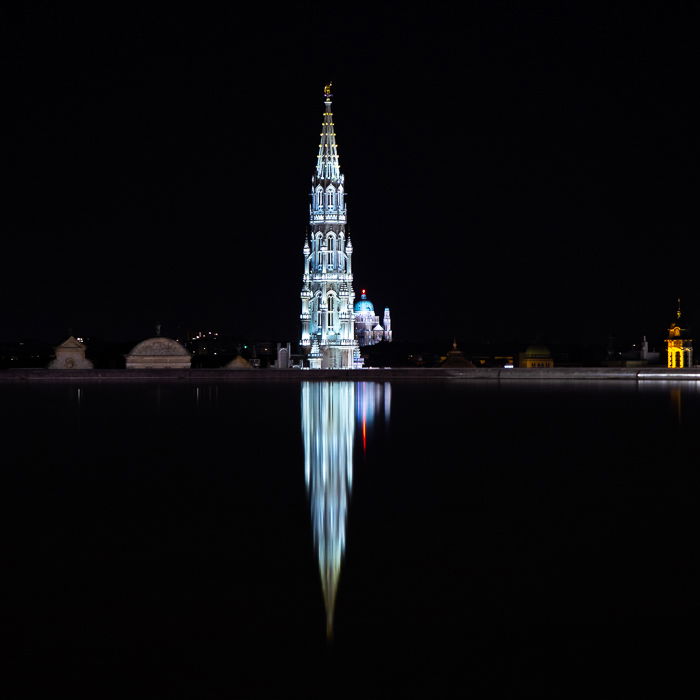
4. Look For Symmetries And Reflections
As for daylight architecture photography, symmetry and reflections are top ingredients to make compelling images. To illustrate the beauty of symmetry, I have, once again, photographed the Atomium. From farther away this time and from a central position, so to minimise lens distortions and highlight the symmetric aspect of the structure. Once again, the beauty of photographing landmarks at night, is that you can add light trails from passing traffic, to make the image more interesting and dynamic. If you are after some reflections, you can look for modern buildings with “glassy” facades, or take advantage of fountains or street puddles. Reflections are usually taken from a low point of view, so it is nice to have a tripod that can go very low. Alternatively, consider to bring along a table tripod or a Gorillapod.
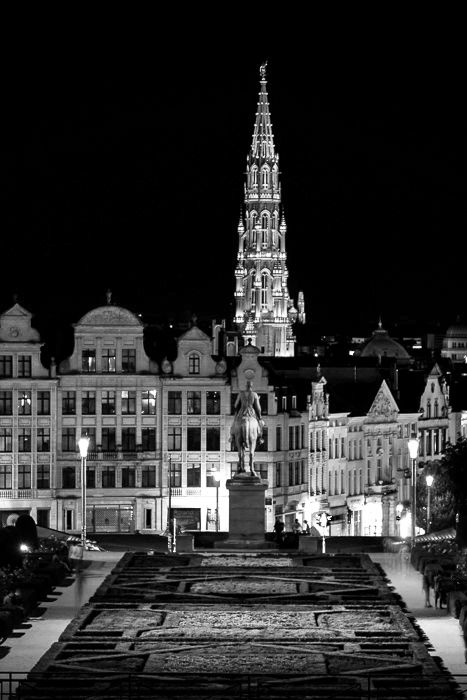
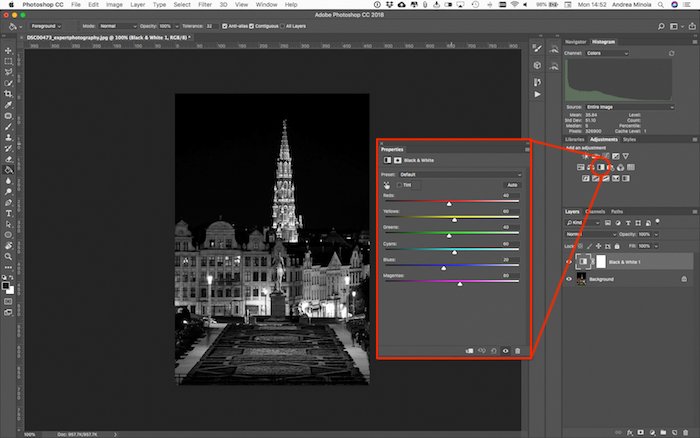
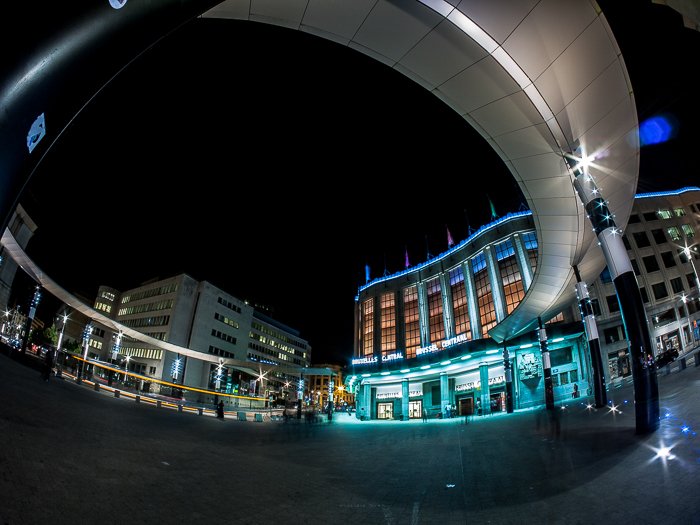
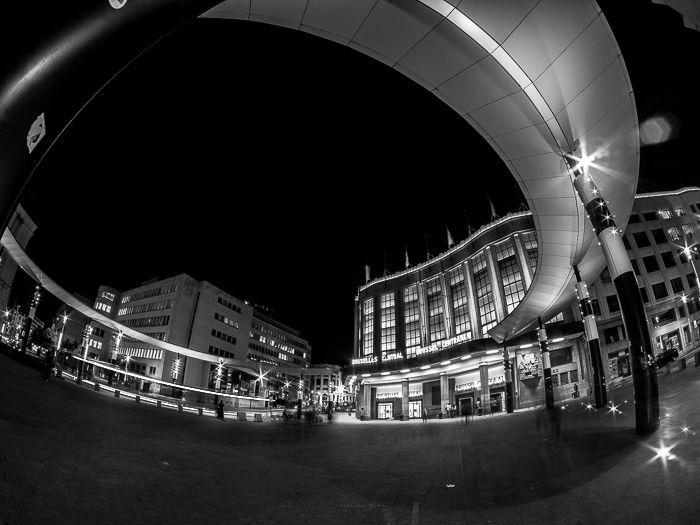
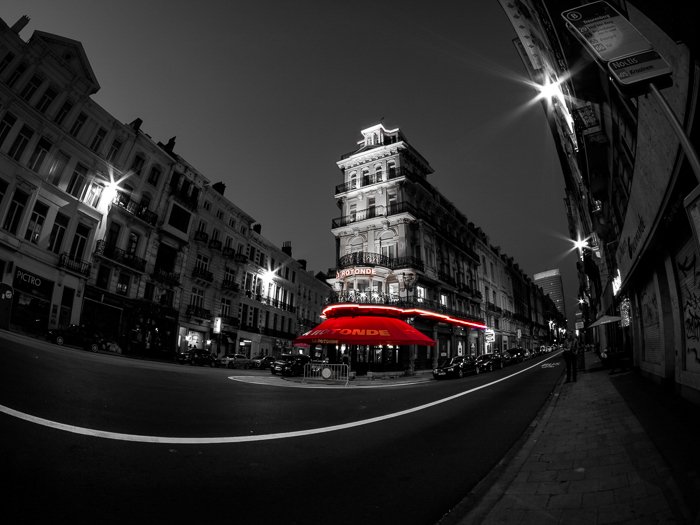
5. Use Black and White for a Strong Contrast
Black and white images work well when there is strong contrast in the scene. You would think that such strong contrast is missing at night. But if you are in the city, you have streetlights and other light sources that create contrast with the dark shadows and sky. In order to get a good conversion, tune the contrast by working on the individual colors with the black and white tool in Photoshop (or the equivalent panel in Lightroom). There is another interesting effect of black and white conversion. Consider the exterior of Brussels Central Station, for example. The right part of the image has plenty of lights all of different colors. Green, yellow, orange and blue – all crammed together. A black and white conversion can clean up these chaotic images by removing the different colors. The viewer can then concentrate on the patterns, lines and shapes in the image. Finally, if you are a fan of it, with black and white photography you can do some selective colors. Check out the image below of an architecture shot with a red splash of color.
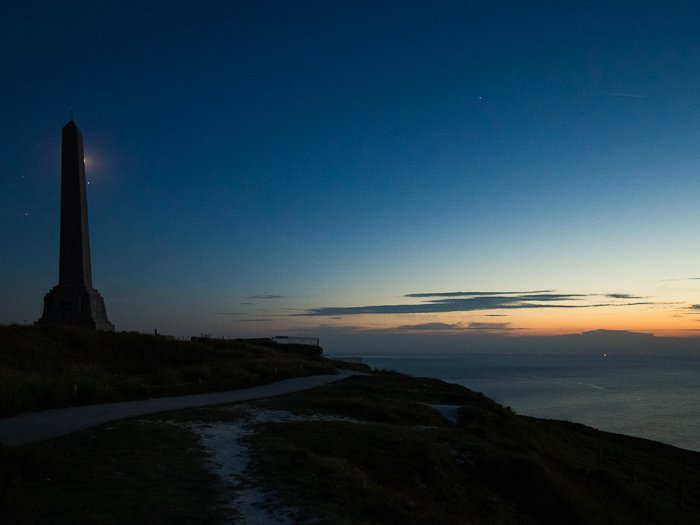
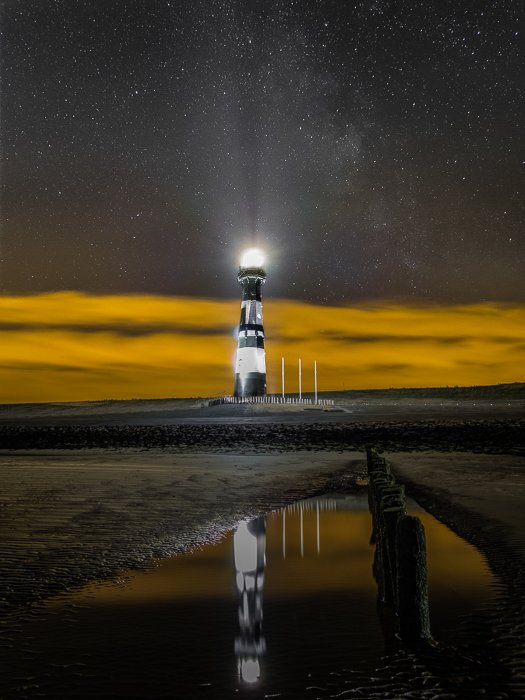
6. Architecture with Landscapes
Beautiful architecture can be found also outside the city. You can use it to add an element of interest to your landscapes, like the obelisk on the cliffs of Cap Blanc Nez (France). Lighthouses are also quite interesting to photograph at night.
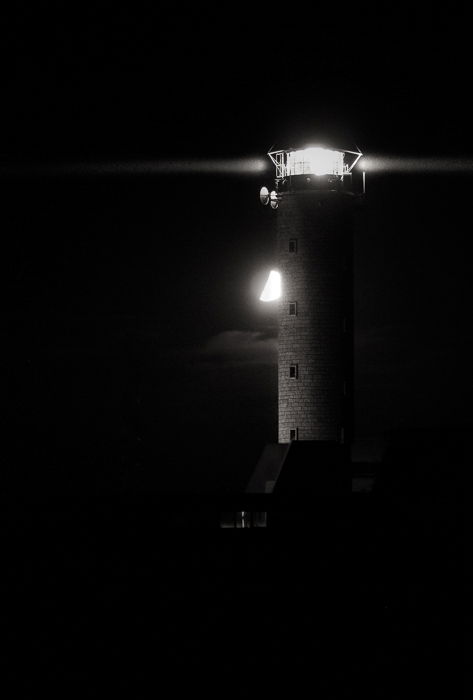
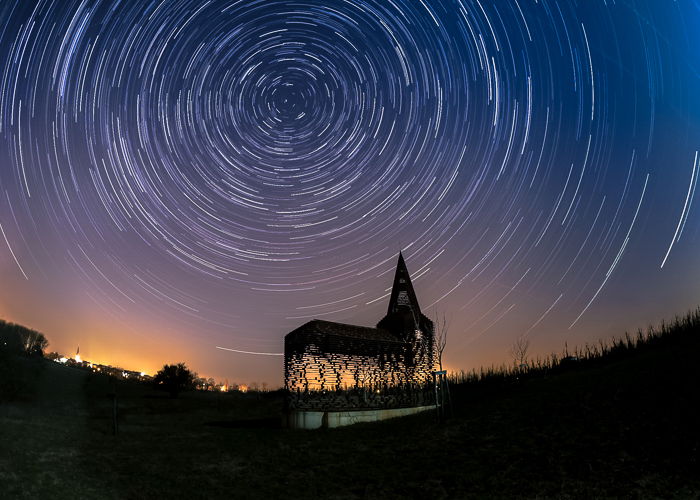
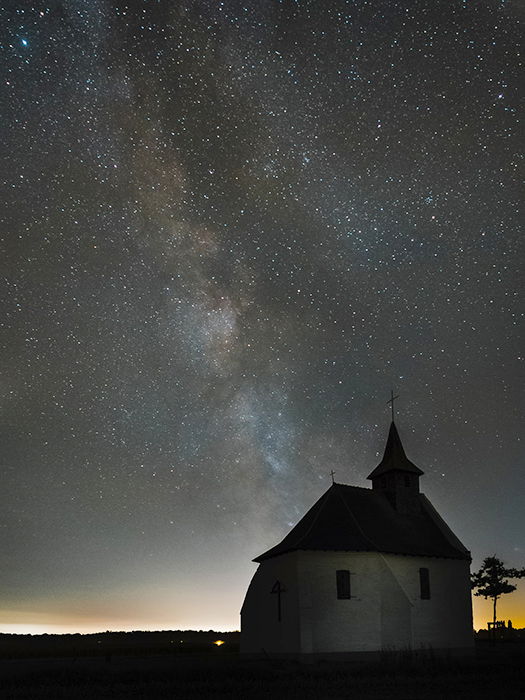
7. Incorporate The Moon and Stars
When you are out doing nighttime photography, you can use the moon and the stars to create extremely interesting images. With a big moon in the sky, you will have enough ambient light to make low key, moody architecture photography. You can also create star trails to easily add interest to your architecture. Check out this image of the “See-Through Church”, an artistic installation near Borgloon (Belgium). The church is created by thin metal planes layered one on top the other, but keeping a small gap between the layers, so that one can see through the church walls. Finally, the Milky Way can also be used to improve the composition of your nocturnal architecture photography. That’s what I did for this remote chapel somewhere in the Belgian countryside. Milky way photography is not easy, but with a bit of knowledge, you can do it also near a city and with a high-end pocketable compact camera, such as the Sony RX100. Here, because of the long exposure, the strong light pollution builds up and will be enough to light your landscape, revealing the details.
Conclusion
Night-time architecture photography is not difficult and can be very rewarding. I hope this article has inspired you to go out at night and try to capture your city and landscapes in a different way.